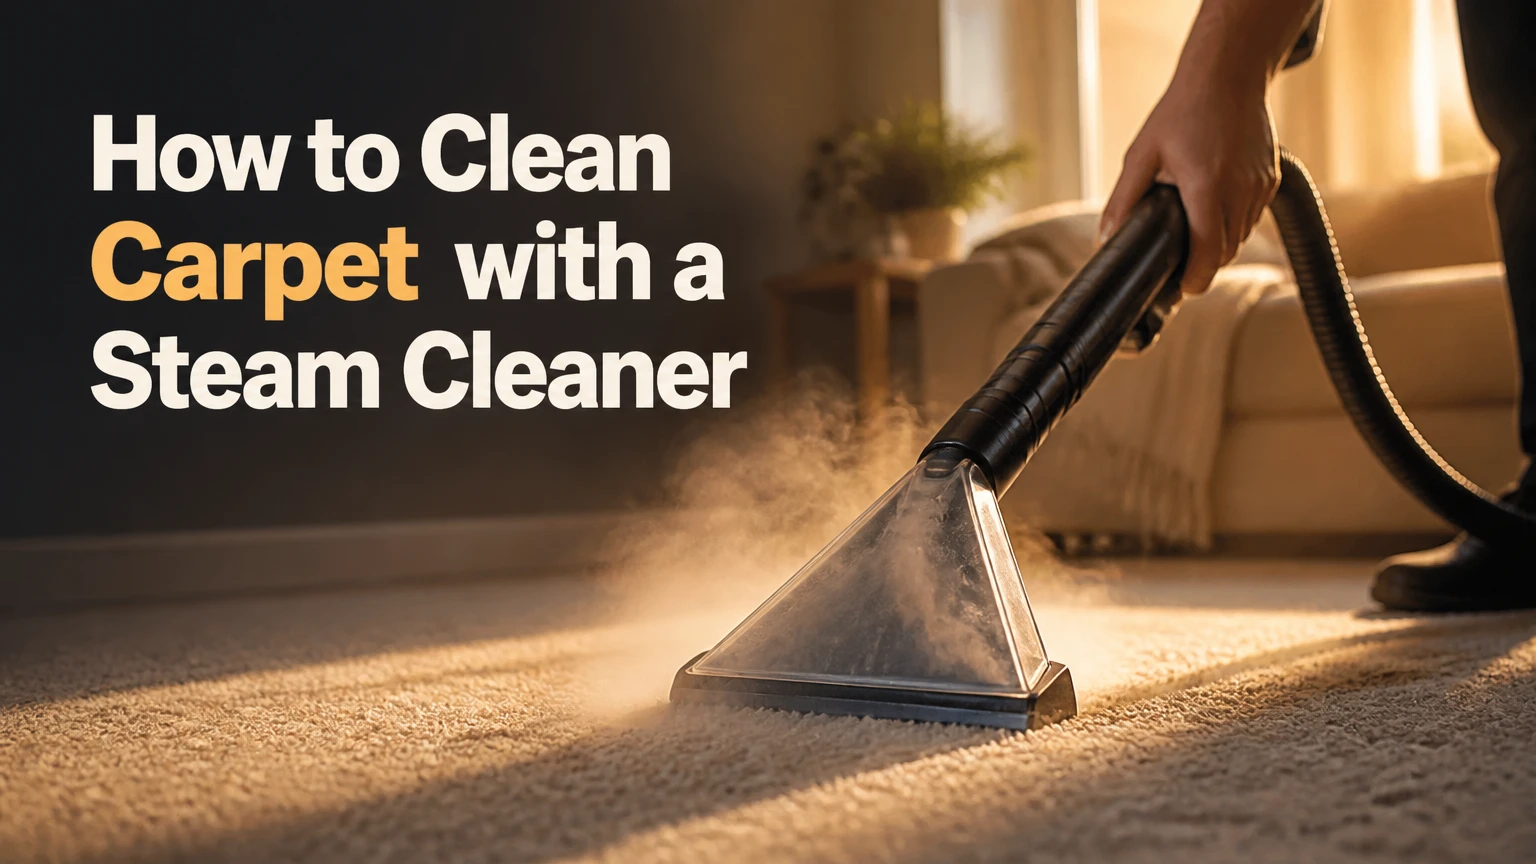
To master how to clean carpet with a steam cleaner, you must execute eight precise steps: room preparation, deep dry vacuuming, colorfastness testing, spot pretreatment, machine setup, extraction passes, fiber grooming, and rapid drying. This intensive process requires two to three hours of active labor plus six to twelve hours of dedicated drying time. The single most important factor for success is maximizing water extraction through slow, overlapping dry passes to prevent mold growth and sticky detergent residue.
Before You Start
- Time Required: 2.5 hours of active labor, 6 to 12 hours of drying time.
- Difficulty Level: Intermediate. Requires moderate physical stamina.
- Estimated Cost: $40 to $80 for a 24-hour machine rental and chemical solutions, or $150 to $300 to purchase a mid-range machine.
- Prerequisite Skills: Ability to lift 30 pounds and operate a heavy upright vacuum safely.
Tools and Materials Checklist:
- Steam Cleaner Extractor Machine (rental or owned upright unit).
- Heavy-Duty Dry Vacuum Cleaner (preferably with a motorized beater bar).
- Commercial Carpet Cleaning Solution (requires 2 ounces, or 60 milliliters, per gallon of water).
- Distilled White Vinegar (requires 1 cup per gallon of water for rinsing).
- Pretreatment Spot Spray (specifically formulated for carpet traffic lanes).
- Hot Tap Water (temperature must be between 130 and 140 degrees Fahrenheit, or 54 to 60 degrees Celsius).
- Aluminum Foil Squares or Plastic Furniture Sliders (cut into 3-inch squares).
- Clean White Cotton Towels (for colorfastness testing and moisture checking).
- Carpet Rake or Grooming Brush (optional but highly recommended for plush pile).
Complete Step by Step Cleaning Process
Step 1: Clear the Room and Protect Furniture
Remove all portable items from the floor and isolate the legs of heavy furniture to prevent moisture damage.
Start by taking all toys, magazines, rugs, and small furniture pieces out of the target room. For heavy items like sofas, beds, or solid wood dressers that you cannot safely move, lift each leg and slide a 3-inch square of aluminum foil or a plastic furniture slider underneath it. The protective barrier must extend slightly beyond the footprint of the furniture leg.
You’ll know it worked when the entire carpet surface is visible and no wood or metal furniture components are directly touching the carpet fibers.
The most common mistake at this step is leaving wooden furniture directly on damp carpet. The moisture will pull the wood stain out of the furniture legs and permanently dye your carpet brown, or cause metal legs to leave permanent rust rings.
Step 2: Perform a Deep Dry Vacuum
Extract all loose, dry particulate soil using a heavy-duty vacuum cleaner in a perpendicular grid pattern.
Push your dry vacuum slowly across the entire room from north to south, moving at half your normal vacuuming speed. Once you have covered the entire room vertically, change directions and vacuum the entire room from east to west. This cross-hatch pattern agitates the carpet pile from multiple angles to pull up embedded human hair, pet dander, and microscopic silica dirt.
You’ll know it worked when the carpet pile looks uniformly lifted and your vacuum canister has collected a significant amount of fine gray dust.
The most common mistake at this step is rushing the dry vacuum process. If you leave dry dirt in the carpet and apply water, you instantly create mud. Liquid mud sinks directly into the carpet backing and is nearly impossible for a consumer-grade steam cleaner to extract.
Step 3: Test the Carpet for Colorfastness
Apply your chemical cleaning solutions to an inconspicuous area of the carpet to verify the dye will not bleed or fade.
Find a hidden section of carpet, such as inside a closet or directly behind a door. Spray your pretreatment solution and your diluted carpet cleaning detergent onto this small test area. Wait exactly five minutes. Take a clean, damp white cotton towel and press it firmly into the treated spot for ten seconds.
You’ll know it worked when you pull the white towel away and see absolutely no carpet dye transferred onto the white fabric.
The most common mistake at this step is skipping the test on older or brightly colored rugs. Applying high-pH pretreatment chemicals to unstable dyes will instantly bleach the fibers, leaving a permanent faded spot that requires professional carpet patching to fix.
Step 4: Pretreat Stains and High Traffic Areas
Saturate dark traffic lanes and visible organic stains with a specialized pretreatment spray to break down oils prior to machine extraction.
Hold the pretreatment spray bottle roughly 6 inches above the carpet surface. Mist the solution heavily onto the dark pathways leading from doorways, the areas directly in front of sofas, and any isolated spots like food spills. Do not soak the carpet to the backing, but ensure the top fibers are thoroughly damp. Allow the chemical to dwell for exactly five minutes to emulsify body oils and sticky residues.
You’ll know it worked when the dark, matted traffic lanes begin to look slightly lighter and the fibers relax before you even bring the steam cleaner into the room.
The most common mistake at this step is extracting the pretreatment immediately after spraying. Chemicals require physical dwell time to break the molecular bonds of grease. Extracting too early simply washes the expensive chemical away before it has done any cleaning work.
Step 5: Prepare the Steam Cleaner Machine
Fill the machine with precisely measured hot water and cleaning detergent to create the optimal extraction fluid.
If you are using a rental machine, run one tank of plain hot water through the system outside to flush out the previous user’s dirty residue. Fill the clean water bladder or tank with hot tap water up to the maximum fill line. The water should be hot to the touch (around 130 to 140 degrees Fahrenheit) but never boiling. Add exactly 2 ounces of commercial carpet cleaning solution per gallon of water, or follow the exact ratio printed on the machine’s label. Secure all caps and gaskets tightly.
You’ll know it worked when the machine turns on, sounds smooth, and sprays an even, wide fan of solution from the bottom nozzle when you press the trigger.
The most common mistake at this step is pouring boiling water from a kettle directly into the plastic tank. Boiling water will melt the internal plastic hoses of the steam cleaner, destroy the pump seals, and permanently shrink the synthetic glue holding your carpet backing together.
Step 6: Execute the Wet and Dry Extraction Passes
Inject the hot cleaning solution into the carpet and immediately extract it using a strict ratio of one wet pass to two dry passes.
Start in the corner of the room furthest from the exit door. Press the solution trigger and slowly pull the machine backward at a steady pace of exactly 1 foot per second to complete your wet pass. Release the trigger completely. Push the machine forward over that exact same line, and then pull it backward again, moving at half speed (0.5 feet per second) to suck up the water. This is your dry pass phase. Shift the machine 2 inches to the side so your next pass overlaps the previous one, and repeat the process.
You’ll know it worked when you perform the “White Towel Test”. Press a dry paper towel firmly into a freshly cleaned section. If the towel comes up soaked, you need more dry passes. If it comes up barely damp, your extraction technique is perfect.
The most common mistake at this step is moving the machine too quickly and failing to overlap passes. Fast movements leave gallons of water trapped in the carpet pad. Failing to overlap the wheels by 2 inches leaves distinct stripes of untouched dirt that look like a zebra pattern once the floor dries.
Step 7: Groom the Carpet Fibers
Brush the damp carpet fibers in a single direction to improve appearance and maximize airflow for drying.
Take a carpet rake or a clean, stiff-bristled push broom and gently pull it across the damp carpet. Start at the far wall and walk backward toward the door, pulling the rake in long, continuous strokes toward you. Ensure all the carpet fibers are standing up straight and leaning in the exact same direction.
You’ll know it worked when all the chaotic machine wheel marks and footprints disappear, leaving a uniform, brand-new appearance across the entire room.
The most common mistake at this step is leaving the fibers crushed in different directions. Matted, crushed fibers trap moisture beneath them, doubling the required drying time and causing the carpet to look worn and shadowed even when perfectly clean.
Step 8: Accelerate the Drying Process
Manipulate the room’s environment using mechanical airflow and temperature control to dry the carpet completely within 12 hours.
Turn your home’s HVAC thermostat fan setting from “Auto” to “ON” to force continuous air circulation. Open two windows on opposite sides of the house to create a cross-breeze if the outside humidity is below 50 percent. Place oscillating floor fans or high-velocity air movers in the corners of the room, pointing them down directly across the surface of the carpet. Keep all pets, children, and adults out of the room completely.
You’ll know it worked when you can press your bare hand deep into the carpet pile 12 hours later and feel absolutely no dampness at the base of the fibers.
The most common mistake at this step is walking on the carpet in bare feet or outdoor shoes while it is still damp. Damp carpet fibers act like a giant sponge. The oils from your bare feet or the dirt from your shoe treads will instantly transfer into the fibers, leaving dark footprints that require a complete recleaning to remove.
Common Mistakes and How to Fix Them
Leaving Sticky Detergent Residue
Adding four ounces of soap instead of two ounces feels like it should clean better, but consumer steam cleaners lack the water pressure to rinse heavy soap out. The excess soap dries into a sticky film. Every time you walk on it, dirt from your shoes sticks to the residue, causing the carpet to look filthy just three weeks after cleaning. Quick Fix: Empty the machine’s solution tank, rinse it thoroughly, and fill it with hot water and 1 cup of white vinegar per gallon. Execute dry passes over the entire carpet. The mild acid in the vinegar will neutralize the alkaline soap residue and leave the fibers soft.
Soaking the Carpet Pad
Holding the trigger down constantly while moving the machine forward and backward pumps massive amounts of water through the carpet backing directly into the foam pad underneath. A saturated pad takes days to dry and creates a perfect breeding ground for toxic mold and sub-floor rot. Quick Fix: Stop applying water immediately. Rent a professional high-velocity air mover fan. Lift the corner of the carpet slightly if possible and direct the fan underneath to blow air directly over the pad. Keep the fan running continuously for 48 hours.
Wicking and Reappearing Stains
You successfully clean a dark coffee stain, but 24 hours later, the exact same stain reappears on the surface of the carpet. This is called wicking. The liquid spill penetrated the carpet pad months ago. When you wet the surface fibers, the deep stain traveled up the damp fibers like a liquid traveling up a candle wick as the surface dried. Quick Fix: Spray the resurfaced stain lightly with a specialized encapsulating cleaner. Cover the damp stain with a stack of dry white paper towels and place a heavy book on top. As the spot dries, the towels will absorb the wicking moisture before it sets into the carpet tips.
Machine Losing Suction Mid-Job
You are pulling the machine backward, but no dirty water is pulling through the clear plastic nozzle. Continuing to clean without suction means you are simply dumping water into your floor. Quick Fix: Turn the machine off immediately. Check the dirty water recovery tank. Most machines have a foam float valve that snaps shut when the tank is full to prevent water from entering the motor. Empty the dirty water tank. If the tank is empty, check the dome lid. If the rubber gasket is not seated perfectly, the machine cannot build a vacuum seal. Re-seat the lid firmly.
The Wet Dog Odor Phenomenon
A day after cleaning, the room smells distinctly like a wet dog or sour mildew. This happens when dormant bacteria in the carpet backing are reactivated by the moisture and warm temperatures, especially in homes with pets. Quick Fix: Do not apply more water or heavy perfumes. Increase the room’s ventilation immediately by adding more box fans. Lightly mist the surface of the carpet with a 50/50 mixture of distilled water and white vinegar using a handheld trigger bottle. The vinegar will kill the surface bacteria and neutralize the odor as it evaporates.
Process Variations for Specific Situations
Cleaning Wool Carpets
Wool is a natural animal fiber that reacts poorly to high heat and harsh alkaline chemicals. If you are cleaning an authentic wool rug, you must alter the standard process. Turn your water temperature down to lukewarm (around 90 to 100 degrees Fahrenheit). Do not use standard synthetic carpet shampoo, which usually has a pH of 9 or higher. You must purchase a specific wool-safe, Woolsafe-approved detergent with a neutral pH of 7. Never use a motorized beater bar on wool during the dry vacuum stage, as it will cause the yarn to fray and fuzz.
Treating Pet Urine Contamination
Standard steam cleaning will actually make pet urine smell worse. Hot water spreads the uric acid crystals across a larger area, and the heat bakes the odor into the synthetic fibers. Before you use a steam cleaner on a pet-soiled room, you must treat the area with a bio-enzymatic cleaner. Saturate the urine spots with the enzyme cleaner and let it sit for 24 hours. The living enzymes literally eat the odor-causing bacteria. Only after the enzymes have digested the uric acid should you proceed with the hot water extraction process.
Using a Portable Spot Cleaner vs an Upright Machine
If you are using a compact, handheld spot cleaner (like a Bissell Little Green) rather than a full upright unit, your technique must change. Portable units have significantly less suction power. You must restrict your wet passes to tiny 3-inch bursts. Because the motor is weaker, you must manually apply heavy downward pressure onto the hand tool to force the suction nozzle deep into the carpet pile. Expect to do four to five dry passes per wet pass to compensate for the lower motor amperage.
Time and Cost Expectations
Understanding the true investment of deep carpet cleaning helps you decide between a DIY approach and hiring professionals.
Time Investment: For a standard 12-foot by 15-foot living room, expect to spend 20 minutes preparing the room, 15 minutes dry vacuuming, 10 minutes pretreating, and 45 to 60 minutes running the extraction machine. Moving the machine slowly is exhausting work. Cleaning an entire three-bedroom house will take a healthy adult between four and six hours of continuous labor.
Cost Breakdown:
- Rental Option: Renting a commercial-grade machine from a hardware store typically costs $35 to $50 for a 24-hour period. Commercial detergents and spotters will add $20 to $30. Total cost: $55 to $80.
- Purchase Option: Buying a mid-tier home steam cleaner costs between $150 and $300. This is highly recommended if you have pets or toddlers and need to clean messes monthly.
- Professional Comparison: Hiring a truck-mounted professional carpet cleaning service generally costs $40 to $60 per room. While more expensive, truck-mounted units heat water to 220 degrees Fahrenheit and utilize massive vacuum blowers that extract 95 percent of the moisture, leaving carpets dry in just two hours.
Frequently Asked Questions
Can I use laundry detergent in my steam cleaner?
No. Laundry detergent creates massive amounts of foam that will overflow the dirty water tank and potentially fry the machine’s vacuum motor. It also contains optical brighteners and heavy residues that are impossible to rinse out of carpet fibers, leading to rapid re-soiling.
How often should I steam clean my carpets?
Carpet manufacturers recommend deep hot water extraction every 12 to 18 months to maintain your warranty. However, homes with indoor pets, heavy foot traffic, or family members with severe indoor allergies should clean high-traffic areas every 6 months.
Why is my carpet crunchy after drying?
A stiff, crunchy texture means alkaline soap residue was left behind in the fibers due to using too much detergent or failing to perform enough dry passes. You can fix this by running the machine over the carpet again using only hot water and a cup of vinegar to rinse it.
Do I need to rinse the carpet with plain water after using detergent?
Yes, a fresh water rinse is highly recommended. Professional cleaners inject detergent during the pretreatment phase and use only plain, hot water in their extraction machines. Doing this at home guarantees zero sticky residue is left behind in your carpet pile.
How do I clean carpeted stairs with a heavy machine?
Never attempt to balance an upright steam cleaner on a staircase. You must use a machine that features a separate hose and a handheld upholstery attachment. Work from the top stair downward, scrubbing the tread and the vertical riser of each step with the hand tool.
Mastering how to clean carpet with a steam cleaner transforms a daunting household chore into a highly rewarding maintenance task. By strictly adhering to the proper chemical ratios, respecting the necessary dwell times, and religiously executing multiple slow dry passes, you ensure a professional-level clean. Remember that the secret to pristine carpets is not how much water you put down, but how effectively you pull that water back out. Follow these precise steps, avoid the temptation to rush the extraction, and your carpets will remain soft, sanitary, and structurally sound for years to come.


