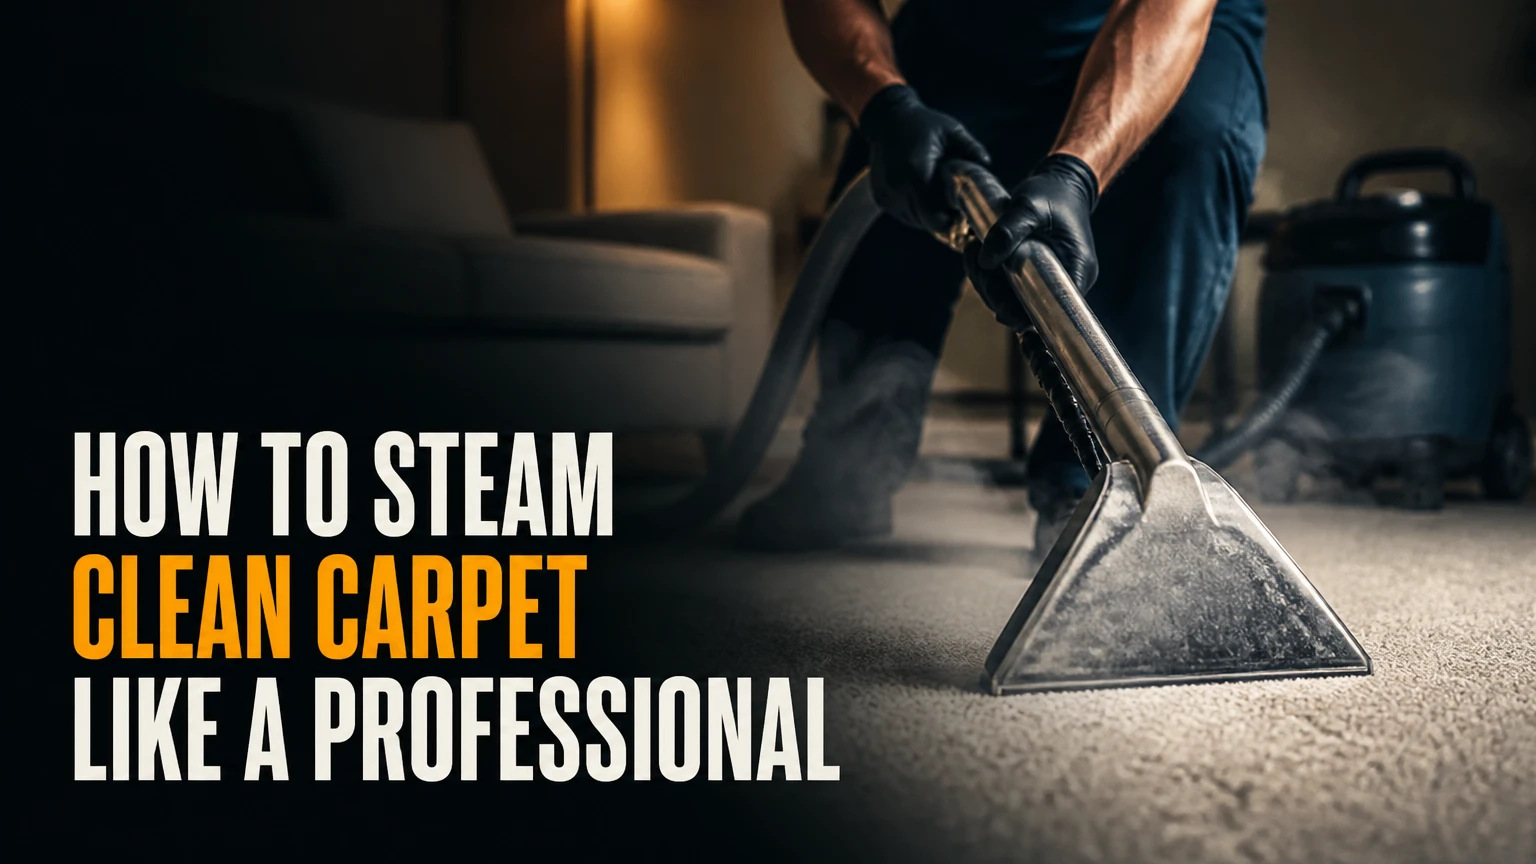
Steam cleaning a carpet requires a systematic process of preparation, precision extraction, and structured drying to prevent fabric damage or mold growth. Achieving professional results depends on maintaining exact water temperatures between 120°F and 140°F, using precise chemical dilution ratios, and executing disciplined wet and dry extraction passes. This comprehensive guide covers 8 distinct steps, tools, precise timings, and troubleshooting methods to ensure success on your first attempt.
Before You Start
Success in carpet extraction relies heavily on gathering the right equipment and chemical concentrations before you touch the machine. Review the specifications below to prepare your workspace safely.
| Item | Quantity or Specification | Typical Cost | Purpose |
| Rental or Consumer Extractor | Upright unit with a motorized brush | $30 to $50 per day rental | Applies solution and extracts dirty water |
| Low-Foam Cleaning Formula | Liquid concentrate, 2 oz per gallon | $15 to $25 per bottle | Breaks down grease and embedded soil |
| Distilled White Vinegar | 5% acidity, 1 cup per gallon | $3 to $5 per gallon | Neutralizes alkaline soap residue |
| Enzyme Spot Spray | Oxygen or enzyme-based lifter | $8 to $15 per bottle | Pre-treats high-traffic stains |
| High-Power Vacuum | HEPA filter or rotating brush roll | Household tool | Removes dry particulate dirt |
| Safety Gear | Rubber gloves and protective eyewear | $5 total | Protects skin and eyes from concentrated formulas |
| Air Movers or Fans | Standard household floor fans | Household tool | Accelerates evaporation during drying |
- Time Required: 2 hours for a standard 10×12 foot room (including drying prep).
- Difficulty Level: Moderate.
- Prerequisite Conditions: Indoor humidity below 60 percent, room temperature between 65°F and 85°F, and all moveable furniture cleared from the area.
Step 1: Pre-Inspection and Colorfastness Testing
Inspect the carpet fibers and test for dye stability before applying any moisture or cleaning chemistry.
Dampen a clean white cloth with your diluted cleaning solution and press it firmly against a hidden section of the carpet, such as inside a closet corner, for 30 seconds. Lift the cloth and inspect it for color transfer or bleeding. If dye appears on the cloth, stop immediately and consult a professional cleaner. Vacuum the entire room to clear toys, coins, and loose debris that could jam the extraction machine. You’ll know this step worked when the white cloth remains completely free of dye and the floor is clear of obstructions. A common mistake at this stage is skipping the colorfastness test, which can result in permanent multicolored fading if fugitive dyes react with the cleaning concentrate.
Step 2: Deep Dry Vacuuming
Vacuum the floor thoroughly in a crossed grid pattern to extract dry particulate soil before it turns into mud.
Clear all furniture from the layout area and plug in your high-powered vacuum. Vacuum the entire room slowly in a north-south grid pattern, making overlapping passes over every square foot. Switch directions and vacuum a second time in an east-west grid pattern. This dual-direction method lifts embedded grit from the base of the carpet tufts. You’ll know this step worked when the vacuum agitator stops kicking up fine dust and the carpet pile looks uniformly upright. A common mistake here is rushing the vacuum pass, which leaves behind gritty sand that mixes with water during extraction to form an abrasive mud slurry.
Step 3: Spot Pre-Treatment
Apply an enzyme or oxygen-based pre-treatment spray to heavy traffic lanes and dark spots to break down stubborn oils.
Identify high-traffic pathways, entryways, and localized spots across the room. Hold the spray bottle 8 inches from the surface and mist the pre-treatment fluid directly onto the stained fibers. Allow the fluid to sit undisturbed for 5 to 10 minutes to let the chemical enzymes digest organic proteins and grease. Do not scrub the fibers with a brush, because aggressive friction frays synthetic and wool strands alike. You’ll know this step worked when dark organic spots begin to lighten or dissolve into the surrounding fibers before extraction begins.
Step 4: Machine Solution Preparation and Priming
Mix your cleaning solution and rinse water to exact volumetric ratios and prime the machine pump.
Fill the clean water tank of your extractor with hot tap water maintained between 120°F and 140°F, as measured by a digital thermometer. Never use boiling water, because high heat warps machine plastic housings and melts synthetic carpet backing. Measure exactly 2 ounces of low-foam carpet cleaning formula per 1 gallon of hot water using a dedicated measuring cup. Fill a separate clean tank or bucket with a rinse mixture consisting of 1 cup of distilled white vinegar per 1 gallon of hot water. Lock the tanks securely onto the machine base and squeeze the handle trigger over a sink or tub for 15 seconds to prime the pump and clear airlocks. You’ll know this step worked when a steady, fan-shaped spray emerges from the machine nozzles without sputtering.
Step 5: Hot Water Extraction Wet Passes
Execute coordinated wet passes using the machine trigger to inject solution and extract suspended soil simultaneously.
Start in the corner of the room furthest from the exit door to avoid stepping on damp carpet. Press the spray trigger on the machine handle and push the cleaning head forward slowly at a steady rate of 1 foot per second. Pull the machine backward over the exact same line while continuing to hold the spray trigger. Release the trigger and push the machine forward and backward once more over that same line to suck out the dirty liquid. Overlap each cleaning path by 2 inches to prevent striped cleaning lines. You’ll know this step worked when the clear recovery nozzle on the machine fills rapidly with dark, opaque water. A common mistake at this stage is pulling the machine backward too fast, which leaves excessive moisture trapped deep within the primary backing.
Step 6: Acidic Clean Water Rinse
Flush out remaining alkaline detergent residues by running a secondary extraction pass with your vinegar and water mixture.
Empty the dirty water recovery tank completely into a utility drain and rinse the bucket with clean tap water. Flush out the machine clean water reservoir and fill it with your prepared vinegar and hot water rinse mixture. Repeat the extraction process across the entire room, executing forward wet passes and backward extraction passes using only the acidic rinse solution. According to industry guidelines from the Institute of Inspection Cleaning and Restoration Certification, neutralizing high alkaline pH prevents sticky soap films from forming. You’ll know this step worked when the liquid entering the recovery nozzle runs clear and the carpet feels soft rather than slick to the touch.
Step 7: Final Dry Extraction and Pile Grooming
Extract remaining surface moisture using dry suction passes and groom the carpet pile for rapid evaporation.
Turn off the solution pump switch while leaving the vacuum motor running. Run the machine over the entire carpeted area using only dry suction passes, holding down no triggers. Perform multiple dry passes across high-traffic zones until you no longer see water pulling up through the clear nozzle tool. Take a clean carpet grooming rake or a soft-bristled broom and brush the carpet pile in a single unified direction. You’ll know this step worked when the carpet surface feels slightly damp to the touch rather than wet, and the individual tufts stand upright in a uniform alignment.
Step 8: Controlled Ventilation and Drying
Configure environmental airflow controls to evaporate residual moisture within the mandatory 6 to 12 hour drying window.
Open windows slightly to cross-ventilate the room, provided that outdoor humidity remains below 60 percent. Turn on ceiling fans to high speed and place portable floor fans on the floor facing downward at a 45-degree angle toward the carpet. Run your home HVAC system fan continuously or deploy a dedicated compressor dehumidifier inside the enclosed space. Keep all humans, pets, and furniture off the damp flooring until verification confirms the room is 100 percent dry. You’ll know this step worked when a moisture meter reads dry against the subfloor or when the carpet fibers feel completely room-temperature and dry across every seam. A common mistake here is closing all doors and windows in a humid room, which traps moisture vapor and triggers mold colony growth within 24 hours.
Step Summary Table
| Step | Action Summary | Time Required | Most Common Mistake |
| Step 1 | Pre-inspection and colorfastness test | 10 minutes | Skipping dye tests, causing color bleeding |
| Step 2 | Deep dry vacuuming | 15 minutes per room | Vacuuming too fast, leaving abrasive grit |
| Step 3 | Spot pre-treatment | 10 minutes | Scrubbing stains aggressively, fraying fibers |
| Step 4 | Solution preparation and priming | 10 minutes | Using boiling water, warping machine parts |
| Step 5 | Hot water extraction wet passes | 30 minutes per room | Pulling backward too fast, over-wetting pad |
| Step 6 | Acidic clean water rinse | 20 minutes per room | Skipping the vinegar rinse, leaving sticky soap |
| Step 7 | Final dry extraction and grooming | 15 minutes | Leaving machine pump running during dry passes |
| Step 8 | Controlled ventilation and drying | 6 to 12 hours | Replacing furniture early, causing rust stains |
Common Mistakes and How to Fix Them
Even experienced cleaners encounter issues if machine settings or drying parameters drift outside acceptable tolerances. Review the recovery procedures below to address common cleaning failures.
Over-Wetting the Carpet Backing
- Root Cause: Holding the solution spray trigger open too long during extraction or making excessive overlapping wet passes without corresponding dry extractions.
- Recovery: Immediately switch the machine to dry-only suction mode and make 3 consecutive passes over the saturated zone. Position floor fans directly over the area and run a dehumidifier to draw moisture up before delamination occurs.
Musty Odor Post-Clean
- Root Cause: The carpet stayed wet longer than the 12-hour drying threshold, allowing trapped moisture to foster bacterial growth in the jute or foam backing.
- Recovery: Mist the affected zone lightly with an antimicrobial enzyme spray diluted according to label directions. Crank up air movers to establish high-velocity cross-ventilation until the substrate dries completely.
Brown Stains Appearing During Drying
- Root Cause: Cellulosic browning occurs when deep-seated soil or backing tannins wick upward to the tips of the fibers during slow evaporation.
- Recovery: Spray a light mist of your acidic vinegar rinse solution across the brown spots and perform a slow dry-vacuum extraction pass to pull out the wicked discoloration.
Machine Loss of Suction
- Root Cause: The recovery tank lid is unsealed, the lint screen is blocked, or the internal float valve stack is jammed with debris.
- Recovery: Power off the machine, empty the recovery bucket, and clear the debris trap located near the float valve. Snug down the lid gaskets to restore a tight vacuum seal.
Variations for Different Carpet Fibers
Carpet construction materials dictate adjustments to water temperature, chemical pH, and extraction pressure. Review your fiber type before starting your project.
Synthetic Fibers (Nylon, Polyester, Olefin)
Synthetic fibers tolerate standard warm water temperatures up to 140°F and standard alkaline cleaning formulas well. You can use standard oxygen pre-treatments and normal extraction speeds because these fibers absorb minimal water and resist stretching when wet.
Natural Fibers (Wool and Silk)
Wool and silk require strict temperature limits under 110°F to prevent fiber shrinkage and structural distortion. Replace standard alkaline detergents with pH-neutral wool-safe cleaning concentrates, and minimize moisture retention by performing extra dry passes immediately after washing.
How Long Does It Take and What Does It Cost
Planning your project timeline and budget prevents rushed execution and incomplete drying cycles.
- Time Investment: Plan for roughly 2 hours of active labor for a single 10×12 foot room, followed by 6 to 12 hours of passive drying time where the room must remain vacant.
- Financial Cost: Renting a commercial-grade carpet extractor from a local hardware store typically costs $30 to $50 for a 24-hour period. Purchasing commercial cleaning concentrate, vinegar, and pre-treatment spray adds $25 to $40 in consumables, bringing total DIY project costs to $55 to $90. Hiring a professional service for the same square footage typically ranges from $150 to $250.
Frequently Asked Questions
Can I use laundry detergent in my carpet cleaning machine?
Never use household laundry detergent or dish soap in a carpet extractor. These products lack anti-foaming agents, which causes excessive sudsing that overflows the recovery tank, damages the vacuum motor, and leaves a sticky residue that attracts dirt rapidly.
How often should I steam clean my carpets?
Residential carpets in low-traffic areas should undergo hot water extraction every 12 to 18 months. Households with pets, children, or heavy foot traffic benefit from deep extraction every 6 to 12 months to preserve indoor air quality and fiber integrity.
Is hot water extraction the same as true steam cleaning?
True steam cleaning uses vaporized steam under high heat, which melts synthetic carpet backings and ruins residential floor coverings. Portable and truck-mounted carpet extractors actually use pressurized hot water extraction, injecting heated liquid and vacuuming it back up simultaneously.
What causes crunchy carpet after cleaning?
Crunchy carpet fibers result from leftover alkaline detergent residue drying on the strands. Performing an acidic rinse using a vinegar and water mixture neutralizes the soap chemistry, dissolving the crystal residue and leaving the carpet soft.
Can I walk on the carpet while it is drying?
Walking on damp carpet compresses the wet backing and transfers oils from your feet or socks directly into the vulnerable fibers, creating permanent footprints and dirty spots. Keep all traffic off the floor until moisture meters confirm 100 percent dryness.


