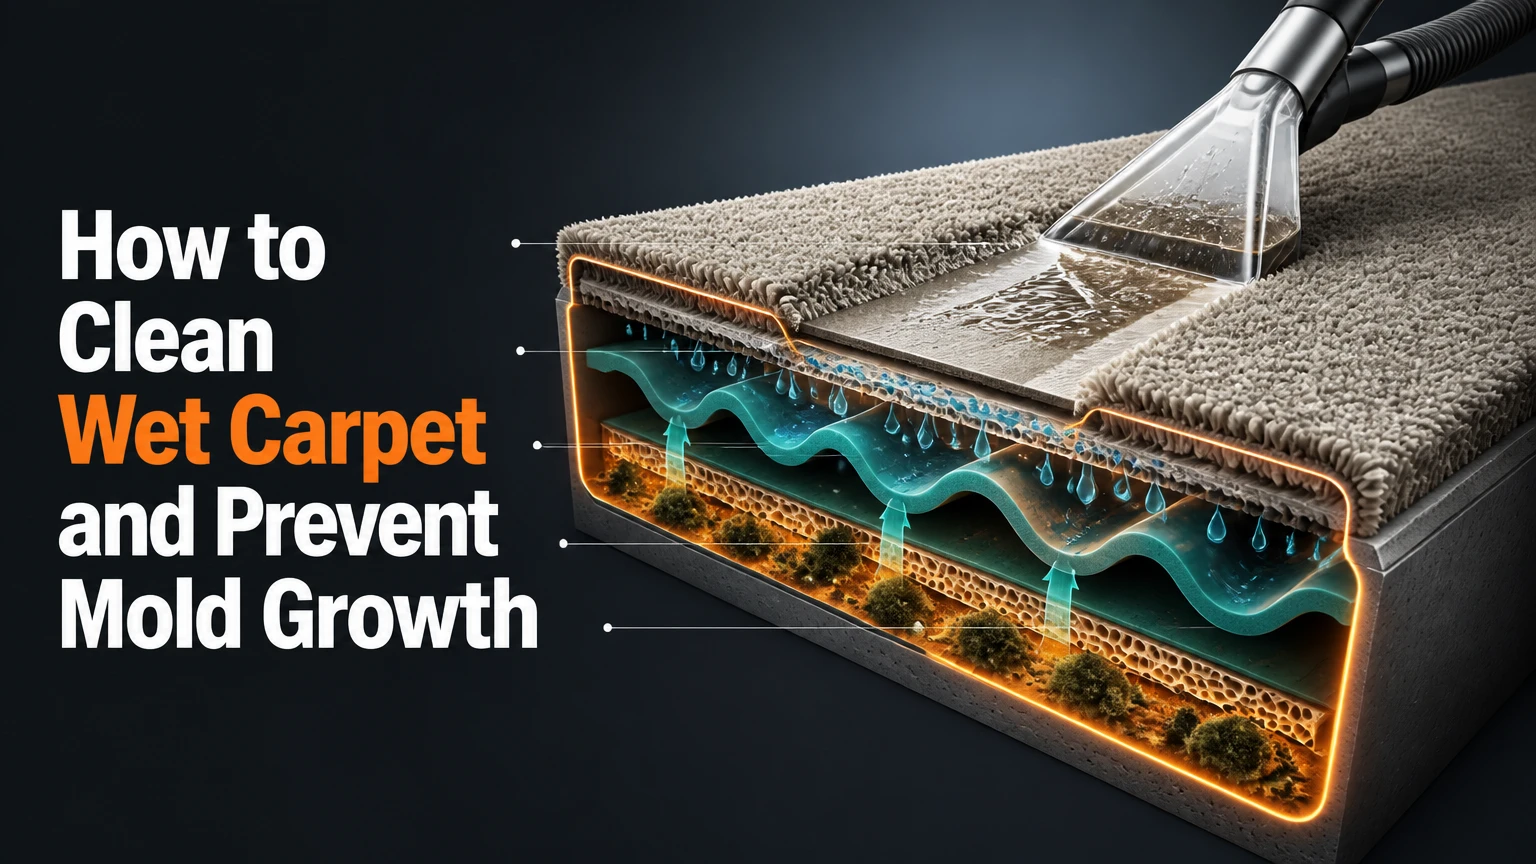
Knowing exactly how to clean wet carpet immediately is the only dependable way to stop toxic mold, foul odors, and permanent structural damage. You will assess the water source, extract standing moisture, sanitize the fibers, and force rapid evaporation. This medium-difficulty job takes 14-26 hours total, and your success depends almost entirely on starting the extraction within the first 24 hours.
Before You Start
Fast action stops mold spores from taking root in your subfloor. Gather your equipment before you begin. You cannot pause this process once started.
Time Required: 14-26 hours (2 hours active labor, 12-24 hours passive drying).
Difficulty Level: Medium.
Typical Cost: $30-$80 (assuming you own or can borrow a wet-dry vacuum).
Prerequisite Condition: The spill must originate from a clean water source (broken pipe, rain, spilled drink).
Required Tools and Materials
| Item | Quantity / Specification | Typical Cost | Purpose |
| Wet-Dry Vacuum | 1 unit (minimum 4 peak horsepower) | $0 – $60 (rental) | High-powered bulk water extraction. |
| Microfiber or Cotton Towels | 5 to 10 (must be 100% white) | $15 | Blotting residual moisture manually. |
| Baking Soda | 1 to 2 standard 450g boxes | $3 | Absorbing trapped odors and light moisture. |
| White Vinegar | 500 mL (diluted 1:1 with warm water) | $4 | Neutralizing bacteria naturally. |
| High-Velocity Fans | 2 units (axial or centrifugal) | $0 – $40 (rental) | Stripping away boundary layer moisture. |
| Dehumidifier | 1 standard residential unit | $0 – $50 (rental) | Pulling evaporated water from the air. |
| Stiff-Bristled Brush | 1 clean nylon scrub brush | $6 | Agitating fibers and breaking up dried powder. |
Process Summary
| Step | Action | Active Time | Most Common Mistake |
| Step 1 | Assess Safety and Clear Area | 10 mins | Leaving wooden furniture on wet fibers. |
| Step 2 | Extract Water with a Vacuum | 30 mins | Moving the vacuum nozzle too quickly. |
| Step 3 | Blot Residual Moisture | 15 mins | Using colored towels that bleed dye. |
| Step 4 | Sanitize and Deodorize | 5 mins | Soaking the carpet with too much vinegar. |
| Step 5 | Extract Dried Powder | 10 mins | Vacuuming before the baking soda dries. |
| Step 6 | Force Evaporate | 12-24 hours | Pointing fans straight down into the floor. |
Phase 1: Preparation and Safety
Your first objective is establishing a safe environment and preventing secondary damage to your belongings.
Step 1: Assess Water Safety and Remove Furniture
Clear all items from the wet zone immediately and verify the water category before proceeding.
According to the Institute of Inspection, Cleaning and Restoration Certification (IICRC) S500 Standard (2021), water damage falls into three categories. Category 1 is clean water from a broken supply pipe or rain. Category 2 is grey water from a washing machine or dishwasher. Category 3 is black water containing sewage or ground runoff. You can safely clean Category 1 and small amounts of Category 2 yourself. Do not touch Category 3 water. Call a professional mitigation team.
Once you confirm the water is clean, move all furniture off the wet flooring. If a heavy item cannot be moved, cut squares of aluminum foil or plastic wrap. Lift each furniture leg and slide the waterproof barrier underneath. Wood finish and metal rust transfer into wet carpet fibers within hours, causing permanent stains.
You’ll know it worked when the entire wet area is exposed and every remaining furniture leg is isolated from the moisture.
The most common mistake at this stage is walking across the carpet while wearing heavy shoes. Heavy traffic crushes the wet pile and pushes abrasive dirt deeper into the backing. Work barefoot or wear clean rubber-soled indoor slippers.
Phase 2: Water Removal
Extracting bulk water physically is always faster and more effective than waiting for it to evaporate.
Step 2: Extract Excess Water with a Vacuum
Press the vacuum nozzle firmly into the carpet and move slowly in overlapping straight lines.
Convert your wet-dry vacuum for liquid extraction by removing the pleated paper filter and inserting the foam wet sleeve. Turn the machine on. Press the standard wide utility nozzle down until you feel the carpet pile compress slightly against the subfloor. Pull the nozzle backward toward yourself at a strict rate of one inch per second. Moving slowly allows the motor time to lift water from the dense padding underneath.
Overlap each pass by fifty percent to ensure you leave no dry lanes. Continue extracting until you no longer see water pulling through the hose. Empty the vacuum canister every time it reaches the half-full mark to maintain maximum suction velocity.
You’ll know it worked when the vacuum no longer pulls visible water droplets, and the carpet feels merely damp rather than squishy under your hand.
The most common mistake is pushing the vacuum back and forth rapidly like a standard household upright vacuum. Avoid this by counting slowly to three for every foot you pull the nozzle back.
Step 3: Blot Residual Moisture Manually
Lay white towels over the damp area and press downward using your body weight to force moisture upward.
Spread clean, 100% white cotton or microfiber towels across the dampest sections. Step directly onto the towels. Your body weight compresses the carpet padding, forcing the deep, trapped moisture up into the absorbent towel fibers. Stand in one spot for ten seconds, then step to the next area. As soon as a towel feels heavy and saturated, replace it with a fresh, dry one. Continue this process until a fresh towel remains mostly dry after you stand on it.
You’ll know it worked when pressing a paper towel firmly into the carpet yields no wet spots.
The most common mistake is using dyed or colored towels. Water acts as a solvent, and the pressure from your body weight will cause cheap towel dye to bleed directly into your light-colored carpeting. Stick exclusively to white textiles.
Phase 4: Chemical Treatment
Organic matter in the fibers will begin to sour if left untreated during the final drying phase.
Step 4: Sanitize and Deodorize the Fibers
Mist the area lightly with diluted vinegar and dust a thin layer of baking soda over the top.
Mix 250 mL of plain white vinegar with 250 mL of warm water in a clean spray bottle. Hold the bottle twelve inches above the floor and mist the damp area lightly. Do not pour the mixture or soak the fibers. You only need to coat the surface. Immediately dust a very thin, even layer of baking soda over the vinegar mist. You will hear a slight fizzing sound as the alkaline baking soda reacts with the acidic vinegar. This chemical reaction breaks down odor-causing bacteria.
Let this mixture sit undisturbed for thirty minutes. The powder will absorb remaining surface moisture as it neutralizes the odors.
You’ll know it worked when the baking soda transitions from a damp paste to a dry, slightly crusty powder.
The most common mistake is dumping heavy piles of baking soda onto a carpet that is still soaking wet. Avoid this by ensuring you completed Step 3 thoroughly. Heavy powder on wet fibers creates a stubborn concrete-like paste that ruins vacuum motors.
Phase 5: Final Drying and Recovery
Removing the bound moisture from the air prevents secondary mold growth on your walls and ceilings.
Step 5: Extract the Dried Sanitizer
Vacuum up the dried baking soda crust using slow, deliberate passes on the dry setting.
Reinstall the paper dust filter inside your wet-dry vacuum and ensure the canister is completely dry. Turn the machine on. Use the brush attachment or the standard floor nozzle to agitate the carpet fibers and suck up the dried baking soda. If patches of powder feel slightly stuck, agitate them gently with a stiff-bristled nylon brush before vacuuming. Go over the entire area three times in alternating directions (north-south, then east-west) to lift the pile back to its original fluffy texture.
You’ll know it worked when the carpet color looks uniform and no white powdery residue remains between the fiber tufts.
The most common mistake is vacuuming while the baking soda is still damp. Avoid this by touching the powder with your bare finger. If it feels cool or sticks to your skin, wait another twenty minutes before vacuuming.
Step 6: Force Evaporation and Dehumidify
Position fans to blow horizontally across the surface while running a dehumidifier in the center of the sealed room.
Set up your high-velocity fans at the edges of the wet area. Angle them so the air blows across the surface of the carpet at a 15-degree to 45-degree angle. This creates a vortex that continuously strips away the microscopic layer of humid air resting just above the wet fibers. Place your dehumidifier in the center of the room and set it to its highest continuous setting. Close all windows and doors to the room. The fans will push moisture into the air, and the dehumidifier will extract it, pulling the water down the drain hose or into its reservoir.
Leave this system running for 12 to 24 hours. The Environmental Protection Agency (EPA) 2012 guidelines state that mold can begin growing on damp organic materials within 24 to 48 hours. Speed is your ally.
You’ll know it worked when the carpet feels completely dry to the touch, and the room smells fresh rather than humid or swampy.
The most common mistake is pointing the fans straight down into the carpet. Pointing air downward simply traps the moisture in the padding. Always direct the airflow horizontally across the floor to maximize vapor pressure differences.
Common Mistakes and How to Fix Them
Even with careful execution, environmental factors can cause complications. Here are the most frequent failures and exact recovery protocols.
Using Heat to Speed Up Drying
Applying direct heat from a hair dryer or space heater is incredibly destructive. The Carpet and Rug Institute (CRI) 2019 guidelines warn that synthetic carpet fibers (like nylon and polyester) can warp or melt when exposed to temperatures exceeding 150°F (65°C). Heat also bakes existing dirt permanently into the dye sites of the fibers.
How to Fix It: Turn off all heat sources immediately. Switch entirely to high-velocity airflow (fans) and mechanical dehumidification. If you already melted the fibers, the damage is structural. You will need to hire a professional to cut out the melted section and patch it with remnant carpet.
The Carpet Smells Musty After 24 Hours
If a damp, dirty sock odor lingers after a day, your padding or wooden subfloor is still retaining water. This usually happens when the spill was larger than estimated, or the room’s humidity remained too high during the drying phase. The Federal Emergency Management Agency (FEMA, 2010) advises keeping indoor relative humidity below 60% during structural drying to prevent this exact issue.
How to Fix It: Go to the nearest corner of the room and grip the carpet with pliers. Pull the carpet up and away from the tack strip. Fold it back to expose the foam padding. If the padding is soaked, cut out the wet square with a utility knife and throw it away (padding is cheap and holds mold easily). Spray the wooden subfloor lightly with straight vinegar. Position a fan to blow directly under the floating carpet layer for another 12 hours.
Baking Soda Turned Into a Hard Paste
This occurs when you apply a thick layer of powder to a carpet that still contains standing water. The baking soda absorbs the water, expands, and cures into a hardened plaster.
How to Fix It: Do not try to rip the crust out, as this will tear the carpet fibers. Fill a spray bottle with warm water and mist the crust lightly to soften it. Take your stiff-bristled nylon brush and work it into the paste using short, rapid strokes. As the paste breaks apart into small crumbs, suck them up immediately with your wet-dry vacuum. Repeat the misting and scrubbing until the fibers are clean.
The Fibers Feel Stiff or Crunchy
Crunchy carpet means chemical residue remains on the fibers. This usually happens if you spray too much vinegar in Step 4, or if the initial spill contained soap, sugary soda, or cleaning detergents.
How to Fix It: Mist the stiff area lightly with clean, warm water. Press a fresh white towel into the spot to blot up the re-hydrated residue. Repeat this rinse-and-blot cycle three times. Fluff the fibers with your fingers while they are still damp, then let the area air dry.
Process Variations for Different Scenarios
Your exact approach should shift based on the tools available and the scale of the water intrusion.
Variation 1: Drying Without a Wet-Dry Vacuum
If you do not own a shop vacuum and cannot rent one, you must rely entirely on manual extraction. Triple your supply of white towels. Fold a towel in half, place it over the spill, and stand on a heavy, flat object (like a plastic cutting board) placed over the towel. The rigid board distributes your weight evenly, pressing more moisture out of the padding than your feet alone. You will need to change towels frequently and increase your fan drying time by at least 12 hours.
Variation 2: Large-Scale Flooding
If a pipe bursts and floods the entire room with an inch of water, DIY methods are insufficient. Water this deep compromises the tack strips, ruins the padding, and wicks up the drywall. In this scenario, you must rent a commercial carpet extractor and an industrial LGR (Low Grain Refrigerant) dehumidifier. You will likely need to disengage the carpet from the walls, discard all the padding, and dry the carpet fibers by “floating” them on a cushion of air powered by centrifugal air movers.
How Long Does It Take and What Does It Cost?
The timeline for restoring your floor depends strictly on the volume of water and your drying setup.
| Equipment Setup | Estimated Drying Time | Best Used For |
| Towels + Ceiling Fan | 36-48 hours | Small spills (under 1 cup) |
| Wet-Vac + Box Fans | 24-36 hours | Medium spills (plant overwater, dog bowl) |
| Wet-Vac + High-Velocity Fans + Dehumidifier | 12-24 hours | Large leaks (appliance failure, rain through window) |
Renting a wet-dry vacuum typically costs $30 per day at a local hardware store. High-velocity carpet fans rent for $25 to $40 per day. Buying the baking soda, vinegar, and a scrub brush will cost less than $15. If you already own the mechanical equipment, your total out-of-pocket cost will remain under $20.
Frequently Asked Questions
Can I use a regular household vacuum to suck up water?
No. Standard upright vacuums have electrical motors exposed to the air path. Sucking water into a standard vacuum will destroy the motor instantly and presents a severe risk of fatal electric shock. Only use vacuums specifically branded and rated for wet extraction.
Should I replace the carpet padding after a leak?
If the spill was small and contained within a few square feet, you can usually extract the water successfully. If the leak covered a large area or saturated the floor for more than a few hours, the dense foam padding will harbor mold. Cutting out and replacing the affected padding is safer and cheaper than replacing the entire carpet later.
How do I know if the subfloor is damaged?
Press firmly on the carpet. If the floor beneath feels spongy, sags, or squeaks significantly more than usual, the wooden subfloor has absorbed water. You must pull the carpet back and run fans directly on the wood for 48 hours to prevent structural rot.
Does professional carpet cleaning fix water damage?
Standard hot water extraction (steam cleaning) adds moisture to the fibers and is not a water mitigation technique. While professionals have excellent extraction vacuums, you should specify you need “water damage restoration” rather than a routine carpet cleaning service.
Will opening windows dry the carpet faster?
This depends entirely on the outdoor weather. If it is a sunny, breezy day with low humidity (under 50%), opening windows helps. If it is raining, humid, or cold outside, opening windows introduces more moisture to the room. When in doubt, close the windows and rely on an indoor dehumidifier.
Mastering how to clean wet carpet correctly requires physical effort and the right mechanical tools, but it saves thousands of dollars in replacement costs. Act quickly, extract aggressively, and control the humidity to restore your floor perfectly on the first attempt.


