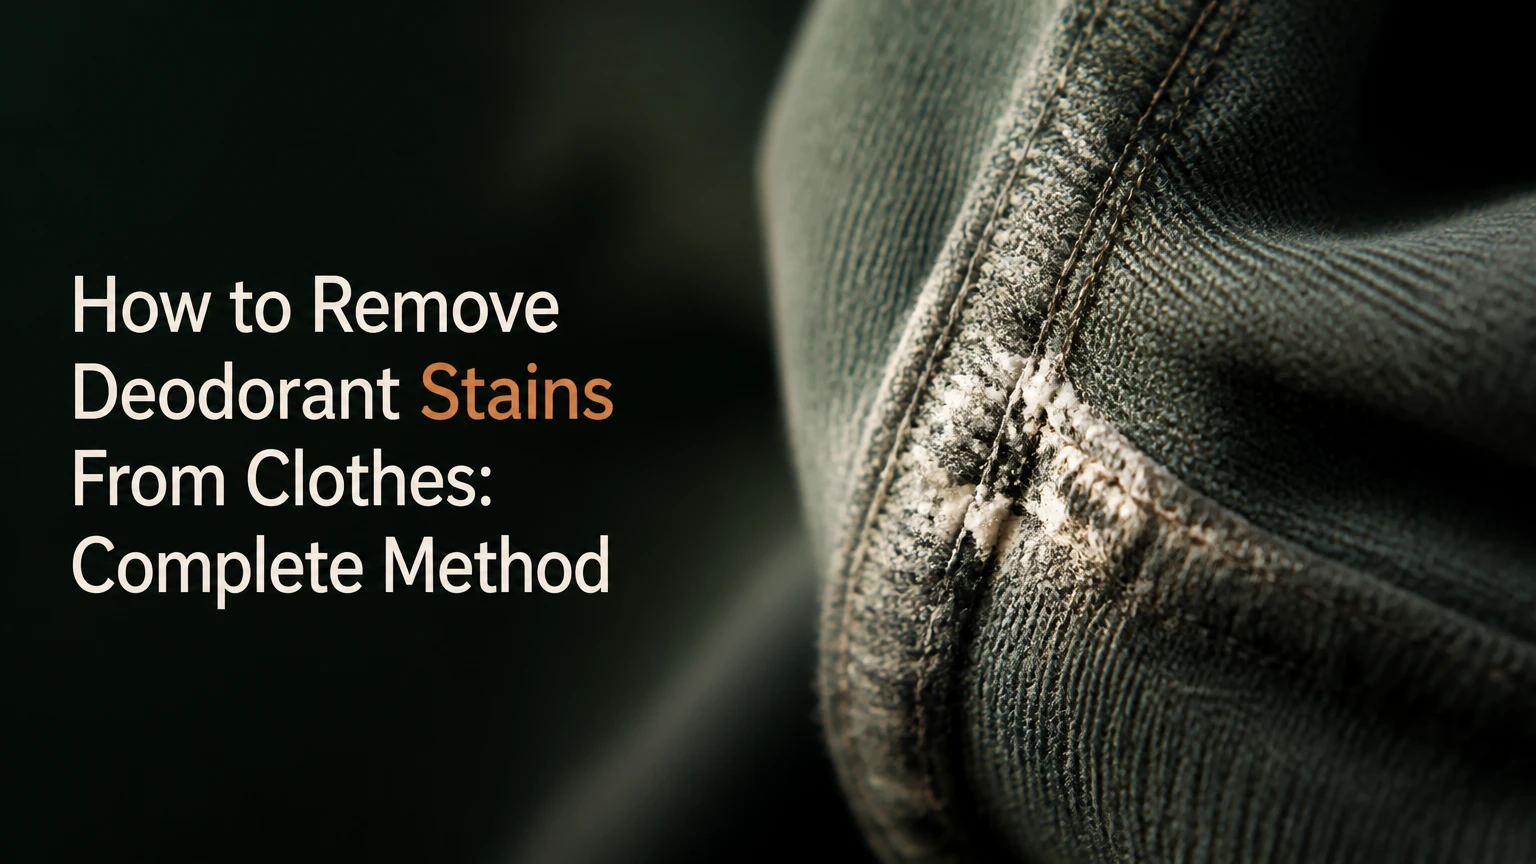
To remove deodorant stains from clothes, first dry-rub fresh white marks, then pre-treat older yellow or stiff buildup with liquid laundry detergent, diluted vinegar, oxygen bleach, or carefully tested hydrogen peroxide. Wash according to the care label, inspect before drying, and repeat treatment if residue or odor remains.
Key Facts at a Glance
- Fresh white deodorant marks usually come off with a dry microfiber cloth or clean fabric.
- Yellow underarm stains commonly contain antiperspirant residue, sweat proteins, body oils, and detergent deposits.
- Oxygen bleach is generally the most versatile soaking option for washable, colorfast garments.
- Hydrogen peroxide can lighten colored fabric and damage silk, wool, and other protein fibers.
- Heat from a dryer or iron can make remaining discoloration harder to remove.
- Vinegar and baking soda should not be mixed in the same treatment because their acid and alkaline properties largely neutralize each other.
Identify the Stain Before Treating It
Fresh white streaks require dry removal, while yellow, gray, stiff, or smelly underarm patches require wet pre-treatment before laundering. The garment’s color, fiber, care label, and exposure to dryer heat determine which stain remover is appropriate.
A white mark that appeared while dressing is usually a surface film from a stick, gel, cream, or aerosol product. It has not bonded deeply to the fibers, so adding water immediately can spread the material through the knit. A dry cloth, hosiery, microfiber towel, or purpose-made deodorant sponge is the lowest-risk first response.
A yellow patch usually reflects accumulated residue rather than a single application. Antiperspirants may contain aluminum salts that combine with sweat moisture, skin oils, proteins, and textile finishes. Repeated washing can remove the loose material while leaving a stiff mineral-organic layer around the yarns.
Quick stain diagnosis
| Appearance | Likely material | First treatment | Typical time |
|---|---|---|---|
| Powdery white streak | Surface deodorant film | Dry microfiber cloth | 10-30 seconds |
| Gray, waxy underarm area | Deodorant, oil, detergent residue | Liquid laundry detergent | 15-30 minutes |
| Pale yellow cotton patch | Sweat and antiperspirant buildup | Oxygen bleach soak | 1-6 hours |
| Hard yellow crust | Mineral and organic accumulation | Detergent followed by oxygen bleach | 2 treatment cycles |
| Persistent odor with little color | Trapped body oils and bacteria-related residue | Enzyme detergent or oxygen bleach | 30 minutes to 4 hours |
Do not assume every yellow underarm mark comes from deodorant. Sweat, skin oils, fabric softener, sunscreen, perfume, and iron in water can contribute. The correct treatment still begins with a care-label check and a hidden color test.
Why Do Deodorant Stains Form?
Deodorant stains form when product ingredients combine with sweat, body oils, and textile fibers, while antiperspirant aluminum salts can contribute to the stiff residue associated with underarm buildup. Sweat alone is not the only cause, and the exact color depends on the product formula, garment fiber, washing routine, and time.
Deodorant primarily controls odor through fragrance and antimicrobial ingredients. Antiperspirant products reduce wetness with active ingredients such as aluminum chlorohydrate or aluminum zirconium compounds. Those ingredients can leave a pale film, especially when a product has not dried before the garment contacts the skin.
Cotton absorbs moisture and oils readily, so cotton shirts often develop visible yellow or gray patches. Polyester absorbs less water but can retain oily compounds and odor near the surface. A blend can therefore show a hard-to-remove mark even when the fabric looks clean elsewhere.
Repeated dryer cycles create a separate problem. Heat does not necessarily create the original stain, but it can dry remaining oil and protein residue onto the yarns, reducing the effectiveness of later surface treatments. For that reason, stain inspection must happen before the garment enters a heated dryer.
What Tools, Quantities, and Time Do You Need?
A basic treatment requires liquid laundry detergent, a soft toothbrush or laundry brush, cool or lukewarm water, and a clean towel. Add white vinegar, color-safe oxygen bleach, or 3% hydrogen peroxide only after checking the fiber and testing an inconspicuous area.
| Material or product | Working quantity | Contact time | Typical household cost |
|---|---|---|---|
| Liquid laundry detergent | 1-2 teaspoons per underarm area | 15-30 minutes | $0.10-$0.50 |
| White vinegar solution | 1 part vinegar to 2 parts water | 15-30 minutes | $0.10-$0.40 |
| Baking soda paste | 2 tablespoons soda plus 1 tablespoon water | 30-60 minutes | $0.05-$0.25 |
| 3% hydrogen peroxide | Enough to saturate the mark, usually 1-2 tablespoons | 10-20 minutes | $0.20-$1 |
| Color-safe oxygen bleach | Label-directed scoop in 2-4 liters of water | 1-6 hours | $0.50-$2 |
| Microfiber cloth | 1 dry cloth | 10-30 seconds | $1-$5 reusable |
The safest starting product is liquid laundry detergent because surfactants can loosen oils and product film without the color-changing risk associated with peroxide. Baking soda can help with odor and mild abrasion, but it is not a substitute for a detergent or oxygen-bleach treatment on heavy mineral buildup.
Before you start
- Read the care label and identify cotton, polyester, rayon, silk, wool, or a blend.
- Test every non-detergent treatment on an inside seam.
- Place a white towel behind the stained area to prevent transfer.
- Avoid chlorine bleach unless the label and a textile professional specifically approve it.
- Do not combine vinegar, hydrogen peroxide, chlorine bleach, ammonia, or commercial products unless the label expressly permits the combination.
Step 1: Remove Fresh White Marks While the Garment Is Dry
Rub a fresh white streak with a dry microfiber cloth, clean nylon stocking, soft towel, or purpose-made deodorant sponge for 10-30 seconds. Use short downward strokes rather than soaking the area, because water can dissolve and spread a surface film into the fabric.
Support the garment from behind with one hand. Work from the outside of the mark toward the center, then shake or brush away loosened flakes. A clean pair of denim jeans can remove a mark from sturdy cotton in an emergency, but denim may transfer dye to white, pale, or delicate clothing.
You’ll know it worked when: the white haze disappears and the fabric returns to its original texture without a damp ring.
Common mistake: using a wet paper towel first. Wet rubbing often enlarges a water-soluble mark and pushes it deeper into a knit or fleece surface.
Do not use firm pressure on silk, satin, lace, merino wool, or loosely knitted garments. Surface abrasion can create shiny patches, fuzz, pilling, or pulled threads even when the stain disappears.
Step 2: Flush Loose Residue From Older Buildup
Turn the garment inside out and rinse the underarm area with cool or lukewarm running water from the reverse side. Apply 1-2 teaspoons of liquid laundry detergent directly to each patch, press it into the fibers with your fingers, and leave it for 15-30 minutes.
Reverse-side rinsing pushes loosened material outward instead of driving it farther into the garment. A soft toothbrush may help on sturdy cotton, but use fingertip pressure on polyester jersey, rayon, and fine knits.
You’ll know it worked when: the patch feels less waxy or stiff and the surface no longer sheds visible flakes.
Common mistake: scrubbing a dry, hardened crust aggressively. First soften the layer with water and detergent; abrasive force can break fibers without removing the underlying residue.
Wash the garment at the warmest temperature permitted by the care label. A cooler cycle protects dyes and elastane, while a warmer permitted cycle can improve oil removal from white cotton. The label controls the temperature, not the stain.
Step 3: Treat Light Yellowing With Diluted White Vinegar
For washable cotton or colorfast synthetic garments with light yellowing, apply a solution of 1 part white vinegar to 2 parts water for 15-30 minutes, rinse thoroughly, and launder immediately. Test the dye first because acid-sensitive or poorly fixed colors may fade or shift.
Saturate only the affected area rather than pouring vinegar over the whole shirt. Gently press the solution into the fabric, then rinse until the vinegar smell is substantially reduced. White vinegar can help loosen alkaline mineral deposits and reduce odor, but it is not a guaranteed solvent for old antiperspirant buildup.
You’ll know it worked when: the fabric feels softer and the yellow area looks lighter before washing.
Common mistake: leaving concentrated vinegar on the garment for several hours. Longer exposure does not guarantee better cleaning and may affect dyes, elastic, metallic trims, or finishes.
Never mix vinegar with baking soda in the same bowl and expect a stronger stain remover. The acid and alkaline powder react quickly, producing carbon dioxide and a relatively mild solution after the visible fizz subsides. Use one treatment, rinse, then evaluate before choosing another.
Step 4: Use a Baking Soda Paste for Odor and Mild Residue
For sturdy cotton and white or colorfast casualwear, spread a paste made from 2 tablespoons of baking soda and approximately 1 tablespoon of water over the stain. Leave it for 30-60 minutes, brush or rinse it away gently, and wash the garment without allowing the paste to dry into a hard layer.
Baking soda provides mild alkalinity and limited abrasive action. It is more useful for odor and surface residue than for deeply cured aluminum-containing buildup. A small amount of liquid detergent in the paste can improve oil removal, but detergent remains the active cleaning component.
You’ll know it worked when: the odor decreases and the paste rinses away without leaving a powdery outline.
Common mistake: using a stiff brush or a dry paste on thin fabric. Crystalline powder can abrade rayon, silk, wool, and fine polyester surfaces.
Do not use this method on silk, wool, leather, suede, or garments marked dry-clean-only. Protein fibers can become rough, distorted, or permanently damaged by alkaline products and friction.
Step 5: Apply 3% Hydrogen Peroxide Only After a Color Test
Use ordinary 3% hydrogen peroxide on white, washable cotton for persistent yellowing, but test it first and limit contact to 10-20 minutes. Hydrogen peroxide can lighten dyes and weaken some fibers, so it is a poor first choice for dark clothing, silk, wool, leather, and garments containing delicate trims.
For a white cotton shirt, mix 2 parts 3% hydrogen peroxide with 1 part liquid dish soap or laundry detergent, apply enough to cover the patch, and gently work it into the fibers. Rinse after 10-20 minutes, then wash according to the care label.
You’ll know it worked when: the yellow color fades without a pale halo or change in the surrounding fabric.
Common mistake: assuming peroxide is harmless because it is sold as a first-aid product. Household peroxide is an oxidizer, and oxidizers can change textile dyes.
Do not store a peroxide mixture in a sealed container. Prepare only the amount required for one treatment and discard leftovers. Never combine hydrogen peroxide with vinegar in the same container, since the resulting peracetic acid can irritate skin and damage materials.
Step 6: Soak Washable Garments in Oxygen Bleach
For set-in yellow or gray underarm buildup, dissolve a color-safe oxygen bleach in 2-4 liters of water according to the product label, then soak the garment for 1-6 hours. Oxygen bleach is usually the best broad-use option for colorfast cotton and many synthetic garments because it can treat discoloration across a larger area without the immediate dye risk of peroxide.
Use the product’s stated water temperature and concentration. Powdered oxygen bleach often dissolves more effectively in warm water, but the garment label takes priority. Keep the item fully submerged and rinse it before the normal wash cycle.
You’ll know it worked when: the stain lightens during the soak and the fabric loses its stiff underarm feel after washing.
Common mistake: using oxygen bleach as a concentrated paste on an untested dark garment. Concentrated oxidizer can produce uneven light spots even when the diluted soak is color-safe.
| Treatment | Best garment match | Main benefit | Main limitation |
|---|---|---|---|
| Detergent pre-treatment | Cotton, polyester, blends | Loosens oil and product film | May not remove old yellowing alone |
| Diluted vinegar | Light yellowing on tested cotton | Helps with mineral residue and odor | Can affect sensitive dyes |
| Baking soda paste | Odor and mild surface buildup | Low cost and mild alkalinity | Harder to rinse, limited on cured stains |
| 3% peroxide mixture | White cotton | Oxidizes yellow discoloration | Can lighten colors and harm protein fibers |
| Oxygen bleach soak | Colorfast washable garments | Broad, deep treatment | Requires testing and a longer soak |
| Enzyme detergent | Organic sweat and oil residue | Breaks down protein or oily soils | Does not directly dissolve every mineral deposit |
Step 7: Wash, Inspect, and Air-Dry Before Using Heat
Wash the treated garment with a normal dose of liquid laundry detergent, using the warmest care-label-approved cycle. Inspect both underarms in strong light while the garment is still damp, then air-dry it until you confirm the discoloration and odor are gone.
A washing machine removes loosened residue; it does not reliably remove a hardened patch that received no pre-treatment. Run a second treatment if the fabric still feels stiff or the stain remains visible. Two mild cycles are safer than one highly concentrated chemical application.
You’ll know it worked when: the fabric is flexible, the color matches the surrounding area, and no odor returns after complete drying.
Common mistake: transferring the garment directly to a hot dryer because the stain looks improved. Dryer heat can set the residue that remains invisible while the fabric is wet.
Ironing has the same risk in a concentrated area. Keep the garment away from heat until the underarm panels pass a dry inspection.
Which Method Fits Your Garment?
The safest stain remover depends more on fiber and dye stability than on the apparent darkness of the mark. Detergent is the lowest-risk starting point, oxygen bleach offers the broadest treatment for washable colorfast items, and peroxide is mainly a white-cotton option.
| Garment situation | Preferred method | Avoid first | Treatment limit |
|---|---|---|---|
| White cotton T-shirt | Detergent, oxygen bleach, optional peroxide | Chlorine bleach | 1-2 cycles before reassessment |
| Black polyester athletic top | Detergent and cool rinse | Peroxide and concentrated bleach | Use sports detergent for odor |
| Colored cotton shirt | Detergent, tested oxygen bleach | Untested peroxide | Patch-test inside seam |
| Silk blouse | Professional cleaner | Vinegar, soda, peroxide, scrubbing | Stop at the care label |
| Wool sweater | Wool detergent and professional care | Alkaline paste and oxidizers | Avoid soaking unless label permits |
| Rayon or viscose dress | Care-label treatment only | Wet abrasion and peroxide | Shape may distort when wet |
Dark polyester and athletic clothing
For black or colored polyester, apply liquid detergent to the inside of the underarm area for 15 minutes, rinse cool, and wash promptly. A sports detergent can help with oily odor, but test fragrance-heavy or enzyme-rich formulas because some finishes react unpredictably.
Do not use peroxide simply because the mark looks yellow. On dark polyester, the treatment can replace a visible stain with a permanent lighter patch. If odor persists, repeat detergent treatment or use a label-approved oxygen bleach designed for colors.
Silk, wool, rayon, and dry-clean-only garments
Take silk, wool, structured rayon, lined tailoring, and dry-clean-only clothing to a qualified cleaner instead of experimenting with household acids or oxidizers. Point out the underarm location and identify the deodorant or antiperspirant used if known.
Professional cleaning cannot guarantee removal after repeated heat exposure, but it avoids the additional damage caused by alkaline powders, rough brushes, and uncontrolled wetting. Do not rub, soak, wring, or iron these garments while deciding what to do.
Common Mistakes and How to Fix Them
Chlorine bleach darkens or intensifies some yellow stains
Chlorine bleach can react with sweat-related proteins and may produce a stronger yellow or brown appearance. If chlorine bleach caused the change, rinse the garment thoroughly, stop further bleaching, and consult the care label before trying a color-safe oxygen product.
Vinegar and baking soda are used together
The visible fizz is not proof of superior stain removal. Rinse the garment completely, allow it to dry away from heat, and select either a diluted vinegar treatment or a detergent and oxygen-bleach treatment based on the fabric.
A dryer is used before inspection
Rewash only after applying a proper pre-treatment. A stain that survived heat may require two or three short treatment cycles, and some discoloration becomes permanent when the fiber or dye has already changed.
A brush damages the textile surface
Stop brushing when fuzz, shine, or pulled yarns appear. Rinse the area, allow it to dry, and assess whether the damage is mechanical rather than chemical. A cleaner may reduce the visual contrast, but missing fibers cannot be washed back into place.
Too much detergent leaves a new residue
Excess detergent can trap soil and create a stiff underarm panel. Run an extra rinse, then use the manufacturer’s normal dose in the next wash. More product is not automatically more cleaning power.
The stain is treated without a hidden test
If a pale ring or color shift appears, rinse immediately with cool water and stop the treatment. Record the product used, because a cleaner will need that information to select a compatible correction process.
What If the Stain or Smell Remains?
A remaining stiff patch indicates that residue is still attached to the fibers, while persistent odor usually indicates retained body oils, product film, or microbial byproducts. Repeat detergent pre-treatment followed by an approved oxygen-bleach soak rather than escalating immediately to concentrated chemicals.
For odor on washable cotton or synthetic clothing, apply liquid detergent for 15-30 minutes and wash promptly. If the care label permits, follow with a color-safe oxygen-bleach soak lasting 1-4 hours. Baking soda may reduce odor, but it is less reliable than detergent for removing the oily material that holds odor molecules.
A yellow mark that remains after two complete treatment cycles may be permanent dye alteration, fiber damage, or heat-cured residue. At that point, additional peroxide, vinegar, or abrasive scrubbing is more likely to damage the garment than restore it.
When should you stop treating the garment?
Stop home treatment when the garment is dry-clean-only, the dye bleeds during the patch test, the fabric develops a halo, or the surface begins to pill or weaken. Professional cleaning is also appropriate for expensive tailoring, silk, wool, uniforms with bonded details, and garments with complex linings.
How Can You Prevent Underarm Stains?
Prevent deodorant stains by allowing the product to dry fully, applying a thin layer, washing worn garments promptly, and keeping antiperspirant residue from curing in a closed hamper. Prevention reduces the amount of aluminum, oil, sweat, and protein that accumulates between washes.
| Prevention habit | Practical specification | Why it helps |
|---|---|---|
| Dry before dressing | Wait 3-5 minutes | Reduces wet transfer to fabric |
| Apply a thin layer | Follow the package dose | Leaves less surface residue |
| Wash worn shirts | Within 24-48 hours | Prevents residue from curing |
| Rotate high-use garments | Avoid consecutive daily wear | Allows complete drying between uses |
| Air-dry after washing | Inspect before machine drying | Prevents heat-setting |
| Use an undershirt | Lightweight cotton or moisture-wicking layer | Moves residue away from outer clothing |
Aluminum-free deodorant may reduce mineral residue, but it does not eliminate all marks. Fragrance oils, waxes, colorants, sweat, and skin oils can still transfer. Clear gel products may leave less visible powder than white solid sticks, but drying time and application quantity remain more important than package color.
Athletic garments need prompt washing because polyester can retain oily odor even when it appears clean. Do not leave sweaty synthetic clothing compressed in a dark hamper for several days, especially after heavy antiperspirant use.
FAQ
Can toothpaste remove deodorant stains from clothing?
Toothpaste is not a dependable textile stain remover because formulas contain abrasives, humectants, flavoring agents, and sometimes dyes. Use liquid laundry detergent instead, since its surfactants are designed to emulsify oils and suspend soil for rinsing. Toothpaste residue can leave a pale or gritty outline on dark fabric.
Does lemon juice remove yellow armpit stains?
Lemon juice may lighten some discoloration through acidity and sunlight, but the result is difficult to control and can create uneven bleaching. Lemon juice is especially risky on dyed, delicate, or elastane-containing clothing. A diluted, tested vinegar treatment or color-safe oxygen bleach provides more predictable control.
Can I remove deodorant stains after the shirt has gone through the dryer?
You can often reduce dryer-set deodorant stains, but complete removal is less certain. Apply liquid detergent for 30 minutes, rinse, then use a label-approved oxygen-bleach soak for 1-6 hours. Air-dry after washing and repeat once if the fabric remains intact.
Why do some deodorants stain black shirts white?
Black shirts show white marks because solid or powder-based deodorant ingredients remain on the dark surface after application. Dry rubbing usually removes fresh transfer, while water can spread it into the knit. Applying less product and waiting 3-5 minutes before dressing reduces contact transfer.
Will washing soda remove underarm stains?
Washing soda is more alkaline and stronger than baking soda, so it can loosen oily soil on sturdy, colorfast fabrics. It may damage delicate fibers, affect dyes, or leave residue if poorly rinsed. Use liquid detergent first and reserve washing soda for garments whose care label permits alkaline laundry additives.
How many times should I repeat a stain treatment?
Repeat a mild treatment once after a complete wash and inspection. Two or three total cycles are a practical limit for ordinary washable clothing; repeated peroxide, acid, or abrasive applications can weaken fibers or create color halos. Seek professional care when the garment is valuable or the stain does not change.
The Bottom Line
To remove deodorant stains from clothes, dry-rub fresh white transfer, pre-treat older buildup with liquid detergent, and choose vinegar, oxygen bleach, or 3% hydrogen peroxide according to the garment’s fiber and color. Wash at the care-label temperature, air-dry for inspection, and avoid chlorine bleach, heat, and aggressive scrubbing until the stain is gone.


