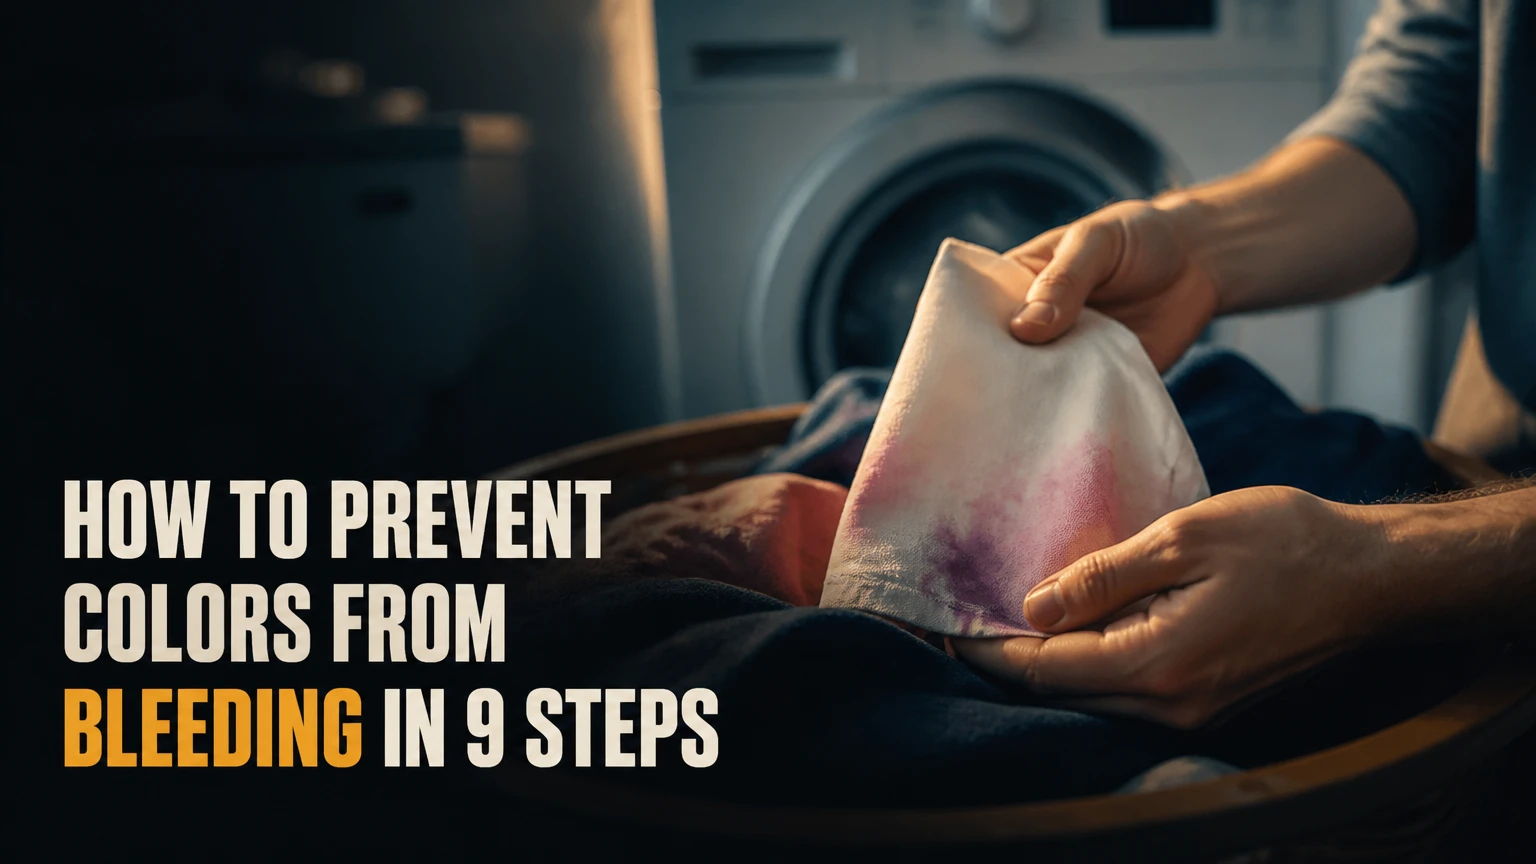
To prevent colors from bleeding in laundry, sort high-risk garments, test new dyes, wash in cool water with low agitation, use the correct detergent dose, and remove clothes promptly. Keep new reds, dark denim, saturated cottons, and multicolor garments away from whites until they pass a colorfastness test.
Key Facts at a Glance
- Laundry color bleeding occurs when loose dye moves from one wet textile to another.
- Sorting is the only dependable way to protect white clothing from an unstable dark or bright dye.
- Cold water reduces dye release, but cold washing cannot make a poorly fixed dye colorfast.
- A color-catching sheet can capture loose dye in wash water, but it cannot prevent direct contact transfer.
- Heat from a dryer can make transferred dye harder to remove, so inspect a suspected bleed before drying.
- Vinegar and table salt are not universal dye-setting treatments for finished clothing.
Before You Start: Time, Cost, and Supplies
A normal prevention load takes about 5-10 minutes of preparation plus the machine cycle. The routine requires no special product, although a color-catching sheet typically costs about $0.10-$0.30 per sheet, depending on brand and pack size.
| Item | Typical amount | Purpose | Approximate cost |
|---|---|---|---|
| Mild or standard laundry detergent | Label dose for load size | Removes soil without unnecessary residue | $0.10-$0.40 per load |
| White cotton cloth or paper towel | 1 piece, 5-10 cm square | Tests hidden dye transfer | Under $0.05 |
| Color-catching sheet | 1 sheet per normal load | Captures some loose dye | $0.10-$0.30 |
| Oxygen bleach, if needed | Product-label dose | Treats dye transfer on compatible fabrics | $0.20-$0.80 per treatment |
| Mesh laundry bag | 1 per delicate item | Reduces rubbing and snagging | $1-$5 reusable |
Check the care label before adding any treatment. “Dry clean only,” “wash separately,” “hand wash,” wool, silk, leather trim, bonded prints, and garments with unstable embellishments need a more conservative procedure.
Why Do Colors Bleed in the Wash?
Colors bleed when dye that is not firmly held by a fiber dissolves or detaches in wash water and contacts another garment. Water, heat, alkalinity, detergent surfactants, time, and mechanical rubbing all influence the amount of dye that leaves the textile.
Dye behavior depends on the fiber and dye class. Reactive dyes are commonly used on cotton and can be very washfast when properly fixed, while direct dyes may release more easily. Acid dyes used for wool and silk require different care from dyes applied to polyester. A red cotton shirt, raw denim jacket, and black polyester athletic top may therefore react differently in the same washer.
“Hot water opens fabric pores” is an oversimplification. Textile fibers do not behave like containers with pores that open and close during an ordinary wash. Higher temperature can increase dye solubility, accelerate chemical reactions, swell some fibers, and increase color movement, but dye fixation and fabric construction remain equally important.
Bleeding is different from fading. Bleeding transfers color to another surface; fading reduces the original garment’s color through washing, light, abrasion, or bleaching. Dry rubbing that leaves black or blue marks is called crocking, and a garment that crocks may transfer color before it enters a washing machine.
How to Prevent Colors From Bleeding in Laundry
The most reliable protocol has nine actions: read the label, identify risky garments, test hidden dye, sort by color, reduce friction, use cool water, dose detergent correctly, add a catcher when appropriate, and remove the load promptly. The first four actions prevent exposure; the remaining actions reduce dye release and contact.
Step 1: Read the Care Label
Follow “wash separately,” “wash with like colors,” “hand wash cold,” and “do not bleach” instructions literally. A manufacturer’s separate-wash warning is stronger evidence than a general internet laundry rule because the maker knows the garment’s dye, finish, trim, and construction.
Inspect the fiber content as well. Wool, silk, rayon, viscose, linen, cotton, nylon, and polyester have different tolerances for temperature, agitation, and chemical treatment.
You’ll know this step worked when: every garment has a compatible wash method and no dry-clean-only item enters the load.
Common mistake: treating a “machine washable” label as proof that the garment is colorfast with other colors. Machine washable describes the cleaning method, not guaranteed color compatibility.
Step 2: Identify High-Risk Garments
Treat brand-new, very dark, highly saturated, hand-dyed, tie-dyed, denim, red, burgundy, purple, and black garments as potential bleeders. Risk is higher when a garment has a strong color contrast with white panels, pale stitching, or an unwashed finish.
New clothing may release surface dye during its first several washes, but age alone does not guarantee safety. Poor dye fixation, overdyeing, pigment finishes, and repeated exposure to detergent can continue to cause transfer.
You’ll know this step worked when: high-risk garments have a separate pile or a pile containing only compatible dark colors.
Common mistake: judging risk by color alone. A bright red garment can be stable, while a pale navy garment with poor fixation can bleed heavily.
Step 3: Test for Colorfastness
Wet an inconspicuous seam allowance or inside hem with cool water. Press a white cotton cloth or white paper towel onto the damp area for 10-15 seconds, then inspect the cloth under bright light.
A visible mark means the garment should be washed alone or with matching colors. Repeat the test after the first wash if the garment is valuable, heavily dyed, or intended for a mixed load. The test is useful but limited: it may not reproduce the heat, detergent concentration, agitation, or long contact time of a full cycle.
You’ll know this step worked when: the test cloth remains clean or shows only a negligible tint under the lighting where you assessed it.
Common mistake: rubbing aggressively or testing only a decorative surface. Excessive rubbing can create a false alarm, while a surface-only test can miss dye on seams, linings, or contrasting panels.
Step 4: Sort by Color and Material
Create separate loads for whites, pale colors, medium colors, darks, and exceptionally risky items. Keep heavy denim, towels, and canvas away from lightweight synthetics or delicate knits because weight and rough texture increase mechanical contact.
| Load type | Suitable examples | Keep out | Recommended setting |
|---|---|---|---|
| Whites | White cotton socks, sheets, towels | Red, navy, black, new prints | Label-approved warm or hot wash |
| Pale colors | Ivory, pastel pink, light gray, baby blue | Unwashed saturated garments | Cold or cool, gentle to normal |
| Darks | Black, navy, charcoal, dark purple | White and pale fabrics | Cold, gentle or normal |
| Brights | Red, orange, magenta, bright yellow | Whites and pale pastels | Cold, similar colors |
| Delicates | Silk, wool, lace, fine rayon | Towels, denim, rough canvas | Label-approved hand or delicate cycle |
Pure whites are the least forgiving load. A color catcher does not turn a mixed white-and-red load into a risk-free load, so separate whites whenever protecting appearance matters.
You’ll know this step worked when: a loose dye molecule from one garment would have little visual effect on the other garments in the same load.
Common mistake: sorting only into “whites” and “colors.” That shortcut protects many whites, but it still allows new red, blue, or black dye to contaminate pale garments.
Step 5: Turn Garments Inside Out and Close Fasteners
Turn dark T-shirts, printed garments, jeans, and activewear inside out before washing. Close zippers, hooks, and buttons, and place fragile items in a mesh bag.
Inside-out washing reduces face-to-face abrasion and helps preserve prints, but it does not stop dissolved dye in the water. A dark shirt can still bleed onto a pale shirt when both garments are reversed.
You’ll know this step worked when: the visible outer surfaces face inward and no open hardware can scrape another item.
Common mistake: turning clothes inside out while leaving pockets full. Tissues, cosmetics, and paper labels can create residue that increases rewashing and abrasion.
Step 6: Use Cool Water and Low Agitation
Choose the coolest setting allowed by the care label, commonly cold or cool water around 15-30°C. Temperature is not a universal pass-fail threshold: a garment can bleed below 20°C, and a stable garment may tolerate warmer water.
Use a delicate or low-agitation cycle for garments with known dye risk, provided the cycle can remove the soil involved. Shorter cycles reduce exposure, but a long cycle is not automatically unsafe if the garment is stable and the load is correctly sorted.
You’ll know this step worked when: the wash water is cool, the cycle matches the fabric, and no high-risk garment receives unnecessary heat or rough agitation.
Common mistake: selecting “eco-warm” because the program sounds gentle. Many eco programs use lower water volumes and longer times, so check the machine’s actual temperature and cycle behavior.
Step 7: Dose Detergent Precisely
Use the detergent amount specified for the water hardness, soil level, load size, and machine type. More detergent does not lock dye into fibers. Excess product can leave residue, require additional rinsing, and increase the amount of suspended material moving through the load.
A standard detergent is usually appropriate for colorfast everyday clothing. Use a wool or silk detergent when the label requires it, and avoid chlorine bleach on colored garments unless the care label explicitly permits it.
You’ll know this step worked when: the detergent dose matches the load rather than the dispenser’s maximum line.
Common mistake: adding extra detergent after seeing dye in the water. Dye in the water indicates release, not insufficient detergent.
Step 8: Add a Color-Catching Sheet When It Fits the Load
Place one dye-trapping sheet in the drum according to the product instructions. Use two only when the product directions permit it and the load contains several known dye risks.
Color catchers work by adsorbing or binding some loose dye in the wash liquor. Their exact construction and chemistry vary by manufacturer, so describing every sheet as positively charged is inaccurate. A sheet can reduce suspended dye, but it cannot prevent a wet red sleeve from pressing against a white shirt for an hour.
| Method | Best use | Typical cost | Main limitation |
|---|---|---|---|
| Separate color loads | Whites and valuable garments | $0 | Requires extra loads |
| Cold, gentle wash | Stable darks and everyday colors | $0-$0.40 | Cannot correct poor fixation |
| Color-catching sheet | Compatible mixed colors | $0.10-$0.30 | Cannot stop direct contact transfer |
| Dye fixative | Newly dyed cotton projects | $5-$15 per bottle | Requires treatment before normal wear |
| Laundry bag | Delicates and small items | $1-$5 reusable | Does not capture dissolved dye |
You’ll know this step worked when: the sheet captures visible loose dye without replacing proper sorting.
Common mistake: using a sheet as permission to wash white clothing with a new black or red garment.
Step 9: Remove and Inspect Clothes Promptly
Take garments out after the cycle finishes and separate them before drying. Inspect pale items in good light, especially when a colorfastness test showed transfer.
Prompt removal reduces prolonged wet contact and musty odor, but there is no reliable universal 15- or 20-minute “danger window.” Transfer depends on dye concentration, garment contact, moisture, temperature, and time.
You’ll know this step worked when: garments are separated for drying while still damp and no transferred color is visible.
Common mistake: putting the entire load into a hot dryer without checking. Dryer heat can make some transferred dyes more difficult to remove.
Which Prevention Method Works Best?
Sorting is the best method for protecting whites, cold water and low agitation are the best routine controls for stable colors, and a color-catching sheet is a useful backup for compatible mixed loads. A commercial fixative is mainly for newly dyed fabric, not a universal treatment for store-bought clothing.
Should You Use Vinegar or Salt?
Vinegar and table salt should not be treated as dependable dye-setting solutions for finished clothing. Vinegar can acidify the wash, which may matter for some acid-dyed protein fibers such as wool or silk, but it does not reliably fix the reactive dyes commonly used on cotton garments. Salt can influence some dyeing processes, especially during application of certain dyes, but adding salt to a normal household wash does not guarantee colorfastness.
| Home remedy | What it can do | What it cannot reliably do | Safer decision |
|---|---|---|---|
| Distilled white vinegar | Reduce odor or mineral residue in some routines | Permanently fix most cotton garment dyes | Use only for a label-compatible purpose |
| Table salt | Affect ionic conditions in selected dye processes | Stop modern garment dye from bleeding | Do not rely on it for mixed loads |
| Baking soda | Alter wash chemistry and reduce some odors | Lock loose dye into fibers | Use only when fabric care permits |
| Lemon juice | Acidify water and add light exposure risk | Make unstable dye colorfast | Avoid as a dye-fixing shortcut |
Do not mix vinegar with chlorine bleach. The combination can create hazardous chlorine gas.
Can a Commercial Dye Fixative Help?
A dye fixative can reduce loose dye on suitable newly dyed fabrics when used exactly as directed. Products differ, and some are designed for particular dye classes or fibers. Synthrapol-type detergents are primarily used to suspend excess dye during textile dyeing and rinsing, not to permanently bind every retail garment’s dye.
Test a hidden area first and follow the product label for fiber, water temperature, dosage, and rinsing. A fixative may alter hand feel, shade, or finish, and it can be inappropriate for a garment with a mixed fiber blend or a manufacturer’s special finish.
How Should You Wash Different Fabrics and Colors?
Fabric, dye class, garment construction, and label instructions determine the safest method. Color grouping remains necessary even when the fiber is synthetic, because polyester, nylon, cotton, and rayon can all carry unstable surface color or contrasting trims.
| Garment or fiber | Primary risk | Recommended handling | Avoid |
|---|---|---|---|
| Raw or dark denim | Heavy surface dye and crocking | Wash alone or with dark denim, cold, inside out | White tops, hot water, high heat |
| New red cotton | Loose reactive or direct dye | Test, wash with reds, cold, separate initially | Whites and pale pinks |
| Black cotton | Surface dye, fading, abrasion | Cold, inside out, mild dose, dark load | Chlorine bleach and hot drying |
| Polyester activewear | Dye transfer plus odor buildup | Cool synthetic cycle, similar colors | High heat and fabric softener when label prohibits |
| Wool or silk | Fiber damage and dye migration | Hand or delicate wash, label-approved detergent | Oxygen bleach, hot agitation |
| Multicolor print | Contrast transfer | Wash inside out with similar colors | Assuming the white areas are protected |
New Clothes
Wash a new saturated garment alone or with matching colors for the first one to three washes, then repeat the hidden-area test. Some garments need more separate washes if the rinse water remains strongly tinted or the test cloth continues to pick up color.
Denim
Wash dark denim inside out with other dark denim or black garments. Avoid soaking jeans with pale clothing, because prolonged wet contact can transfer indigo even when the machine cycle is cold.
Wool and Silk
Follow the label before using any home remedy. Protein fibers can shrink, felt, stretch, or lose surface finish when exposed to heat, alkalinity, or rough agitation; a dry cleaner may be safer for a lined or structured item.
White Garments
Wash white cottons separately whenever possible. Oxygen bleach may help with compatible white fabrics, but read the product label and test colored trims, elastane, prints, and delicate fibers first.
What Should You Do After a Color Bleed?
Do not dry the affected garments. Keep them damp, isolate the suspected source, and rewash the stained items promptly in the coolest label-approved water with the correct detergent.
- Remove the suspected bleeding garment and keep all affected items wet.
- Check the care labels for bleach restrictions, delicate fibers, and dry-clean-only instructions.
- Rewash compatible items separately, using a normal detergent dose and a color-catching sheet if appropriate.
- Inspect before drying. Repeat once if the transfer is visibly decreasing.
- For a washable, colorfast white or pale cotton item, use a labeled oxygen-bleach soak in cool water.
- Rinse thoroughly, then air-dry only after the transfer has disappeared.
- Send silk, wool, leather-trimmed, tailored, vintage, or expensive garments to a professional cleaner.
Oxygen bleach is not safe for every textile and is not the same as chlorine bleach. Never combine stain removers, bleach products, ammonia, or vinegar. Follow the product label, wear the recommended protection, and test an inconspicuous area.
Expert rule: the first recovery wash has the best chance of removing loose transfer because the dye has not been concentrated by evaporation or heat. Repeated hot drying can turn a removable accident into a permanent-looking stain.
Common Mistakes That Cause Color Transfer
Washing a New Dark Garment With Whites
A new navy shirt, black jeans, or red towel can release enough dye to tint an entire pale load. Separate the item until it passes a transfer test.
Overloading the Drum
An overfilled washer restricts water movement and increases garment-to-garment pressure. Leave enough room for the load to move freely, especially in a top-loader with bulky towels or denim.
Using Chlorine Bleach on Colored Clothing
Chlorine bleach can strip or alter dyes and damage fibers. Use it only when the care label and product directions both allow it.
Trusting a Color Catcher Alone
A sheet captures dye suspended in water, not dye pressed directly from one wet garment onto another. It is a risk-reduction tool, not a substitute for sorting.
Drying Before Inspection
Heat can make dye transfer harder to reverse. Inspect pale garments as soon as the wash ends.
Assuming “Color-Safe” Means “Bleed-Proof”
Color-safe products usually refer to reduced bleaching or dye-stripping action. They do not guarantee that an unstable garment will not release dye.
How Can You Adapt the Routine?
For a Busy Household
Use four labeled hampers: whites, pale colors, darks, and high-risk items. Wash high-risk items with matching colors on a cold cycle, then combine them into larger dark loads only after testing.
For a Laundromat
Carry a white test cloth, detergent pods or a measured dose, and one or two color-catching sheets. Use two piles, whites and colors, only when the colors pile contains no new red, dark denim, or visibly unstable garment.
For a Small Load
Do not add extra detergent to compensate for a half-full drum. A small load with one risky garment can still bleed heavily because dye concentration may be high even when the volume of clothing is low.
For Hand-Dyed or Tie-Dyed Fabric
Rinse separately until the water is nearly clear, then use the dye manufacturer’s recommended fixative or washout process. Keep the fabric away from whites permanently if it continues to release color.
The Bottom Line
The strongest answer to how to prevent colors from bleeding in laundry is simple: separate unstable dyes before washing, test new garments, use cool water and low agitation, measure detergent, and inspect clothes before drying. Color-catching sheets can reduce loose dye in compatible loads, while vinegar and salt should not replace sorting or proper textile treatment.
Frequently Asked Questions
Can I wash all colored clothes together?
You can wash colorfast garments together when their care labels permit the same cycle, but new, dark, saturated, hand-dyed, and denim items should remain with similar colors. Pale garments are safer in a separate load because even a small amount of red, navy, or black dye can visibly change their appearance.
How many washes does a new garment need before it is safe?
A new garment commonly receives one to three separate washes before its color-transfer risk decreases, but no fixed number guarantees safety. Repeat the hidden-area test after washing. If a white cloth still picks up obvious dye, continue washing the garment alone or with matching colors.
Do cold-water detergents prevent bleeding?
Cold-water detergents help clean effectively at lower temperatures, but they do not permanently prevent an unstable dye from releasing. Detergent selection reduces the need for hot water and excessive chemistry; sorting and colorfastness testing remain the controls that protect pale clothing.
Should I wash black clothes separately?
Wash new black clothes separately or with other dark garments until they pass a colorfastness test. Established black clothing can usually share a cold dark load, but keep black garments away from whites and pale colors because surface dye, abrasion, and fading can still create transfer.
Will a dryer set a color bleed?
A dryer can make transferred dye more difficult to remove, particularly when heat dries the dye onto the receiving fiber. Keep a bled garment wet, rewash it, and inspect it before using a dryer. Air-dry the item only after the unwanted color has been removed.
Can color bleeding be prevented completely?
Complete prevention is not possible when a garment has poor dye fixation, because the dye itself may remain unstable. Separation, cool water, low agitation, correct detergent dosing, and prompt unloading greatly reduce risk, while professional cleaning may be the safest option for valuable or delicate garments.


