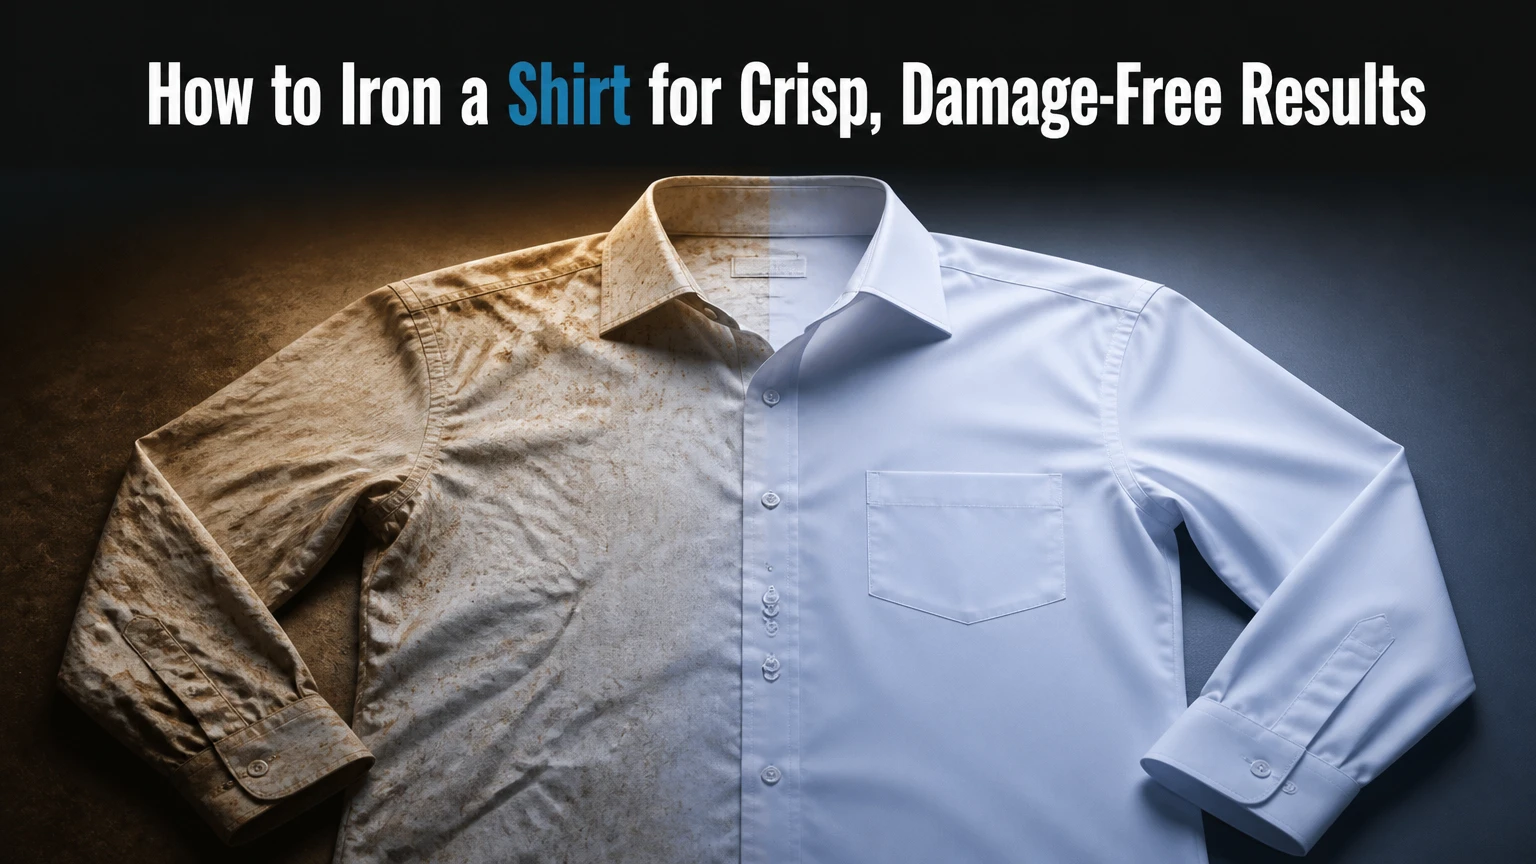
To iron a shirt, unbutton it, check the care label, dampen the fabric lightly, and press the collar, cuffs, sleeves, yoke, front panels, and back in that order. Use the lowest effective temperature, steam or mist for natural fibers, and a pressing cloth for dark, delicate, printed, or synthetic fabrics. Finish by hanging the shirt while it cools.
Key Facts
- A typical home user can iron one shirt in 5-8 minutes with a steam iron.
- The care label outranks any generic temperature chart because blends and finishes vary.
- Iron a clean shirt only; heat can permanently set oil, sweat, and untreated stains.
- Work from small structural areas toward large panels to avoid creasing finished sections.
- Pressing, rather than dragging, reduces stretching around collars, cuffs, plackets, and seams.
- A shirt should cool on a hanger for at least 5 minutes before being worn or packed.
What Do You Need Before Ironing a Shirt?
Prepare a clean, slightly damp shirt, a stable ironing board, a working iron, and a hanger before applying heat. The practical setup costs about $0-$15 if the equipment is already available, while a basic new iron and compact board typically cost $35-$100 in the United States.
Before You Start
| Requirement | Typical specification | Why it matters |
|---|---|---|
| Shirt condition | Clean, dampened 5-10% by weight | Prevents baked-in stains and improves fiber flexibility |
| Iron | 1,200-2,400 watts | Provides usable heat recovery for cotton shirts |
| Ironing board | 110-130 cm long | Supports front and back panels without floor contact |
| Water spray | 100-250 ml bottle | Controls moisture more precisely than excess steam |
| Hanger | Contoured, 1.5-2.5 cm thick | Preserves shoulder shape while the shirt cools |
| Pressing cloth | White cotton, 30 x 45 cm | Limits shine, dye transfer, and direct heat exposure |
Remove watches, bracelets, and loose objects that can catch fabric. Empty the shirt pockets, remove collar stays if they are not heat-safe, and fasten the iron’s water tank according to its manual.
Inspect the soleplate on a cold iron. Brown residue, melted synthetic fibers, or adhesive deposits can transfer immediately, especially onto white cotton. Test the iron on an inside hem or an old white cloth before touching the visible surface.
How Does Ironing Remove Shirt Wrinkles?
Ironing removes wrinkles when heat and moisture temporarily loosen fiber bonds, while controlled pressure realigns the fabric and cooling helps retain the new shape. Cotton, linen, wool, silk, polyester, and rayon respond differently because their fiber structures and heat tolerances are different.
Fabric wrinkles form when fibers dry or cool in bent positions. Heat increases flexibility, and water helps natural fibers swell and move; the iron’s soleplate then flattens the fabric. Cooling matters because a hot shirt can look smooth but develop new creases while it is being worn or folded.
The International Wool Textile Organisation recommends low-temperature pressing with moisture control for wool because excessive heat and friction can flatten the surface and create shine. The rule is simple: moisture changes flexibility, but pressure and temperature must remain proportional to the fiber.
A common error is treating steam as a substitute for technique. Steam relaxes fibers, but a shirt still needs a flat surface, correct alignment, and enough cooling time to hold a smooth finish.
What Temperature Should You Use for Each Shirt Fabric?
Use the shirt’s care label first, then select the lowest iron setting that removes wrinkles. As a general starting point, synthetics require about 110°C, wool and silk about 140-150°C, and cotton or linen about 180-200°C, although blends and finishes can require lower settings.
| Fabric or finish | Starting temperature | Steam and surface guidance |
|---|---|---|
| Nylon or acetate | 90-110°C | Dry iron or minimal steam; use a pressing cloth |
| Polyester or microfiber | 110-135°C | Turn inside out; never leave the iron still |
| Rayon or viscose | 110-140°C | Press inside out while slightly damp |
| Silk | 120-150°C | Dry or very light steam through white cotton |
| Wool | 140-160°C | Use a damp pressing cloth and lift the iron |
| Cotton | 170-200°C | Moderate to high steam; mist dry areas |
| Linen | 180-210°C | Press while damp; work with the weave, not against it |
Temperature dials are approximate rather than laboratory measurements. A “cotton” setting on one iron may run differently from the same label on another, so the care label and a hidden test area provide safer evidence than the dial alone.
For a cotton-polyester blend, start at the polyester-safe setting and increase only if necessary. The synthetic component determines the damage threshold, while the cotton component determines how much moisture the shirt may need.
How to Iron a Shirt in Six Steps
Iron a shirt in six sections, beginning with the collar and cuffs and ending with the largest panels. A typical home user needs 5-8 minutes, while a beginner may need 10-12 minutes; success depends more on fabric moisture and temperature control than on pressing force.
Step 1: Iron the Collar
Lay the collar flat with the inside facing upward, then press from each point toward the center using short strokes. Turn the collar over and repeat, but avoid pressing hard across the collar stand because excessive heat can distort the curve.
A collar with removable stays should be pressed with the stays removed. For a button-down collar, work around the buttons and preserve the intended roll instead of forcing the collar completely flat.
Fold the collar along its natural seam and make one light pass over the fold if a defined dress-shirt finish is wanted. Do not iron a rounded collar into a sharp fold unless the shirt was designed for that appearance.
Success checkpoint: The collar lies flat, the points remain symmetrical, and the stand follows its original curve.
Common mistake: Pressing from point to point pushes fabric toward the edge and creates a ridge. Press inward toward the center instead.
Step 2: Press the Cuffs
Unbutton each cuff completely and lay it inside out on the board. Press from the outer edge toward the center, then turn the cuff over for one light pass on the visible side.
Use the iron tip between buttons rather than placing the soleplate over them. Plastic buttons can soften or melt, while shell and metal buttons can scratch the soleplate or transfer heat into the surrounding fabric.
French cuffs need a wider, flatter surface because their folded layers hold more moisture. Press both sides separately, keeping the fold aligned with the cuff edge.
Success checkpoint: The cuff edge is smooth, the button area remains intact, and the fold sits evenly around the wrist.
Common mistake: Ironing a buttoned cuff creates wrinkles under the folded placket. Always open the cuff first.
Step 3: Smooth the Sleeves
Align the sleeve’s underarm seam and lay one layer flat on the ironing board. Smooth the top layer by hand before pressing from the shoulder toward the cuff, stopping at the cuff seam rather than running over it repeatedly.
Turn the sleeve to press the second side. For a traditional dress-shirt crease, align the top sleeve edge with the shoulder seam and make one controlled pass. For a softer modern finish, use a sleeve board or press the sleeve without creating a top crease.
A sleeve board prevents the lower sleeve layer from receiving accidental folds. Without one, keep the sleeve narrow and reposition it after each pass rather than ironing across a twisted tube.
Success checkpoint: The sleeve is smooth from shoulder to cuff, and the seam remains straight when the sleeve hangs vertically.
Common mistake: Pressing over a sleeve wrinkle transfers the wrinkle to the underside. Smooth both layers first.
Step 4: Press the Yoke and Shoulders
Place the shoulder and yoke over the narrow end of the ironing board, with the collar pointing toward the board’s tip. Press from the collar seam downward toward the back, then rotate the shirt to reach the opposite shoulder.
The yoke is often curved and made from layered fabric, so it needs repositioning rather than force. Keep the iron moving over curved seams and use the tip for the narrow area beneath the collar.
Success checkpoint: The shoulder seam is smooth, the yoke has no horizontal ripples, and the collar sits naturally.
Common mistake: Laying the entire shoulder flat on the wide board stretches the armhole. The narrow end supports its construction more accurately.
Step 5: Iron the Front Panels
Place the buttonhole panel flat and press from the hem toward the shoulder. Turn the shirt to the button side and use the iron tip between buttons, never directly over them.
The button placket contains extra layers, so it often needs a short burst of steam followed by moderate pressure. Press around the pocket rather than across its upper edge if the shirt has a patch pocket, because a hard horizontal line can make the pocket look misshapen.
Turn printed, embroidered, or dark shirts inside out. If the design must remain visible during pressing, place a clean white cotton cloth between the iron and the decoration.
Success checkpoint: The placket is straight, the pocket remains square, and no button impression appears on the fabric.
Common mistake: Dragging the iron sideways across the placket shifts the shirt. Press downward, lift, and reposition.
Step 6: Finish the Back Panel
Spread the back panel across the board with the yoke at the narrow end. Start directly below the yoke and work toward the hem in overlapping vertical sections, moving the shirt as each section becomes smooth.
If the shirt has a center box pleat, align the pleat before pressing. Press alongside the fold or down its existing line, depending on whether the design calls for a defined crease. Do not flatten a pleat that is meant to provide movement.
Use the iron’s pointed tip near side seams, darts, and the armhole. Large sweeping strokes are efficient on broad cotton panels but can distort fitted shirts with curved shaping.
Success checkpoint: The back is smooth, the side seams remain aligned, and the center pleat is intentional rather than doubled.
Common mistake: Pressing the back in one oversized pass traps a fold beneath the shirt. Work in sections and check the lower layer.
How Should You Finish and Store the Shirt?
Hang the freshly pressed shirt on a contoured hanger, align the shoulder seams, fasten the top button, and leave the garment undisturbed for at least 5 minutes. Cooling on a hanger lets the fabric settle without introducing the horizontal creases caused by folding warm cloth.
Fasten one or two additional buttons if the shirt is being transported. Leave enough space between hangers for air circulation, particularly when the shirt was dampened heavily.
Do not put a warm shirt immediately under a tight jacket. Friction can recreate wrinkles before the fibers have cooled, especially in linen, rayon, and lightweight cotton.
Which Ironing Equipment Is Best?
A steam iron is the best general-purpose choice for most households because it combines moisture control, a pointed soleplate, and enough heat for cotton shirts. A dry iron suits occasional users, a steam generator suits large weekly batches, and a garment steamer suits delicate touch-ups rather than crisp collars.
| Equipment | Typical price | Heat or steam capability | Best use | Main limitation |
|---|---|---|---|---|
| Dry iron | $20-$45 | 1,000-1,500 W; no tank | Starch and heavy cotton | Requires spray bottle |
| Steam iron | $35-$100 | 1,200-2,400 W; 20-50 g/min steam | Everyday shirts | Needs descaling |
| Steam generator | $120-$300 | 80-150 g/min steam | 5 or more shirts per session | Requires storage space |
| Garment steamer | $30-$150 | 15-40 g/min vertical steam | Delicate touch-ups and travel | Weak collar definition |
| Sleeve board | $15-$35 | Passive support surface | Narrow sleeves and cuffs | Does not produce heat |
Garment steamers are not a full replacement for an iron when the shirt needs a crisp collar, flat button placket, or defined cuff. Steamers are gentler on many garments, but vertical steaming cannot mechanically flatten every seam.
Distilled water is not automatically required. Follow the iron manufacturer’s instructions, because some models require tap water for sensor operation while others limit mineral deposits with filtered or distilled water. Empty the tank after use if the manual recommends it.
How Can You Iron a Shirt Quickly?
Iron a shirt quickly by using moderate steam, preparing all sections before heating, and pressing only the visible outer layer. A repeatable 4-minute routine is possible for a lightly wrinkled cotton shirt, but heavy linen, dry fabric, and deep seam creases generally require 8-12 minutes.
- Hang the shirt in the bathroom while hot water runs for 5 minutes, but keep it away from direct splashes.
- Mist the shirt lightly and wait 30 seconds for moisture to spread.
- Press the collar, cuffs, sleeves, yoke, front, and back in that order.
- Use the iron tip only where the broad soleplate cannot reach.
- Hang the shirt immediately and allow 5 minutes of cooling.
Bathroom steam loosens superficial wrinkles but does not replace pressing. A shirt that must look formal still needs the collar, cuffs, and placket pressed directly.
What Are the Most Common Ironing Mistakes?
The most damaging mistakes are ironing stains, using excessive heat, trapping moisture, pressing dirty soleplates, and leaving the iron stationary on synthetic fabric. Recovery depends on the failure, and some damage, particularly melted polyester or heat-set stains, cannot be reversed at home.
| Problem | Likely cause | Immediate fix | Preventive rule |
|---|---|---|---|
| Brown or yellow mark | Sweat, oil, or untreated stain | Stop heating; launder before retrying | Iron clean shirts only |
| Shiny dark patch | Excess pressure or heat | Repress through damp white cotton | Turn dark garments inside out |
| Melted fiber | Temperature above synthetic limit | Stop; trim only loose residue if safe | Test a hidden hem |
| Water spots | Steam used before iron heated | Wait for full operating temperature | Do not overfill the tank |
| Black transfer | Dirty soleplate | Cool iron, then use approved cleaner | Inspect before every white shirt |
| Wrinkle remains | Fabric too dry or seam tension | Mist, wait 30 seconds, repress | Use moisture before force |
Never clean a hot soleplate with water or abrasive powder. Unplug the iron, let it cool completely, and follow the manufacturer’s cleaning method; baking soda mixtures can damage some nonstick coatings.
A stationary iron is particularly risky on polyester, nylon, and printed fabric. Keep the soleplate moving, use the lowest effective setting, and lift rather than grind over a stubborn area.
How Do You Iron Delicate, Dark, Linen, or Non-Iron Shirts?
Delicate and dark shirts should be ironed inside out or through a clean white pressing cloth at low to moderate heat. Linen should be pressed while damp at a higher setting, while non-iron shirts need short, low-pressure passes because excessive heat can damage wrinkle-resistant finishes.
Polyester and Synthetic Blends
Start at the low setting and use little or no steam. Press inside out, keep the iron moving, and avoid holding the soleplate over seams, logos, or elastane-containing areas.
Silk and Rayon
Use a cool setting and a dry or barely damp pressing cloth. Press the wrong side, lift the iron frequently, and avoid spraying water directly because localized droplets can create rings or water marks.
Linen
Iron linen while it is still slightly damp, working in sections from the collar outward. Linen tolerates more heat than polyester, but aggressive dragging can stretch the weave and leave a distorted seam.
Dark Cotton and Printed Shirts
Turn the garment inside out or place white cotton between the iron and fabric. A pressing cloth protects against shine because dark yarns reveal flattened surfaces more readily than pale shirts.
Wrinkle-Resistant Shirts
Use steam sparingly and avoid heavy starch unless the label permits it. High heat can reduce the performance of resin-based wrinkle-resistant finishes over repeated laundering.
Can You Iron a Shirt Without an Ironing Board?
You can iron a shirt without an ironing board by using a firm, heat-resistant surface covered with a folded cotton towel. A wooden, glass, stone, or untreated plastic surface is unsafe because it can transfer heat, crack, discolor, or melt.
Use a dining table only after checking that the surface and finish tolerate heat. Avoid beds and padded sofas because their soft surfaces prevent even pressure and can trap heat beneath the garment.
For an emergency touch-up, hang the shirt and use a garment steamer, hair dryer, or bathroom steam. These methods reduce visible wrinkles but rarely produce a sharp collar or flat cuff, so they are better for travel than formal preparation.
How Do You Fix a Shirt That Looks Wrong After Ironing?
Fix a poorly ironed shirt by identifying whether the problem is moisture, temperature, pressure, residue, or alignment. Re-wet and repress ordinary wrinkles, but stop immediately when fabric melts, scorches, or develops permanent discoloration.
For stubborn creases, mist the area, wait 30-60 seconds, and press from the fabric’s reverse side. A small amount of spray starch can help cotton hold a crease, but starch should not be used to conceal a stain or compensate for dirty fabric.
For shine, place a damp white cotton cloth over the area and use a low setting with light lifting motions. On wool, steam from above without touching the surface, then brush the nap gently after cooling.
For water spitting, stop steam use and allow the iron to reach operating temperature. Persistent leaking can indicate overfilling, mineral scale, a damaged seal, or storage in the wrong position; consult the model’s manual rather than opening the appliance.
FAQ
Should You Iron a Shirt Inside Out?
Iron a shirt inside out when the fabric is dark, synthetic, printed, embroidered, or prone to shine. Cotton dress shirts can usually be pressed on the outside, but the reverse side remains safer for visible finishes and delicate surface treatments.
Is It Better to Iron a Shirt Wet or Dry?
A shirt should be slightly damp, not wet, when ironed. Damp cotton and linen release wrinkles efficiently, while saturated fabric takes longer to dry and may require excessive pressure. Dry synthetics usually need only controlled heat and minimal moisture.
Can You Iron a Shirt With the Buttons Fastened?
Do not iron a shirt with the buttons fastened. Open buttons let the placket lie flat and prevent tension wrinkles; the iron can then work around each button without pressing a raised edge into the fabric.
How Long Does It Take to Iron a Dress Shirt?
Ironing a dress shirt typically takes 5-8 minutes for an experienced home user and 10-12 minutes for a beginner. A lightly damp cotton shirt with few wrinkles is faster, while linen, French cuffs, pleats, and heavy seams increase the time.
Should You Use Spray Starch on Every Shirt?
Do not use spray starch on every shirt. Starch is useful for a crisp cotton collar or cuff, but frequent heavy application can leave residue, attract soil, and make fabric feel rigid. Avoid it on silk, many synthetics, and garments whose care labels prohibit it.
Why Does My Iron Leave Brown Marks?
An iron leaves brown marks when residue, rust, mineral deposits, or heat-set soil transfers from the soleplate or fabric. Unplug the iron, cool it, clean it according to the manufacturer’s instructions, and wash the shirt before applying heat again.
The Bottom Line
How to iron a shirt safely comes down to four controls: correct temperature, suitable moisture, light pressure, and proper section order. Start with a clean shirt, press the collar and cuffs first, finish the large panels, protect buttons and dark surfaces, then hang the shirt for at least 5 minutes so the smooth shape can set.


