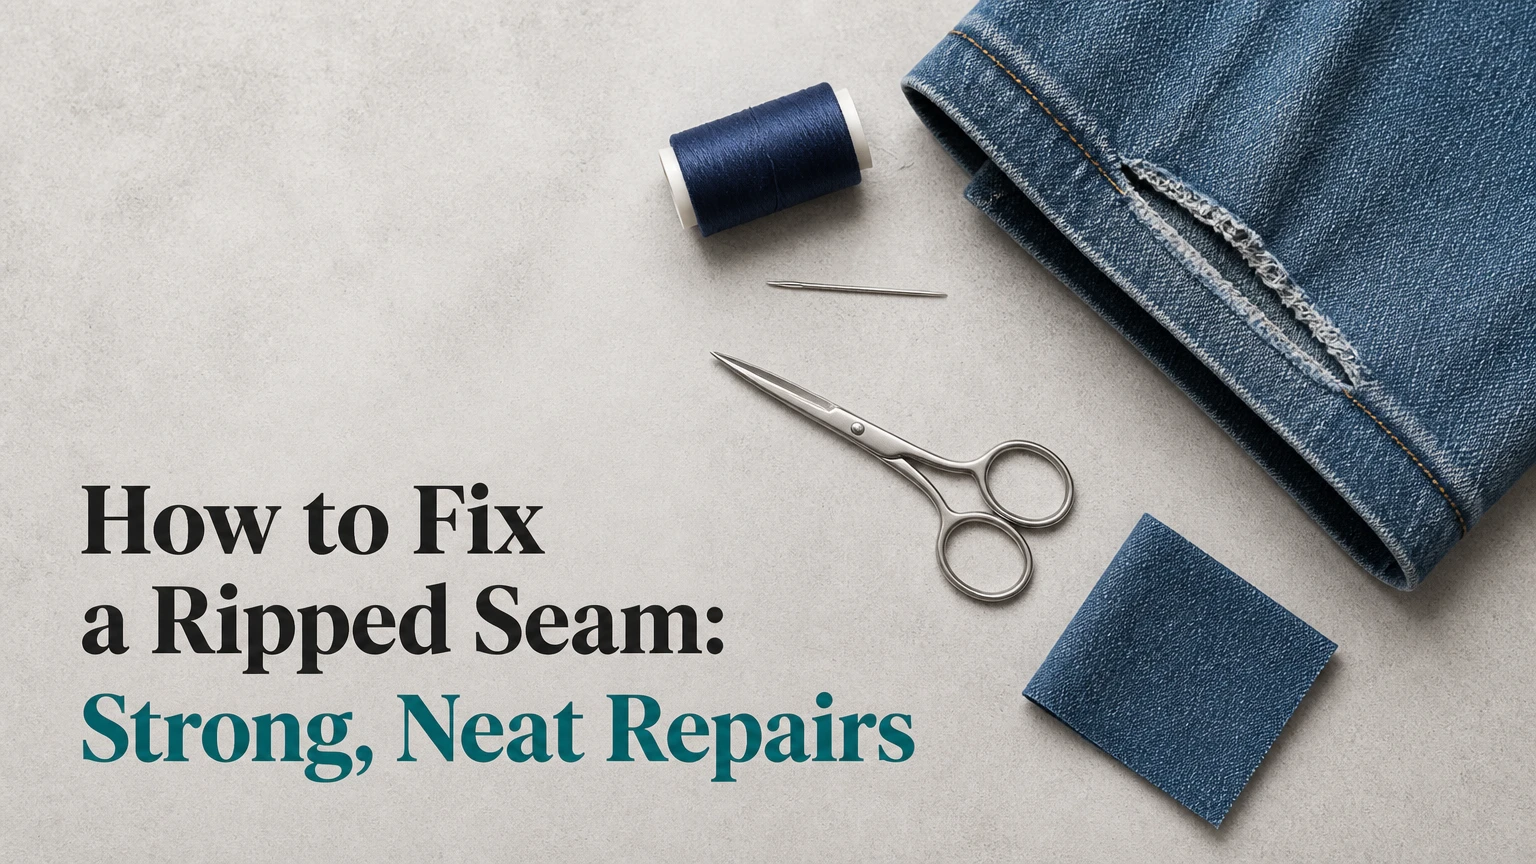
To fix a ripped seam, turn the garment inside out, align the original seam edges, and resew 1 cm beyond both ends of the opening. Use a backstitch by hand or a straight lockstitch on woven fabric, then secure the thread and press the seam. Stretch fabric requires a narrow zigzag instead.
Key Facts at a Glance
- A ripped seam is usually a failed line of thread, not a cut through the fabric itself.
- A hand-sewn repair typically takes 5-15 minutes; a sewing-machine repair often takes 2-5 minutes.
- Start and finish at least 1 cm inside intact stitching so the repair does not unravel at its ends.
- Use polyester all-purpose thread for most clothing, with a thread color close to the garment.
- Use a narrow zigzag stitch for jersey, leggings, rib knit, and other stretch fabrics.
- Move the new seam 2-3 mm into stable fabric when the original edge has frayed away.
What Counts as a Ripped Seam?
A ripped seam is an opening along a former stitching line where the thread has broken, pulled out, or become too loose to hold two fabric layers together. The fabric panels remain mostly intact, which makes the damage suitable for a straightforward resewing repair.
A seam repair is different from a tear through the fabric. If the cloth itself has a slit extending away from the stitch line, sewing only the original seam will leave a weak hole. That damage needs patching, darning, or a new seam placed inside sound fabric.
| Damage type | Visible symptom | Suitable repair | Typical difficulty |
|---|---|---|---|
| Open seam | Fabric edges separate along old holes | Reseam on original line | Beginner |
| Split fabric | Slit extends beyond stitch holes | Patch or new seam inside sound cloth | Intermediate |
| Frayed seam allowance | Edge loses threads and narrows | Interfacing plus deeper seam | Intermediate |
| Failed hem | Folded edge drops open | Hem stitch or machine topstitch | Beginner |
| Torn lining | Inner layer opens while shell remains intact | Ladder stitch or lining reseam | Intermediate |
Check the garment before touching the needle. If the opening is limited to the old seam and the surrounding weave feels firm, a home repair is usually appropriate. If fabric continues tearing under light finger pressure, stop and reinforce it first.
Which Stitch Should You Use?
Choose the stitch according to fabric movement and access. Woven cotton, linen, wool, and denim usually need a straight stitch; jersey and spandex need a flexible zigzag; a closed lining is easiest to finish with a ladder stitch.
The strongest repair is not automatically the best repair. A very tight straight stitch can hold a rigid woven seam, but the same stitch can prevent a knit garment from stretching and cause the thread or fabric to fail again.
| Fabric or location | Needle | Thread | Stitch and setting |
|---|---|---|---|
| Medium woven cotton | Universal 80/12 | All-purpose polyester | Straight stitch, 2.5 mm |
| Lightweight silk or rayon | Microtex 60/8 or 70/10 | Fine polyester or silk thread | Straight stitch, 1.8-2.2 mm |
| Jersey T-shirt | Ballpoint 75/11 | Polyester stretch-compatible thread | Narrow zigzag, 1.5 mm width, 2.0 mm length |
| Denim side seam | Jeans 90/14 or 100/16 | Heavy polyester or topstitch thread | Straight stitch, 2.8-3.2 mm |
| Lined jacket or coat | Hand needle, size 7-9 | Matching polyester | Ladder stitch through lining opening |
| Elastic activewear | Stretch or ballpoint 75/11 | Polyester thread | Narrow zigzag or stretch stitch |
A 2.5 mm machine stitch is a useful starting point for medium-weight woven fabric. Machine tension around 3.0-4.0 is also a common starting range, but the correct value depends on the machine, thread, needle, and fabric layers. Test a scrap instead of treating those numbers as universal settings.
Sewing educator Evelyn Wood gives a practical machine rule: “Let the machine feed the fabric; do not pull it through.” Pulling changes stitch length, distorts the seam, and can bend or break the needle.
Before You Start
Prepare the garment and tools before opening the machine or threading the needle. Removing loose fibers, identifying the original seam allowance, and testing the selected stitch prevent most weak repairs.
| Requirement | Typical amount or setting | Why it matters |
|---|---|---|
| Repair time by hand | 5-15 minutes | Covers a 2-8 cm open seam |
| Repair time by machine | 2-5 minutes | Covers setup plus a short seam |
| Matching thread | 40-60 cm by hand | Leaves enough for anchoring and knots |
| Thread cost consumed | About $0.01-$0.10 | Varies by thread thickness and seam length |
| Basic sewing kit | About $5-$15 | Includes needles, thread, pins, and scissors |
| Pressing temperature | Fabric-appropriate setting | Removes seam distortion after repair |
You need small sharp scissors, a hand-sewing needle or sewing machine, matching thread, pins or clips, and an iron for pressing. Add a thimble for denim, lightweight fusible interfacing for frayed edges, and a seam ripper if old stitches must be removed.
Do not begin with a long thread. A hand-sewing length of 40-60 cm is easier to control than a meter-long strand, which tends to knot and abrade against the fabric.
Step 1: Inspect and Prepare the Opening
Turn the garment inside out and examine the entire damaged area, not only the visible gap. Remove loose thread tails with scissors, but leave sound fabric fibers and intact stitches untouched.
Find the original seam line by following the remaining stitches on both sides. Identify whether the seam allowance is still wide enough to support new stitches. For ordinary clothing, a seam allowance near 1-1.5 cm is common, although overlocked sportswear and tailored garments may use different construction.
You will know this step worked when the opening has clean, stable edges and both fabric layers can be placed together without forcing them. The common mistake is cutting into frayed cloth while trimming thread; use the scissor tips parallel to the fabric and snip only clearly detached thread.
If the seam has a zipper, pocket, waistband, lining, or bulky intersection nearby, mark the start and end of the damaged section with pins. Those reference points help maintain the original shape during stitching.
Step 2: Align the Original Seam Lines
Match the fabric edges along the existing stitch path, keeping the garment’s grain and any print, stripe, or plaid aligned. Pin or clip across the seam every 1.5-2 cm, placing pins perpendicular to the seam so they can be removed easily while sewing.
Do not stretch either layer while aligning it. Stretching creates excess fabric that later forms puckers, while compressing one layer shortens the seam and shifts hems, pockets, or waistbands.
For curved seams, align the fabric in small sections rather than forcing the entire opening flat. Match notches, pocket corners, stripe intersections, and nearby seam junctions before inserting pins.
The checkpoint is simple: the seam should lie flat and the garment should retain its original shape when held from both sides. A common mistake is aligning the raw edges instead of the original stitch line, especially where a seam allowance has been pressed or overlocked.
Step 3: Choose the Repair Direction and Thread
Select the repair method before sewing. Use hand backstitch for an accessible woven seam, ladder stitch for an enclosed lining, and a machine straight stitch for a stable woven seam that can be positioned safely under the presser foot.
Use thread that matches both the fiber behavior and the fabric weight. All-purpose polyester is a reliable choice for most clothing because it has more abrasion resistance and controlled flexibility than ordinary sewing cotton.
| Repair method | Best application | Time | Main limitation |
|---|---|---|---|
| Hand backstitch | Open woven seam, small repair | 5-15 min | Visible interior stitches |
| Hand ladder stitch | Lining, coat, plush item | 8-20 min | Requires careful edge control |
| Machine straight stitch | Cotton, linen, wool, denim | 2-5 min | Difficult in tight enclosed areas |
| Machine narrow zigzag | Jersey, leggings, stretchwear | 3-7 min | Less visually identical to original seam |
| Fusible tape | Temporary flat nonstretch repair | Under 2 min | Stiffness and wash degradation |
Choose a slightly lighter thread for silk and fine rayon. Heavy topstitch thread can cut delicate fibers or create bulky knots. For denim, a standard polyester construction thread in the bobbin often gives a more flexible structural repair than thick decorative thread.
Step 4: Sew a Woven Seam by Hand
A hand backstitch repairs an open woven seam by placing overlapping stitches through both layers, beginning and ending 1 cm beyond the damaged section. The method needs one needle, 40-60 cm of thread, and moderate tension rather than force.
Thread the needle, knot one end, and begin from the garment’s inside. Insert the needle 1 cm before the rip, then make small stitches approximately 2-3 mm long through both layers. Bring the needle up one stitch length ahead, then return it to the end of the previous stitch so each stitch overlaps.
Continue directly along the existing seam line. Keep the thread flat and let the stitches follow the fabric instead of pulling the edges together tightly. At least two or three stitches should overlap intact original stitching at each end.
To finish, make two small stitches in place, form a knot close to the fabric, and clip the thread tail to about 3 mm. Press the seam from the inside using a cloth between the iron and delicate fabric.
You will know the repair worked when the seam opens no further under gentle handling and the fabric lies flat. The common mistake is making tiny, tightly packed stitches that perforate the cloth; stitch density should resemble the original construction rather than resemble embroidery.
Step 5: Close a Lined Seam With a Ladder Stitch
A ladder stitch is the appropriate hand repair when the outside fabric must remain visually clean and the seam is accessible through a small opening in the lining. The stitch catches alternating small folds on each side, creating nearly invisible horizontal bars when the thread is drawn closed.
Turn the garment so the lining opening is accessible. Fold the raw edges inward by about 3-5 mm, then pass the needle from one folded edge to the other at intervals of 5-7 mm. Keep each bite shallow so the thread does not show on the outer shell.
Work across the opening, checking every few stitches that the edges meet without overlapping. Pull the thread only until the opening closes; excessive tension produces a gathered line.
The checkpoint is an uninterrupted outer surface with a flat lining seam. Ladder stitch is less suitable for a high-load crotch or shoulder seam unless the original structural seam is also restored, because its small edge catches can pull out of weak cloth.
Step 6: Repair the Seam With a Machine
A sewing machine repairs a stable woven seam quickly when the new stitches overlap the intact seam and the fabric enters the machine without distortion. Set a straight stitch near 2.5 mm, use matching thread in the needle and bobbin, and test on a fabric scrap first.
Place the garment under the presser foot with the original seam line aligned to the needle. Begin 1 cm before the opening, sew forward three or four stitches, reverse over those stitches to lock the start, and then sew across the gap at the original stitch path.
Remove pins before the needle reaches them. At the far end, sew 1 cm beyond the rip, reverse three or four stitches, and sew forward again for a clean lock. Trim the thread tails and inspect the underside for loops or loose bobbin thread.
For a curved or bulky area, turn the handwheel manually for the first stitches. A walking foot can help with thick layered fabric, while a narrow free arm is useful for cuffs and pant legs.
The checkpoint is balanced stitching on both sides, with no skipped stitches or bobbin loops. The common mistake is starting exactly at the visible gap; the nearby original stitches may already be weakened, so the 1 cm overlap carries the load into stable seam construction.
How Do You Fix a Knit or Stretch Seam?
Repair a knit or stretch seam with a narrow zigzag, stretch stitch, or serger seam rather than a rigid straight stitch. A useful starting point is a 1.5 mm zigzag width and 2.0 mm stitch length, adjusted after testing on the same fabric.
Use a ballpoint or stretch needle, which separates knit loops rather than cutting them as a sharp universal needle can. Polyester thread is generally preferable because it tolerates repeated movement and laundering better than brittle, degraded thread.
Support the fabric lightly while sewing, but do not pull it forward or backward. If the garment contains spandex, the repair must extend through the same stretch zone as the original seam, or the fabric will transfer stress to the nearest unreinforced stitches.
You will know the repair is suitable when the seam can stretch gently without thread snapping and returns without a permanent ridge. The common mistake is choosing a very wide zigzag that leaves a visibly bulky seam; narrow movement is usually enough for ordinary jersey.
How Should You Repair Denim and High-Stress Seams?
Denim crotch seams, inner thighs, seat seams, underarms, and backpack straps need reinforcement beyond a single replacement row. Sew into stable fabric, use a jeans needle sized 90/14 or 100/16, and consider a second parallel row where the original garment had one.
For denim with frayed edges, place lightweight fusible interfacing behind the damaged area before sewing, following the product’s temperature and pressing-time instructions. The interfacing supports loose yarns, but it cannot restore fabric that has worn completely thin.
A serger or overlock stitch can contain raw edges after the structural seam is closed. On a domestic machine, a wide zigzag over the seam allowance can reduce further unraveling, provided it does not interfere with a zipper, pocket, or waistband.
The practical rule is to reinforce the cause, not merely the gap. If thigh friction caused the failure, repairing only the thread leaves the surrounding denim vulnerable and may move the next failure a few centimeters away.
Can Fusible Tape Replace Sewing?
Fusible bonding tape can close a short opening in a flat, nonstretch fabric when sewing is impossible, but it is usually a temporary or appearance-focused solution rather than the strongest structural repair. The tape needs an iron, a pressing cloth, and fabric that tolerates heat.
Cut tape slightly shorter than the damaged section, place it between the aligned seam allowances, and press according to the tape manufacturer’s instructions. Do not drag the iron across the area, because sliding can shift the layers before the adhesive cools.
Fusible tape is unsuitable for most high-stress seams, elastic knits, waterproof coatings, and heat-sensitive synthetics. Adhesive can stiffen the seam, show through lightweight fabric, or weaken after repeated washing.
Use tape for an emergency hem, a temporary costume repair, or a short opening in a stable cotton garment. For a washable everyday garment, stitching provides a more serviceable repair.
How Much Time and Money Does Repair Take?
A small ripped seam usually costs pennies in consumed thread and takes 5-15 minutes by hand or 2-5 minutes with a prepared sewing machine. A professional tailor commonly charges about $10-$25 for a basic seam repair, with lined jackets, formalwear, leather, and complex construction costing more.
| Repair scenario | DIY time | Typical DIY consumable cost | Typical professional price |
|---|---|---|---|
| 2-5 cm open cotton seam | 5-10 min | $0.01-$0.05 | $10-$15 |
| 5-10 cm trouser seam | 8-15 min | $0.03-$0.10 | $12-$20 |
| Lined coat seam | 10-20 min | $0.05-$0.20 | $18-$35 |
| Denim crotch reinforcement | 10-25 min | $0.10-$0.50 | $20-$50 |
| Stretch activewear seam | 5-15 min | $0.05-$0.20 | $15-$30 |
The low DIY material cost assumes that scissors, needles, thread, pins, and an iron are already available. A beginner buying a basic kit may spend $5-$15 initially, while a machine repair has a higher equipment cost but lower time per garment.
Why Is the Repaired Seam Puckering?
A repaired seam puckers when the thread tension, fabric feed, or stitch length gathers one layer instead of allowing both layers to lie flat. Hand sewing puckers when the thread is pulled too tightly; machine sewing puckers when tension is excessive or the needle and fabric are mismatched.
Unpick the affected stitches rather than pressing the puckers flat permanently. On a machine, reduce upper tension in small increments, such as 0.5, and retest on scrap fabric. Check that the presser foot is lowered and that the fabric is not being pulled.
Fine fabrics may need a smaller needle, shorter stitch length, and stabilizing tissue beneath the seam. Stretch fabric may need a stabilizer during stitching, but remove temporary stabilizer carefully after sewing.
Pressing can settle minor distortion after the seam is corrected. Pressing cannot compensate for a gathered stitch line.
Why Does the Repair Thread Break?
A repair thread breaks when the stitch cannot accommodate fabric movement, the needle damages the thread, or the thread is weak relative to the load. Straight stitches commonly fail on knits, while a blunt or incorrect needle can cause skipped stitches and abrasion on woven fabric.
For a broken repair on stretchwear, remove loose thread, insert a ballpoint or stretch needle, and resew with a narrow zigzag. For denim, use a fresh jeans needle and sew slowly through thick intersections instead of forcing the fabric beneath the foot.
Thread that has become brittle from age, heat, or sunlight should be discarded. The correct color does not matter if the thread has lost strength.
If the thread breaks at the same point repeatedly, inspect the garment’s fit and stress pattern. A seam that is under constant tension may need a wider seam allowance, a second row of stitches, or professional alteration rather than repeated surface repairs.
What Should You Do When the Fabric Is Fraying?
When fabric has frayed beyond the original seam line, move the replacement seam 2-3 mm into stable cloth and reinforce the seam allowance before stitching. Sewing through loose fringe alone creates a neat-looking line with little holding power.
Trim only long detached fibers. Apply lightweight fusible interfacing to the wrong side if the fabric can tolerate heat, then let it cool completely before positioning the seam. For no-heat fabrics, use a small backing patch or consult a repair professional.
A frayed edge can also indicate a loose weave, abrasion, or fabric fatigue. If the area surrounding the seam feels thin over several centimeters, a patch or full panel replacement may last longer than a narrow reseam.
The checkpoint is a seam that holds when the garment is lifted by neighboring fabric, without the edge continuing to shed threads. Do not saturate the edge with liquid fabric glue unless the product is compatible with washing and the stiffness is acceptable.
When Is Professional Repair the Better Choice?
A tailor is the better choice when the fabric is valuable, the damage affects a zipper or structured lining, the cloth is leather or silk, or the surrounding material is worn thin. Professional repair also makes sense when the seam controls garment fit, such as a shoulder, waistband, formal bodice, or tailored jacket.
| Situation | Home repair risk | Better professional service |
|---|---|---|
| Silk charmeuse with pulled threads | Needle marks and puckering | Specialist hand mending |
| Leather or suede seam | Permanent punctures | Leather alteration |
| Waterproof laminated fabric | Failed seam seal | Technical garment repair |
| Tailored jacket lining | Twisting and poor access | Tailoring or alteration shop |
| Repeated failure at same location | Underlying fit or wear issue | Reinforcement and fit assessment |
| Fabric tears under gentle pressure | Enlarged damage | Panel repair or replacement |
A tailor’s $10-$25 basic seam charge can be economical when an incorrect home repair would damage a $150 jacket or a delicate dress. Bring the garment clean and identify whether preserving the original topstitching or seam finish matters.
Common Mistakes and How to Fix Them
- Starting at the visible hole: Begin and end 1 cm inside intact stitches. The overlap transfers tension away from weakened thread.
- Pulling the thread tight: Maintain light, even tension. Cut and resew gathered sections instead of trying to flatten them with an iron.
- Using a straight stitch on stretch fabric: Replace it with a narrow zigzag or stretch stitch and a ballpoint needle.
- Sewing over pins: Remove pins before the needle reaches them. A machine needle can break, and fragments can injure the operator.
- Ignoring the seam allowance: If the edge has frayed, reinforce it and sew 2-3 mm deeper into stable fabric.
- Using old thread: Replace brittle or sun-damaged thread, even when the color matches perfectly.
One practitioner rule prevents many failed repairs: match the new stitch to the garment’s original behavior, not merely to its appearance. A visually identical straight stitch is wrong if the original seam stretched.
How Can You Prevent Another Ripped Seam?
Prevent recurrence by reducing the stress that caused the original failure. Inspect high-friction areas after laundering, avoid overloading pockets, wash elastic garments without excessive heat, and repair small thread breaks before they become open seams.
For workwear and denim, reinforce high-load seams before visible failure with a second row or internal overcast finish. For knits, use a flexible seam finish and avoid cutting into the loop structure with a sharp needle.
Check fit as well. A garment that pulls horizontally across the seat, bust, shoulder, or thigh can repeatedly break a technically correct repair. Altering the fit may solve the problem more effectively than adding thread.
Frequently Asked Questions
Can I fix a ripped seam without turning the garment inside out?
You can make a temporary repair from the outside, but turning the garment inside out produces a cleaner and stronger result because the seam allowance remains hidden. If access is limited, use small ladder stitches from the visible side only when matching thread and careful edge bites can conceal the repair.
What thread is best for repairing clothing seams?
All-purpose polyester thread is the best general choice for most clothing because it combines abrasion resistance with modest flexibility. Use fine polyester or silk thread for delicate fabric, heavier polyester for denim, and avoid brittle old cotton thread on garments that experience repeated movement.
How do I fix a ripped seam in pants?
Turn the pants inside out, align the original seam, pin across the opening, and resew 1 cm beyond each end. Use a straight stitch for woven trousers and a narrow zigzag for stretch pants; crotch and inner-thigh repairs may need interfacing or a second reinforcing row.
Can fabric glue permanently repair a ripped seam?
Fabric glue can hold a short, low-stress opening, but it is not a dependable permanent replacement for thread on most washable garments. Glue may stiffen the fabric, lose adhesion after laundering, or fail when the seam flexes, so reserve it for temporary repairs and stable nonstretch materials.
How do I repair a seam when the original stitch holes are enlarged?
Move the new seam 2-3 mm into undamaged fabric if the seam allowance permits, then reinforce the area with lightweight interfacing. If the holes extend across a broad section or the fabric feels thin, a patch or professional reconstruction will last longer than sewing into the same openings.
Should I knot the thread at the start and end of a machine repair?
A machine repair normally uses reverse stitching rather than hand knots. Sew three or four reverse stitches at both ends, then trim the thread tails; knots are mainly needed for hand sewing or for machine repairs where the construction prevents reliable backstitching.
The Bottom Line
To fix a ripped seam, identify whether the thread or the fabric failed, turn the garment inside out, align the original seam, and resew at least 1 cm into intact stitching on both ends. Use a backstitch or lockstitch for woven fabric, a ladder stitch for accessible linings, and a narrow zigzag for stretch fabric.
A careful repair takes 5-15 minutes by hand and usually costs only a few cents in thread. Reinforce frayed or high-stress areas before sewing, and choose a tailor when the fabric, lining, or garment structure makes an inaccurate repair more expensive than professional service.


