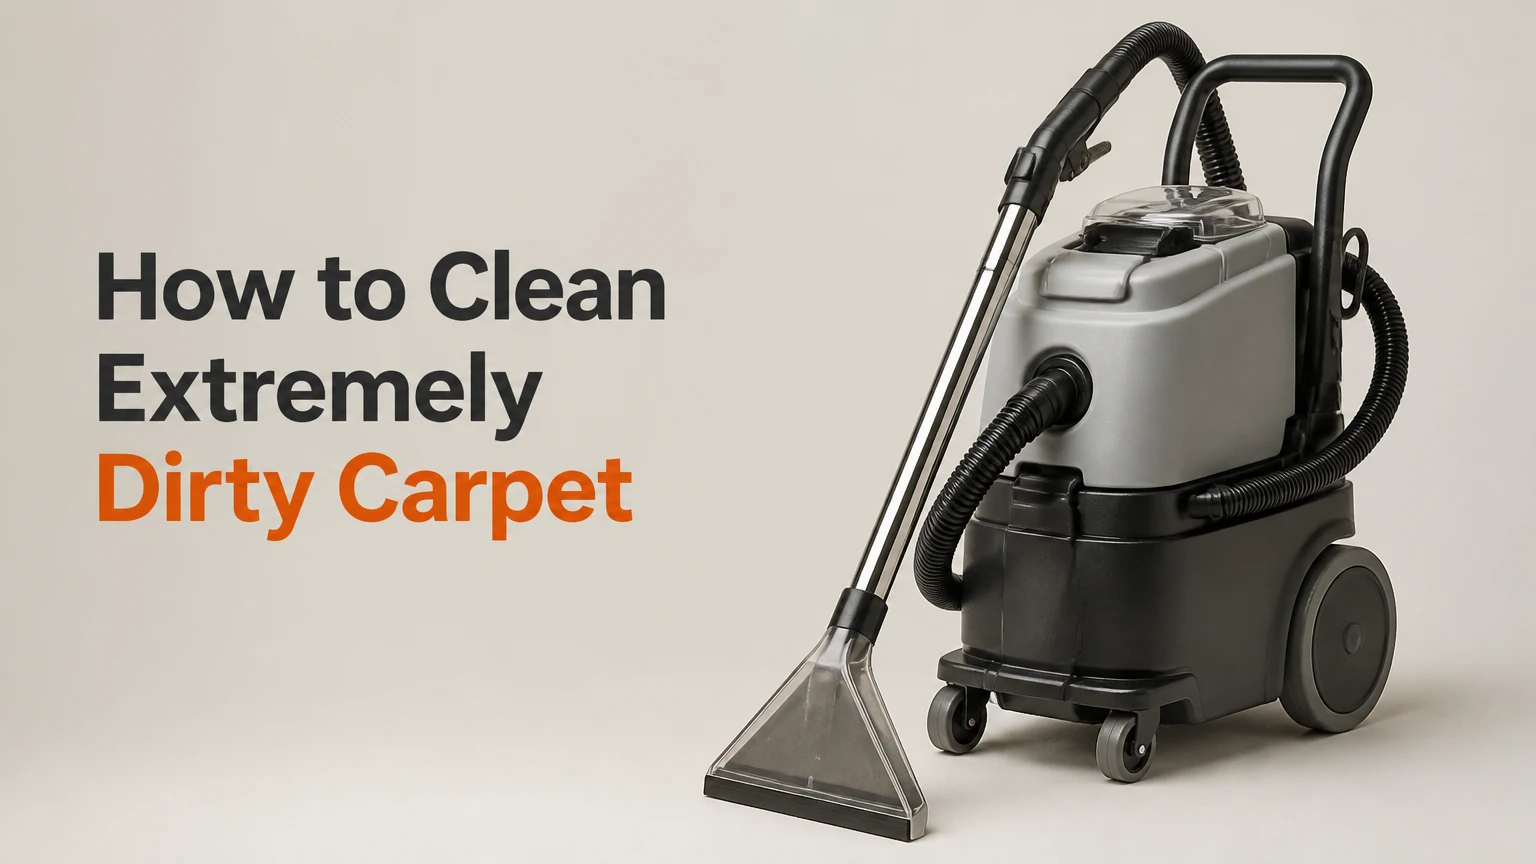
To clean extremely dirty carpet, inspect and test the fibers, vacuum deeply, treat spots, pre-spray and agitate, extract slowly, then dry and inspect it. Allow 4.5-6.5 hours of active work and 6-12 hours of drying for a 12×15-foot room. Controlled moisture is the biggest success factor.
Before You Start
Time: 4.5-6.5 hours of active work for a 12×15-foot room, plus 6-12 hours of drying.
Difficulty: Moderate. A first-timer can succeed with a rental extractor, careful chemical measuring, and patient drying.
Typical DIY cost: $60-$180, including equipment rental, cleaning products, and protective supplies. Professional extraction commonly costs about $150-$400 for one average room, depending on location, access, soil level, and furniture.Conditions: Work in a room above 60°F with working ventilation. Keep people and pets away until the carpet is completely dry. Do not begin if water has soaked the padding, the carpet has visible mold, or the subfloor may be damaged.
| Item | Quantity or specification | Typical cost | Purpose |
|---|---|---|---|
| Upright vacuum | Adjustable-height brush roll | $80-$300, or existing | Removes dry grit before moisture is added |
| Carpet extractor | Rug Doctor, BISSELL Big Green, or commercial equivalent | $35-$70 rental | Flushes soil from the pile |
| Carpet rake | Nylon rake or stiff nylon brush | $15-$35 | Separates fibers and improves drying |
| Pump sprayer | 1-gallon capacity | $10-$25 | Applies pre-spray evenly |
| White microfiber towels | 5-6 clean towels | $10-$20 | Blotting and colorfastness testing |
| Heavy-duty pre-spray | 6 ounces concentrate, or 2 scoops powder | $15-$35 | Loosens oily, embedded soil |
| Extraction rinse | 2-4 ounces, low-foaming | $10-$25 | Rinses loosened soil |
| Acidic carpet rinse | 2 ounces, only if label permits | $10-$25 | Helps neutralize alkaline residue |
| 70% isopropyl alcohol | Up to 4 ounces for oil spots | $3-$8 | Breaks down some oily residue |
| Baking soda | One 16-ounce box | $1-$3 | Absorbs odor after the carpet is dry |
| Hot water | 5-10 gallons, 140-150°F | $0-$5 | Extractor solution and rinse |
| Air mover or fans | High-velocity preferred | $0-$150 | Removes moisture quickly |
Use products designed for your carpet fiber and extractor. The exact dilution on the product label overrides generic quantities. Never combine bleach, ammonia, vinegar, alcohol, acidic rinse, or carpet detergents in the same container.
| Step | Action | Typical time | Most common mistake |
|---|---|---|---|
| 1 | Inspect and test the carpet | 15-20 minutes | Skipping fiber and colorfastness checks |
| 2 | Remove dry soil thoroughly | 30-45 minutes | Wet-cleaning grit that should have been vacuumed |
| 3 | Treat identifiable spots | 15-20 minutes | Scrubbing or using one chemical on every stain |
| 4 | Apply and agitate pre-spray | 20-30 minutes | Over-wetting or allowing pre-spray to dry |
| 5 | Extract with controlled passes | 1.5-2 hours | Making too many wet passes |
| 6 | Groom and dry the carpet | 20-30 minutes to set up | Closing the room while the backing stays wet |
| 7 | Inspect and correct remaining defects | 15-30 minutes | Judging results before complete drying |
Step 1: Inspect and Test the Carpet
Identify the carpet fiber, inspect its condition, and test every cleaning product in a hidden area.
Find the manufacturer label, usually beneath furniture, at a doorway, or on the carpet roll. Synthetic nylon and polyester generally tolerate hot-water extraction better than wool, rayon, viscose, jute-backed, antique, or hand-tufted carpet. Check for loose seams, bubbling, delamination, frayed edges, exposed tack strips, and discoloration caused by sunlight.
Mix each product exactly as its label directs. Apply one teaspoon to a hidden edge, then blot with a white towel after 60 seconds. Leave the area for 10 minutes and check the towel and carpet for dye transfer, lightening, texture change, or sticky residue. Do not proceed if the color changes.
You’ll know it worked when the test area remains the same color and texture, and the towel stays clean. If the carpet is wool, viscose, glued down, moldy, or water-damaged, stop and use a certified carpet cleaner. The Carpet and Rug Institute and the carpet manufacturer’s care label take priority over a general DIY formula.
Common mistake: assuming “carpet” means one material. Wool and plant-based fibers can shrink, brown, bleed, or distort with ordinary synthetic-carpet chemistry.
Step 2: Remove Dry Soil Thoroughly
Remove all furniture and vacuum the carpet slowly in two directions before applying any liquid.
Take out furniture where possible, then place foil or waterproof furniture blocks under anything that must remain. Protect baseboards and nearby wood flooring from overspray. Pick up coins, toys, staples, and hard debris by hand. Set the vacuum brush roll to the lowest height that does not make the machine difficult to push.
Vacuum north-to-south across the room, then east-to-west. Move at roughly 12 inches every 5-10 seconds. Make 4-5 passes over dark traffic lanes, entryways, and areas near doors. Empty the vacuum before it loses suction, and clean or replace a clogged filter. Use a crevice tool along baseboards and under furniture edges.
The CRI Carpet Cleaning Standards emphasize removing dry particulate soil before wet cleaning because grit can abrade carpet fibers when walked on. This is the slowest part for neglected carpet, but it prevents muddy extraction water.
You’ll know it worked when the vacuum canister collects little additional grit after a final pass and the pile begins standing up rather than looking flattened. Do not dampen dust first. Moisture turns loose sand into paste and pushes it toward the backing.
Common mistake: rushing through vacuuming because the carpet already looks dirty. Deep cleaning cannot compensate for leaving a layer of dry abrasive soil in place.
Step 3: Treat Identifiable Spots
Blot each identifiable stain with the product suited to its chemistry, working from the outside edge toward the center.
Use a white towel and 1-2 teaspoons of spot remover per small spot. First remove solids with a spoon or dull scraper. For grease and oil on compatible synthetic carpet, put up to 4 ounces of 70% isopropyl alcohol in a separate container, dampen a towel rather than pouring it on the carpet, and blot the stain from its perimeter inward. Keep the room ventilated and keep alcohol away from flames.
Use an enzyme product labeled for carpet on fresh pet urine, following its dwell time and dilution. Use a tannin or oxygen-based product only if the label permits it for the fiber. Blot until the towel stops picking up soil, then lightly rinse the spot with clean water and blot again. Do not apply alcohol to wool, rayon, viscose, or unknown fibers without a professional’s approval.
You’ll know it worked when the stain transfers to the towel, the carpet does not feel slick, and the treated area does not spread beyond its original boundary. Some permanent dye, bleach marks, rust, and fiber damage cannot be removed.
Common mistake: scrubbing back and forth. Pressure and friction untwist pile, spread liquid, and can create a lighter patch. Use short downward presses instead.
Step 4: Apply and Agitate Pre-Spray
Apply a measured pre-spray evenly, agitate it gently, and keep its 10-minute dwell time from reaching dryness.
For a typical synthetic carpet, mix 6 ounces of heavy-duty pre-spray concentrate with 1 gallon of hot water in a clean pump sprayer, or use 2 scoops of powdered traffic-lane cleaner if that product specifies it. Do not combine powder and liquid products. Pump the sprayer and apply a fine, even mist until the pile is damp, not shiny or saturated.
Work in 50- to 75-square-foot sections so no area dries before extraction. Use a carpet rake or stiff nylon brush with moderate pressure, making one or two passes in opposing directions. Avoid aggressive scrubbing, especially on loop pile. Let the solution dwell for 10 minutes. Start extraction sooner if the room is warm, the air is dry, or the pre-spray begins to dry.
You’ll know it worked when the carpet feels uniformly damp, the fibers separate under the rake, and traffic lanes look less gray before extraction. The solution should not pool, run toward baseboards, or reach the carpet backing.
Common mistake: treating “more chemical” as “more cleaning.” Excess detergent creates residue that attracts soil. Measure it, and follow the product label if its dilution differs from this typical figure.
Step 5: Extract With Controlled Passes
Extract one slow wet pass followed by two slow suction-only passes over each strip.
Fill the extractor’s clean-water tank with 140-150°F water, unless the machine manual specifies a lower temperature. Very hot water can damage some fibers, dyes, adhesives, or machine components. Add 2 ounces of low-foaming extraction shampoo only when the machine and product label allow it. Add 2 ounces of acidic carpet rinse only if the rinse label permits use in that tank. Otherwise, use the rinse in a separate step or plain water.
Begin at the farthest corner and work toward the exit. Pull the machine backward at approximately 1 inch per second while holding the spray trigger for one wet pass. Release the trigger, then make two slow suction-only passes over the same strip. Overlap the next strip by 2 inches. Empty the recovery tank when full and watch for foaming.
BISSELL and Rug Doctor operating instructions both stress slow movement and additional extraction passes because speed leaves moisture and soil behind. Do not make repeated wet passes simply because the carpet remains dark; a dirty recovery tank is normal during the first passes.
You’ll know it worked when the recovery tank contains visibly dirty water, no standing water remains, and the carpet feels damp rather than wet underfoot. The machine should leave no glossy puddles.
Common mistake: adding acidic rinse directly to detergent without checking compatibility. An acid can react with alkaline chemistry or damage a product’s performance. Never improvise a chemical mixture.
Step 6: Groom and Dry the Carpet
Groom the pile, position fans, and run ventilation continuously until the carpet and padding are fully dry.
Use the carpet rake to lift the fibers in one consistent direction. Place a high-velocity air mover at approximately a 45-degree angle across the carpet, or aim several floor fans so air moves over the surface rather than straight into one small patch. Set the HVAC fan to “On,” not “Auto,” and keep the indoor temperature near 72°F. Use a dehumidifier if the room feels humid.
Open windows slightly only when outdoor humidity is below 50 percent. Keep doors open if that improves cross-ventilation, but block pets and children from walking on the damp carpet. Move fans every few hours if one area remains wet. Avoid replacing furniture until the carpet is dry; if necessary, use foil or waterproof blocks.
A typical 12×15-foot room needs 6-12 hours to dry after effective extraction. Thick padding, high humidity, poor airflow, and multiple wet passes extend that period. IICRC S100-2021 treats rapid structural drying and moisture control as important safeguards against microbial growth.
You’ll know it worked when the carpet feels dry at the surface and along seams, smells neutral, and no cool dampness remains after pressing a dry white towel into the pile for 10 seconds.
Common mistake: closing windows and turning off fans because the surface looks dry. The backing and pad dry last.
Step 7: Inspect and Correct Remaining Defects
Inspect the fully dry carpet in daylight, then correct residue, wicking, or odor with the least wet method available.
Walk the room in different directions and compare cleaned areas with edges near walls. Check for stiff texture, dark returning spots, yellow-brown discoloration, and odor. If an old stain reappears, lightly dampen only its tips with clean water and place a clean white towel over it. Weight the towel with a flat, non-staining object overnight, then remove it and dry the area.
For crunchy carpet caused by detergent residue, mix 1 cup of white vinegar with 1 gallon of warm water only after testing compatibility. Lightly mist the affected area, then extract with plain water. Do not use vinegar on wool, natural fibers, or a carpet manufacturer that prohibits acidic products.
For a wet-dog smell, do not cover a damp carpet with baking soda. Wait until it is dry, spread a heavy layer of baking soda for 4 hours, vacuum thoroughly, and run a dehumidifier for 24 hours. Persistent urine or microbial odor usually requires subsurface treatment.
You’ll know it worked when the pile feels flexible, the towel stays clean, and the carpet remains free of returning stains after another 24 hours.
Common mistake: repeating the entire wet-cleaning cycle immediately. Re-wetting can deepen wicking and prolong pad moisture. Correct the specific defect first.
Common Mistakes and How to Fix Them
The carpet stays wet longer than 12 hours
Stop walking on it and increase airflow immediately. Add an air mover, run HVAC continuously, and use a dehumidifier. Inspect seams and room edges for wet padding. If the backing is still wet after 24 hours, or the room smells sour, contact a water-damage or carpet-cleaning professional before mold develops.
The carpet looks clean, then becomes dirty again
This usually indicates detergent residue, insufficient rinsing, or soil left in the backing. Vacuum once dry, then lightly rinse the affected area with plain water and make extra suction-only passes. Do not add more shampoo. If the entire room resoils quickly, have it professionally rinsed.
Old stains return after drying
This is wicking. The original contamination remains in the backing or pad and travels upward as moisture evaporates. Use the damp towel-and-weight method in Step 7. Pet urine, milk, and heavily tracked soil may require lifting the carpet edge and treating or replacing contaminated padding.
Carpet feels stiff or crunchy
Dried alkaline detergent remains on the fibers. First vacuum thoroughly. Then perform a small plain-water extraction rinse. Use the vinegar solution only when the carpet and product labels permit it, because an unsuitable acid can damage dyes or natural fibers.
The carpet has yellow or brown areas after cleaning
Browning can occur when natural backing materials or old residue migrate upward. Avoid repeated soaking. Dry quickly, blot surface discoloration, and ask a professional to identify whether the cause is fiber damage, backing browning, rust, or chemical reaction.
The carpet bleeds color or develops a lighter patch
Stop immediately and blot with clean white towels. Do not apply another chemical to counteract it. Color loss or dye migration may be permanent. Photograph the area, record the products used, and contact the manufacturer or a carpet technician.
Variations for Different Situations
If you have a small home carpet cleaner
Use the machine manufacturer’s formula and tank markings rather than the generic 2-ounce quantity. Home units have smaller tanks and weaker suction, so clean 25- to 50-square-foot sections. Make one wet pass and at least two dry passes, emptying the recovery tank frequently. Expect slower drying and avoid applying enough pre-spray to saturate the pad.
If you have no extractor
You can improve surface soil with thorough vacuuming, targeted blotting, a lightly applied carpet-safe pre-spray, agitation, and absorbent towel extraction. Do not attempt to flood the carpet and remove water with a household vacuum unless that vacuum is explicitly rated for liquids. This alternative will not match hot-water extraction for deeply embedded soil or urine in the pad.
If the carpet is wool or another natural fiber
Do not use the synthetic-carpet formula, hot water, stiff agitation, vinegar rinse, alcohol, or baking soda without approval. Wool can felt, shrink, bleed, and retain moisture. Follow the care label and use a technician trained in wool cleaning, usually with low-moisture or carefully controlled extraction methods.
If the dirt is mainly pet urine
Remove solid waste, blot fresh liquid, and use a carpet-labeled enzymatic treatment with its stated dwell time before general cleaning. Urine often reaches the pad, so surface extraction alone may leave odor. Use a moisture inspection and professional subsurface treatment when odor returns after drying.
If the carpet has mold or flood damage
Do not clean it as an ordinary dirty carpet. Isolate the room, avoid disturbing visible mold, and address the water source. Porous padding may require removal, and contaminated carpet may not be salvageable. A qualified remediation contractor should determine the safe response.
How Long Does It Take and What Does It Cost?
For one 12×15-foot room, plan for 4.5-6.5 hours of active work and 6-12 hours of drying. Heavy furniture, multiple traffic lanes, thick pile, high humidity, and weak equipment move the job toward the upper end.
| Cleaning option | Active time | Drying time | Typical cost | Best use |
|---|---|---|---|---|
| Home extractor | 3-6 hours | 8-24 hours | $20-$80 if owned or rented | Small rooms and moderate soil |
| Rental commercial extractor | 4.5-6.5 hours | 6-12 hours | $60-$180 total DIY cost | Extremely dirty synthetic carpet |
| Professional hot-water extraction | 1-3 hours on site | 4-12 hours | $150-$400 per average room | Deep soil, urine, wool, or delicate carpet |
| No-machine cleaning | 2-5 hours | 6-24 hours | $10-$50 | Light surface improvement only |
A rental is usually the practical middle option, but the machine’s suction, your pass speed, and drying setup determine the result more than the label on the equipment.
Frequently Asked Questions
Can I use dish soap to clean extremely dirty carpet?
Avoid dish soap. It produces foam and leaves a residue that ordinary extractors may not remove. Use a low-foaming carpet extraction detergent approved for your machine and fiber. If dish soap has already been used, rinse with plain water and make additional suction-only passes rather than adding another detergent.
Should I steam clean carpet or shampoo it first?
For heavy soil, vacuum first, apply a compatible pre-spray, agitate, and then perform hot-water extraction. “Steam cleaning” commonly refers to heated extraction, not dry steam. Shampoo without thorough extraction can leave residue, while extraction removes loosened soil and cleaning solution together.
How hot should the water be?
Use 140-150°F water as a typical range for compatible synthetic carpet and equipment, but follow the machine and carpet labels first. Some home machines are designed for cooler water, and natural fibers or unstable dyes may require lower-temperature cleaning. Never use boiling water.
Can I leave furniture on the carpet?
Remove as much furniture as possible. Furniture blocks or foil can protect legs that must remain, but heavy furniture can trap moisture and create rust or dye transfer. Do not replace furniture directly on damp carpet. Wait until the pile and backing are completely dry.
Will baking soda remove a severe carpet odor?
Baking soda can absorb some odor from a completely dry surface, but it will not remove urine, mildew, or contamination in the pad. Apply it for up to 4 hours, vacuum carefully, and improve ventilation. Persistent odor means the contamination needs targeted treatment rather than more powder.
When should I stop and hire a professional?
Hire a professional for wool, viscose, antique, hand-tufted, mold-affected, flood-damaged, or urine-saturated carpet, and when color transfers during testing. Also stop if the carpet remains wet beyond 24 hours, develops strong odor, or shows bubbling, delamination, or widespread dye bleeding.
Conclusion
The reliable way to clean extremely dirty carpet is to remove dry grit first, match chemistry to the fiber, extract with one controlled wet pass and two dry passes, and dry the backing quickly. Use the smallest amount of solution that works, inspect after 24 hours, and hire a professional when testing, moisture, or carpet construction creates uncertainty.


