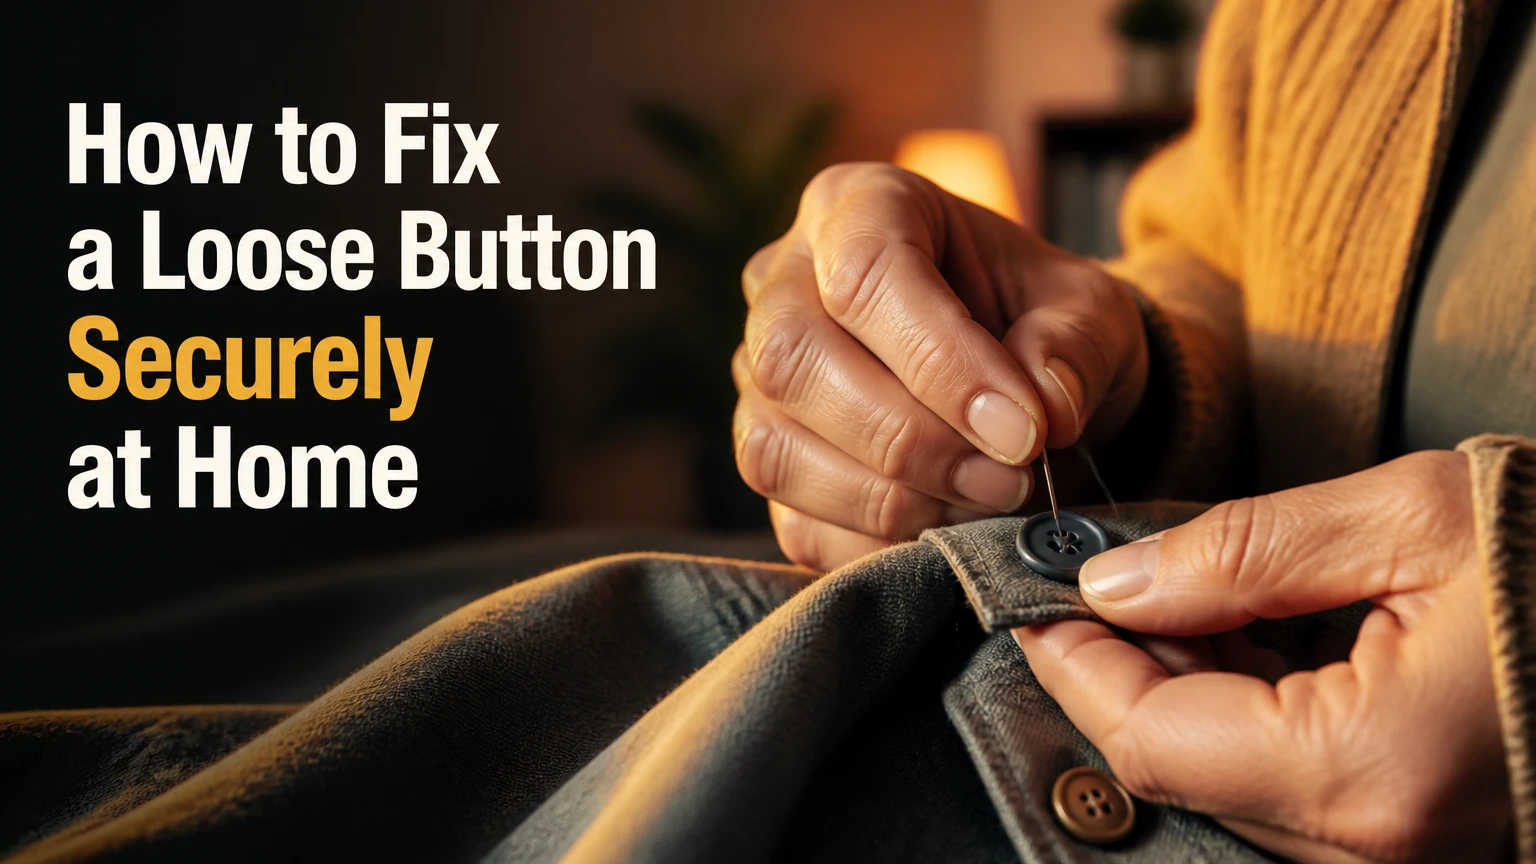
To fix a loose button, remove frayed thread, anchor matching thread through the garment, sew the button with 5-8 passes, leave a 1/16- to 1/8-inch gap, wrap the thread shank, and knot it on the inside. A standard flat button takes about 3-5 minutes and needs a needle, thread, scissors, and a spacer.
Key Facts at a Glance
- A flat button needs a thread shank, usually 1/16-1/8 inch, so the buttonhole can pass underneath without pulling.
- Use approximately 18-24 inches of polyester or button thread for one repair.
- Sew through each pair of holes 5-8 times, then wrap the exposed thread beneath the button 3-4 times.
- A shank button already has a built-in loop and normally does not need a toothpick spacer.
- Fabric tears require reinforcement before sewing, often with a small piece of fusible interfacing or an inside stay button.
- Fabric glue is an emergency measure, not a durable replacement for sewn thread on washable clothing.
Why Buttons Become Loose
A loose button usually results from stretched, frayed, or unraveled securing thread, but the thread is not always the real failure point. Repeated tension from buttoning, laundering, dry cleaning, and pulling against a tight garment gradually transfers force into the button stitches and surrounding fabric.
The button works as part of a mechanical system. The button passes through a buttonhole, the fabric holds the button in position, and the thread acts as the anchor between both parts. A button sewn flush to the garment receives excessive sideways force because the buttonhole cannot sit freely beneath it.
A repair will fail again if the button is attached to weak fabric, if the buttonhole is too small, or if the replacement button has a different thickness from the original. Inspect the whole area before sewing.
| Failure type | Visible symptom | Correct response | Typical time |
|---|---|---|---|
| Loose sewing thread | Button still has intact fabric underneath | Remove old thread and resew | 3-5 minutes |
| Frayed thread | Fuzzy strands or partial detachment | Cut loose fibers and create a new anchor | 4-6 minutes |
| Torn garment fabric | Hole has enlarged or fabric has split | Reinforce the underside before sewing | 8-15 minutes |
| Damaged buttonhole | Buttonhole edge is stretched or unraveling | Repair buttonhole before reattaching button | 10-20 minutes |
| Metal stud loosened | Button rotates or lifts from denim | Tighten only if undamaged, otherwise replace | 5-20 minutes |
Before You Start
A standard flat-button repair requires a hand-sewing needle, 18-24 inches of matching thread, small scissors, and a toothpick or similarly narrow spacer. The repair costs less than $1 when those tools are already available, while a tailor commonly charges a typical $2-$5 per button for a basic reattachment.
Choose Thread and Needle Size
Choose polyester all-purpose thread for lightweight shirts, button thread for jackets and trousers, and heavy-duty polyester or bonded nylon only when the fabric and button can tolerate the added force. Thread that is much stronger than the garment can tear the fabric instead of breaking first.
A medium sharp needle, approximately size 이 ? Need avoid odd. Use size 70/10 to 80/12 for shirts and 90/14 for coats/denim. Button thread is thicker and more abrasion-resistant than ordinary sewing thread, but it can look oversized on fine cotton or silk.
| Garment | Recommended thread | Needle | Thread length |
|---|---|---|---|
| Cotton shirt | Matching polyester, doubled | 70/10 or 80/12 | 18 inches |
| Wool trousers | Button thread or doubled polyester | 80/12 or 90/14 | 20 inches |
| Blazer or winter coat | Heavy polyester or button thread | 90/14 | 24 inches |
| Jeans or canvas | Heavy polyester for sewn buttons | 90/14 or 100/16 | 24 inches |
| Silk or fine rayon | Fine matching polyester, single strand | 60/8 or 70/10 | 18 inches |
Waxing thread with a small amount of beeswax can reduce tangling and improve abrasion resistance, but test it on an inconspicuous area first. Wax may leave a visible residue on very light or delicate fabric.
Identify the Button Type
Flat buttons have two or four holes through the face and require a manually created thread shank. Shank buttons have a loop on the underside, so the sewing thread passes through that loop and the loop provides the clearance.
Jeans and many work jackets use two-piece metal studs rather than sewn buttons. A stud is attached through the fabric by a post, cap, or rivet, so pulling a needle through its face will not repair the attachment.
| Button type | Typical garments | Spacer needed | Repair method |
|---|---|---|---|
| Two-hole flat | Shirts, skirts, linens | Yes | Sew through both holes |
| Four-hole flat | Shirts, trousers, uniforms | Yes | Sew parallel or crosswise |
| Shank button | Coats, blazers, wool garments | No | Sew through rear loop |
| Sew-on snap | Blouses, baby clothing, bags | No | Sew each snap section separately |
| Metal jeans stud | Denim, canvas jackets | No | Tighten or replace hardware |
How to Fix a Loose Button
The following method repairs a standard two-hole or four-hole flat button in seven steps. The most important control is clearance: the finished button must have enough room for the buttonhole to sit beneath it without compressing the garment.
Step 1: Remove the Old Thread
Cut away every loose or frayed strand with small scissors. Do not pull aggressively, because a damaged thread may be holding a small section of fabric together.
Examine the fabric under strong light. A stable weave should show a small existing stitch area without splitting, elongation, or a visible hole larger than the button thread.
Success checkpoint: The button area is free of loose thread, and the fabric remains flat when gently tugged.
Common mistake: Cutting into the garment while removing thread. Keep scissor tips parallel to the fabric surface.
Step 2: Prepare and Anchor the New Thread
Cut 18-24 inches of matching thread and thread the needle. For ordinary polyester thread, use a doubled strand for shirts and trousers; use a single strand of button thread if its thickness already matches the original sewing.
Tie a compact knot at the thread end. Push the needle from the inside of the garment to the outside, 1-2 millimeters from the original button position. Make two small backstitches in the fabric before placing the button.
Success checkpoint: A gentle pull from the front does not draw the knot through the weave.
Common mistake: Beginning directly through a buttonhole. Without an anchor stitch, the first pull can loosen the entire repair.
Step 3: Position the Button and Spacer
Place the button over the anchor stitches and align it with neighboring buttons. For a flat button, slide a toothpick, thin pin, or folded thread beneath the button before sewing.
Use approximately 1/16 inch of clearance for a shirt and up to 1/8 inch for a thick coat or denim garment. The gap must match the thickness of the buttonhole placket, not simply the button’s face.
Success checkpoint: The button can move slightly, but it does not sit directly against the fabric.
Common mistake: Leaving excessive space. A shank longer than about 1/8 inch on lightweight fabric can make the button wobble and expose the thread to abrasion.
Step 4: Sew Through the Button Holes
Bring the needle up through one hole, then down through the opposite hole and the garment. Pull the thread until it is firm against the spacer, not tight enough to compress the fabric.
Repeat the pass 5-8 times. Keep each pass within the buttonholes so the thread forms a compact bundle rather than a spread-out fan.
Success checkpoint: The button stays aligned with adjacent buttons and resists a moderate sideways finger pull.
Common mistake: Pulling each pass extremely tight. Excess tension puckers the garment and can cut through loosely woven fabric.
Step 5: Create the Thread Shank
After the final pass, bring the needle up through the fabric beside the button rather than through a buttonhole. Remove the toothpick or pin while supporting the button with one finger.
Wrap the working thread around the vertical bundle beneath the button 3-4 times. These wraps consolidate the stitches into a protective thread shank and reduce friction against the buttonhole.
Success checkpoint: The button sits at a consistent distance from the garment, and the thread bundle does not spread when the button is moved.
Common mistake: Skipping the wrap because the button feels secure. A button can be firmly attached yet still fail quickly when the buttonhole rubs directly against loose vertical stitches.
Step 6: Tie Off on the Inside
Push the needle to the inside of the garment near the original entry point. Make two small knots around a stitch on the underside, or pass the needle through a loop twice before pulling it closed.
For a high-stress garment, place a small stay button on the inside and pass the securing thread through it as well. The stay button distributes pulling force across a wider area of fabric.
Success checkpoint: The knot lies flat on the inside and does not slide through the fabric when the button is pulled.
Common mistake: Tying a bulky knot directly under a thin shirt. Use two small knots rather than one oversized knot.
Step 7: Test the Repair
Cut the thread close to the knot and button the garment normally. Inspect the placket for puckering, misalignment, or a buttonhole that catches on the thread shank.
Open and close the button five times. The finished repair should hold the button in alignment while allowing the fabric to pass beneath it without strain.
Success checkpoint: The button remains stable, the garment lies flat, and the thread does not show beyond the button’s edge.
Common mistake: Testing by pulling the button sharply. Normal buttoning provides a more useful test and avoids damaging a sound repair.
Flat Button Stitch Patterns
A four-hole button should reproduce the stitch direction used by the other buttons on the garment. Parallel stitches create two straight bars, while crosswise stitches form an X; either pattern is structurally sound when each pair receives 5-8 passes.
| Pattern | Hole pairs | Appearance | Best use |
|---|---|---|---|
| Parallel | Top pair, then bottom pair | Two horizontal bars | Dress shirts and uniforms |
| Crosswise | Diagonal pairs | X shape | Casual shirts and cardigans |
| Vertical | Left pair, then right pair | Two vertical bars | Narrow plackets |
| Reinforced cross | Two diagonal pairs plus extra passes | Dense X | Workwear and trousers |
Match the existing buttons whenever possible. Replacing one button with a different stitch orientation can make a garment look repaired even when the attachment is technically strong.
How to Sew a Shank Button
A shank button is repaired by sewing through its rear loop rather than through the button face. No toothpick is required because the loop already creates the distance needed for the buttonhole.
Anchor the thread from the inside, position the shank over the original location, and pass the needle horizontally through the loop and garment 5-8 times. Keep the passes close together, then tie off on the inside. On a thick coat, use button thread and add an inside stay button if the fabric shows any strain.
Shank buttons can still wobble when the rear loop is bent or when the thread is too loose. If the loop has cracked, flattened, or separated from the button, replace the button rather than sewing around damaged metal.
Can You Repair a Metal Stud Without Sewing?
A loose jeans button or metal stud cannot be repaired with ordinary stitching because the hardware is secured by a post and cap, not thread. A mildly loose, undamaged stud may be tightened with padded pliers, but a rotating, cracked, or fabric-tearing stud should be replaced with a matching replacement kit.
Protect the visible button with cloth before using pliers. Apply small amounts of pressure and test the fit after each adjustment. Excessive force can crush the cap, distort the post, or enlarge the denim hole.
Replacement hardware often requires a hammer and a hard, stable surface, while professional repair shops may use a press. A tailor or denim repair specialist is safer when the original stud is riveted, the denim is torn, or the garment has decorative hardware that must remain aligned.
Which Repair Method Should You Use?
Hand sewing is the best permanent choice for most flat and shank buttons because it is inexpensive, reversible, and compatible with cotton, wool, linen, and ordinary synthetic fabrics. Glue works only as a short emergency measure, while metal-stud repair requires hardware tools rather than thread.
| Method | Typical cost | Typical time | Durability | Fabric risk |
|---|---|---|---|---|
| Hand sewing | $0.10-$1 | 3-5 minutes | Months to years | Low when tension is controlled |
| Fabric adhesive | $2-$8 tube | 1-2 minutes | Hours to several washes | Medium to high |
| Padded-plier tightening | $0 if tools owned | 2-5 minutes | Weeks to years | Medium |
| Replacement stud kit | $5-$15 | 10-20 minutes | Years when correctly installed | High if misaligned |
| Tailor repair | $2-$5 per sewn button | 1-3 days typical | Months to years | Low |
A sewing machine button foot is efficient for production work, but it does not automatically create the correct thread shank for every garment. Machine settings must be adjusted for button thickness, fabric weight, and stitch clearance.
When Is Fabric Glue Acceptable?
Fabric glue is acceptable for a temporary emergency when the garment will not be washed immediately and the button is decorative rather than load-bearing. Glue is unsuitable for shirt cuffs, trousers, coat closures, children’s clothing, and any button that receives repeated pulling.
Adhesive can harden, stain, separate after laundering, and leave a brittle patch that complicates later sewing. A safety-pin button or temporary replacement button is usually more reversible during travel.
What If the Fabric Is Ripped?
A torn button area must be reinforced before the button is resewn. Sewing directly into a split weave concentrates force at the tear and often removes an even larger piece of fabric during the next wear.
Cut a small piece of lightweight fusible interfacing with rounded corners, usually about 1/2 inch larger than the damaged area. Fuse it to the inside according to the manufacturer’s temperature and time instructions, using a pressing cloth when the fabric is heat-sensitive.
For a coat, work shirt, or loose weave, add a small stay button on the inside. If the tear extends beyond the button area, the buttonhole is damaged, or the fabric is silk, leather, or vintage textile, a tailor should stabilize the material before reattachment.
Common Mistakes and How to Fix Them
Sewing the Button Flush to the Garment
A flush button leaves no room for the buttonhole placket. Remove the stitches and resew with a 1/16- to 1/8-inch spacer selected for garment thickness.
Using a Single Weak Strand
Thin single-strand thread can break under ordinary buttoning. Replace it with doubled polyester or appropriately sized button thread, but do not use thread so strong that it cuts the fabric.
Ignoring the Buttonhole
A stretched or frayed buttonhole can make a secure button appear loose. Repair the buttonhole edge with matching thread or stabilize it before replacing the button.
Omitting the Thread-Shank Wrap
Unwrapped stitches spread and rub against the buttonhole. Reopen the underside knot if possible, bring thread to the button base, wrap the bundle 3-4 times, and tie off again.
Misaligning the Replacement Button
A button sewn even 2-3 millimeters away from the original position can pull the placket sideways. Use neighboring buttons and the original needle marks as alignment references.
Making the Underside Knot Too Large
A bulky knot can irritate skin and show through lightweight fabric. Use two compact knots around an existing stitch, then trim the thread to approximately 2-3 millimeters.
Variations for Common Situations
Dress Shirt
Use matching polyester, a 70/10 or 80/12 needle, and a 1/16-inch spacer. Sew parallel or crosswise according to the neighboring buttons, then test the collar or cuff under normal tension.
Winter Coat or Blazer
Use 20-24 inches of button thread and a 90/14 needle. Leave up to 1/8 inch of clearance, create 6-8 passes, and add an inside stay button when the outer fabric shows pulling.
Jeans or Canvas Jacket
First determine whether the button is sewn or riveted. Sew-on buttons can use heavy polyester, but a metal jeans stud needs tightening or replacement, with the torn denim reinforced before new hardware is installed.
Travel or Emergency Repair
Use a safety-pin button, a temporary clip-on button, or a few hidden stitches until you can make a proper repair. Avoid liquid adhesive on wool, silk, rayon, and dry-clean-only garments because removal may damage the fibers or leave a stain.
Time, Cost, and Repair Specifications
A basic hand repair normally takes 3-5 minutes, while fabric reinforcement takes 8-15 minutes and stud replacement takes 10-20 minutes. Typical professional pricing is $2-$5 for a simple sewn button, with higher charges for damaged buttonholes, leather, specialty hardware, or extensive fabric repair.
| Specification | Lightweight shirt | Medium trousers | Heavy coat or denim |
|---|---|---|---|
| Thread length | 18 inches | 20 inches | 24 inches |
| Spacer clearance | 1/16 inch | 1/16-3/32 inch | 3/32-1/8 inch |
| Button passes | 5-6 | 6-8 | 6-8 |
| Base wraps | 3 | 3-4 | 4 |
| Typical hand time | 3 minutes | 4 minutes | 5-8 minutes |
These figures are typical practitioner ranges rather than universal standards. Button thickness, fabric density, thread size, and the force placed on the closure determine the final dimensions.
How to Prevent the Button From Coming Loose Again
Prevent repeat failure by reducing force at the button, not merely adding more stitches. Keep the buttonhole edge intact, maintain the correct shank clearance, and avoid pulling the garment closed by the button.
Wash shirts and trousers according to their care labels, close buttons before laundering, and inspect high-stress buttons every few wears. A stay button is especially useful on coats, uniforms, tool shirts, and garments made from loosely woven wool.
Replace a button when its holes are enlarged, its shank is cracked, or its edges are sharp enough to abrade thread. More stitches cannot compensate for a damaged button.
FAQ
Can I fix a loose button without removing it?
Yes, if the existing thread is mostly intact and the fabric is not torn. Pass matching thread through the garment near the button, reinforce the existing stitches with 5-8 passes, create or restore the thread shank, and knot on the inside. Remove the button first when old thread is frayed or tangled.
What is the strongest thread for sewing on a button?
Button thread or doubled polyester is usually strong enough for ordinary clothing. Heavy-duty polyester suits coats and workwear, while bonded nylon is better reserved for heavy materials that can withstand its force. Extremely strong thread can tear weak fabric before the thread breaks.
Why does my button keep coming loose after I sew it?
Repeated failure usually comes from missing clearance, inadequate anchoring, damaged fabric, a failing buttonhole, or skipped shank wrapping. Inspect all five points instead of adding more stitches blindly. If the surrounding fabric is splitting, reinforce it with interfacing or an inside stay button.
How much space should be under a flat button?
Leave approximately 1/16 inch for a lightweight shirt and 1/8 inch for thick wool, coats, or denim. The correct gap matches the thickness of the buttonhole placket. A button sewn too tightly distorts the garment and places extra force on the securing thread.
Is a loose button a sign that the garment needs tailoring?
A tailor is appropriate when the fabric is torn, the buttonhole is damaged, the garment is expensive or delicate, or a metal stud needs replacement. A loose sewn button on stable cotton, polyester, wool, or linen is normally a suitable five-minute home repair.
The Bottom Line
To fix a loose button securely, replace the damaged thread, anchor the new thread, sew 5-8 passes, preserve a 1/16- to 1/8-inch shank gap, wrap the base 3-4 times, and knot the thread on the inside. Use a spacer for flat buttons, sew through the rear loop of shank buttons, and replace metal studs rather than trying to stitch them. Inspect the fabric first because reinforcement, not extra thread, determines whether the repair lasts.


