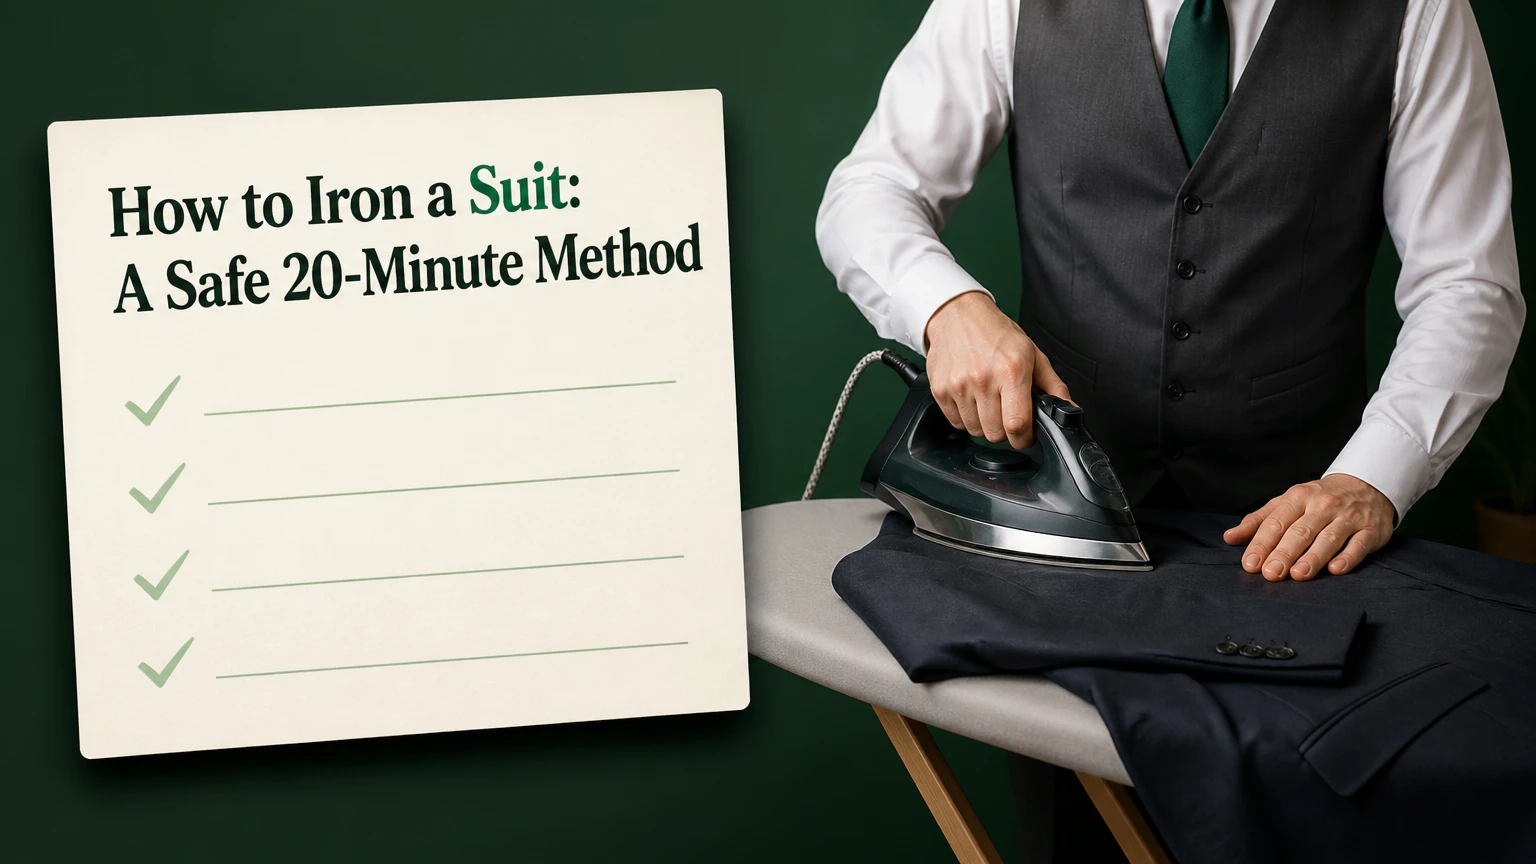
To iron a suit safely, identify the fabric and care label, use a clean pressing cloth, apply moderate steam, and press in short lifts rather than dragging the soleplate. Allow 15 minutes of cooling while the jacket and trousers hang. The most important rule is to preserve the jacket’s shape instead of flattening it.
Key Facts at a Glance
- A typical two-piece suit takes 15-25 minutes to press at home, including 10-15 minutes for the jacket and 5-10 minutes for the trousers.
- A pressing cloth prevents direct contact between a hot soleplate and wool, reducing shine, scorching, and seam impressions.
- Suit jackets should be pressed around their three-dimensional structure, while trousers can be pressed flatter to restore front and rear creases.
- The care label and fiber blend determine the safe temperature. A generic “wool setting” is not suitable for every wool blend.
- A garment steamer removes surface wrinkles safely, but a steam iron is usually better for restoring sharp trouser creases.
- Hang the suit on a shaped hanger for at least 15 minutes after pressing so moisture can evaporate and the fabric can set.
What Does Pressing a Suit Actually Do?
Pressing a suit uses controlled heat, moisture, and pressure to relax textile fibers and reset their surface shape. Professional pressing differs from ordinary ironing because the operator lifts the iron repeatedly, supports seams and curves, and avoids flattening construction details such as lapel rolls, sleeve heads, and padded shoulders.
Wrinkles form when fibers bend and remain in a distorted position after wear, packing, or dampness. Heat and moisture make those fibers more mobile, while pressure determines the new position. Cooling then stabilizes the fabric in that position.
A suit jacket is a shaped garment rather than a flat rectangle. It may contain a fused or sewn canvas, shoulder pads, sleeve heads, chest pieces, pocketing, lining, and several layers of interfacing. Excessive pressure can flatten the chest, sharpen a lapel roll that should remain soft, or imprint seam allowances onto the outer cloth.
Tailors often call the process pressing, not ironing, for that reason. Sliding a hot iron back and forth is appropriate for some shirts, but it creates unnecessary friction and directional distortion on tailored wool. Use a press-and-lift motion instead.
Can You Iron a Suit Safely?
You can iron most washable or pressable suits safely when the care label permits ironing and a pressing cloth separates the iron from the fabric. Avoid home ironing for garments labeled “do not iron,” delicate silk or cashmere blends, heavily structured jackets, and expensive suits with visible bubbling or loose construction.
Check three labels before plugging in the iron:
- Fiber composition: Wool, cotton, linen, polyester, viscose, silk, and blended fabrics respond differently to heat and moisture.
- Care symbols: One dot indicates low heat, two dots medium heat, and three dots high heat. A crossed-out iron means do not iron.
- Construction condition: Bubbling, puckering, delamination, or a loose lining indicates a garment that may need professional care.
The Federal Trade Commission’s Care Labeling Rule requires manufacturers and importers in the United States to provide care instructions for covered textile products. The label is the first authority, not a generic online temperature chart.
How should temperature vary by fabric?
Set the iron to the lowest effective temperature recommended by the garment label, then increase only when wrinkles remain. The figures below are typical working ranges, not replacements for the manufacturer’s instructions.
| Suit fabric | Typical iron range | Steam guidance | Main risk |
|---|---|---|---|
| Polyester or microfiber | 110-135°C, 230-275°F | Light steam, test first | Melting, glazing, permanent shine |
| Wool or wool blend | 120-150°C, 250-300°F | Moderate steam through cloth | Shine, watermarking, flattened nap |
| Cotton twill | 150-180°C, 300-355°F | Moderate to high steam | Water spots, hard creases |
| Linen | 160-200°C, 320-390°F | Steam while slightly damp | Scorching, over-sharpened seams |
| Silk blend | 110-140°C, 230-285°F | Minimal steam unless label allows | Water rings, scorching, color change |
| Cashmere blend | 110-140°C, 230-285°F | Light steam from a distance | Nap damage, stretching, shine |
Test an inside hem or seam allowance for 5-10 seconds. A hidden test catches dye transfer, melting, water spotting, and abnormal shine before the jacket front is exposed.
Which Tool Should You Use?
A steam iron with a pressing cloth gives the most control for a complete suit because it removes wrinkles and restores trouser creases. A vertical steamer is safer for quick jacket touch-ups, while a professional pressing service is the better choice for costly, fragile, or structurally damaged tailoring.
| Tool or method | Typical cost | Best use | Main limitation |
|---|---|---|---|
| Basic dry iron | $20-$60 | Light wrinkles on cotton or linen | No controlled steam |
| Steam iron | $30-$150 | Jacket panels and trouser creases | Direct contact can create shine |
| Vertical garment steamer | $50-$250 | Travel, daily touch-ups, linings | Weak at sharp creases |
| Steam generator | $150-$500+ | Frequent household pressing | Bulky and expensive |
| Professional hand press | $15-$40 per suit, typical | Luxury or damaged tailoring | Requires turnaround time |
A steamer does not have “zero risk.” Prolonged steam can create water marks, relax fusible interfacing, stretch a jacket, or leave the lining damp. Keep the nozzle moving, maintain the manufacturer’s distance, and never steam a garment that the care label excludes from steam treatment.
A steam iron should not be used dry at maximum temperature simply because wool tolerates more heat than polyester. The soleplate can flatten the nap, and a shiny patch may remain after the fibers cool.
What Should You Prepare Before Pressing?
Prepare a stable ironing board, a clean white cotton pressing cloth, a garment brush, a shaped hanger, and a spray bottle filled only if the fabric label permits added moisture. Remove lint and dust first, because heat can set debris and oily marks deeper into the cloth.
Before You Start
| Requirement | Typical specification |
|---|---|
| Total working time | 15-25 minutes |
| Cooling time | At least 15 minutes |
| Pressing cloth | White cotton, approximately 40 x 60 cm |
| Iron setting | Lowest label-approved setting |
| Water quantity | 150-300 ml for a typical steam iron |
| Workspace | Stable board with a narrow point and clean cover |
| Difficulty | Moderate for the jacket, easy to moderate for trousers |
Empty the jacket pockets and trouser pockets. Remove belts, coins, keys, and anything that can create a ridge. Brush the suit from collar to hem with a soft garment brush, then inspect for stains. Do not iron over a stain unless you intend to set it.
Turn off the iron’s automatic spray function if it spits droplets unpredictably. Distilled water can reduce mineral deposits in some steam irons, but several manufacturers permit ordinary tap water or specify a filtered mixture. Follow the appliance manual, and empty the reservoir after use.
How Do You Iron a Suit Jacket?
Iron a suit jacket from the least visible, most structured areas toward the broad panels: shoulders, sleeves, back, fronts, and finally the lapel body. Use a pressing cloth, moderate steam, light downward pressure, and short lifts. Never flatten the lapel roll or drag the iron across a jacket seam.
Step 1: Position the Jacket
Unbutton the jacket and turn it inside out only if the care label and lining permit it. Start with the inside lower panels if you are inexperienced, because hidden areas reveal how the cloth reacts.
Place the narrow end of the board inside one shoulder or upper side panel. Keep the jacket’s natural curve supported rather than forcing the shoulder flat. Lay the pressing cloth over the working area.
Success checkpoint: The shoulder remains rounded, and the cloth looks smooth without a sharp board edge.
Common mistake: Stretching the jacket over the board until the armhole loses its shape.
Step 2: Press the Shoulders and Sleeve Heads
Drape the shoulder over the narrow end of the board. Lower the iron vertically for 2-4 seconds, lift it, and move to the next section. Follow the shoulder’s curve instead of pushing from the sleeve toward the collar.
Work around the sleeve head, but avoid crushing padding or the ridge where the sleeve joins the armhole. Steam through the cloth when the fabric is wool and visibly dry.
Success checkpoint: The shoulder looks smooth from several angles, with no square outline from the ironing board.
Common mistake: Holding the soleplate in one place long enough to compress the shoulder pad.
Step 3: Press the Sleeves Without Creating a Shirt Crease
Lay one sleeve along its existing seam and smooth it with your hand. Put the pressing cloth over the center of the sleeve, then press from the upper arm toward the cuff using short lifts.
Do not force the sleeve into a flat front-and-back fold unless the design already has a crease. Most tailored suit sleeves should retain a rounded appearance. Use a sleeve board or rolled towel inside the sleeve when the narrow board point cannot support it.
Success checkpoint: Wrinkles disappear from the sleeve head and forearm, while both sleeve edges remain rounded.
Common mistake: Aligning the sleeve as if it were a dress shirt and pressing a permanent line along the top.
Step 4: Press the Back Panel
Lay the back panel over the board without pulling the vent or side seams out of alignment. Work from the hem upward, pressing one 15-20 cm section at a time through the cloth.
Keep the iron moving between lifts, and use the board’s narrow end to reach the area below the collar. For a center vent, press each side separately and keep the vent edges straight.
Success checkpoint: The back is smooth, and the vent closes naturally when the jacket hangs.
Common mistake: Pressing across the vent while it is folded, which can create a false crease.
Step 5: Press the Front Panels
Place one front panel on the board, keeping the lapel, pocket flap, and button area supported. Press around the pocket rather than directly over bulky pocketing. Cover buttons with the pressing cloth and use the iron’s tip only where necessary.
Press from the lower front toward the chest. Do not stretch the fabric diagonally, because tension can make the front edge ripple after cooling.
Success checkpoint: The panel lies smooth, the pocket flap remains flat, and no button or pocket-bag outline shows through.
Common mistake: Ironing directly over plastic buttons, which can melt, deform, or transfer their shape to the cloth.
Step 6: Handle the Lapels and Collar
Press the flat body of a lapel only when it is wrinkled. Avoid pressing along the fold line, roll edge, or gorge unless a tailor specifically designed a hard crease there.
For the collar, place a folded towel under the curved area and apply brief, indirect pressure through the cloth. A small amount of steam can relax wrinkles without forcing the collar flat.
Success checkpoint: The lapel rolls softly from the chest, and the collar sits against the neck without a shiny ridge.
Common mistake: Treating a notch lapel like a trouser crease and creating a thin, artificial line.
How Do You Press Suit Trousers?
Press suit trousers by aligning the inseam and outseam first, then restoring the original front and rear creases with a pressing cloth. Press the waistband, pockets, and fly separately before the legs. Use a press-and-lift motion so the crease remains straight without stretching the fabric.
Step 7: Press the Waistband and Upper Areas
Turn the trousers inside out if the waistband and pocket construction make that safer, or place the waistband over the narrow board end. Pull pocket bags outward when they create ridges, and keep the zipper or fly covered.
Press the waistband in sections of 10-15 cm. Use a folded towel or thin cardboard inside the pocket area to separate the pocket bag from the outer cloth.
Success checkpoint: The waistband is smooth, and no pocket outline appears on the outside.
Common mistake: Pressing over a full pocket, which imprints coins, seams, and pocket-bag edges.
Step 8: Align the Trouser Creases
Hold the trousers by both hems and let the legs hang. Match the inseam and outseam so the original front crease falls exactly at the center of the leg’s front edge. Lay the legs flat without twisting the waistband.
Press one leg at a time. Fold the upper leg away and work on the lower leg, then repeat on the opposite side. If the original crease is missing, do not guess from the side seam alone. Use the crease evidence near the hem, knee, and waistband.
Success checkpoint: The front crease runs in one continuous line from the hem toward the waistband.
Common mistake: Aligning only the hems while the upper leg is rotated, producing a double crease.
Step 9: Press the Inner and Outer Leg
Cover the lower leg with the pressing cloth. Set the iron down for 2-4 seconds, lift it, move 10-15 cm, and repeat. Press the crease from the hem upward, stopping before the waistband if the upper area needs separate treatment.
Turn the leg or swap the upper layer and repeat for the other side. Do not scrub the iron back and forth over wool, because friction changes the nap direction and can create a lighter or shinier stripe.
Success checkpoint: The crease is crisp, centered, and continuous without a second parallel line.
Common mistake: Pressing both legs together when the fabric is thick enough for hidden layers to shift.
Step 10: Cool the Suit on a Hanger
Hang the jacket on a broad, shaped hanger and close one button to support the front. Hang trousers from the waistband or cuffs on a sturdy trouser hanger, ensuring the legs remain aligned.
Allow at least 15 minutes of cooling and drying before wearing or packing. Damp fabric can wrinkle again when placed under a coat or folded into luggage.
Success checkpoint: The cloth feels dry and the trouser crease stays visible after the garment hangs undisturbed.
Common mistake: Wearing the suit immediately because the surface looks smooth while the inner layers remain damp.
What Are the Best Alternatives to an Iron?
A garment steamer is the safest quick alternative for jacket wrinkles, while a hot bathroom can relax light creasing during travel. Neither method reliably restores a sharp trouser crease, and neither replaces professional hand pressing for construction damage or fragile fibers.
| Situation | Recommended method | Time | Expected result |
|---|---|---|---|
| Light wrinkles after one wear | Hang and brush | 10-20 minutes | Surface smoothing |
| Jacket packed in a suitcase | Vertical steamer | 5-10 minutes | Relaxed panels and sleeves |
| Deep trouser crease | Steam iron with cloth | 5-10 minutes | Defined front and rear crease |
| Hotel room without tools | Bathroom humidity plus hanger | 20-30 minutes | Moderate wrinkle reduction |
| Cashmere or silk blend | Distant steam or specialist cleaner | 10-30 minutes | Lower contact risk |
| Fused jacket bubbling | Tailor or specialist cleaner | 1-7 days | Possible structural repair |
For a hotel-room method, hang the suit away from direct water, run a hot shower for 10-15 minutes, and keep the bathroom door closed. Move the suit to a ventilated room afterward and allow it to dry fully. Bathroom humidity relaxes fibers, but it cannot correct a compressed lapel or precise trouser crease.
A travel iron can work when it has adjustable temperature, stable steam control, and a clean soleplate. Place a folded white cotton shirt or towel beneath the pressing cloth if no ironing board is available, but never iron on a hotel bed, painted table, or synthetic countertop.
How Do You Fix Common Pressing Mistakes?
Most pressing mistakes come from excess heat, direct soleplate contact, poor crease alignment, or pressing over hidden bulk. Stop applying heat as soon as a problem appears, allow the area to cool, and use steam or brushing before attempting another press.
| Problem | Likely cause | First recovery step | Professional limit |
|---|---|---|---|
| Shiny wool patch | Direct heat or friction | Steam lightly and brush the nap | Persistent shine may be permanent |
| Double trouser crease | Misaligned inseam and outseam | Steam without pressure, dry, realign | Tailor if both creases remain |
| Water ring | Excess spray or mineral water | Let dry, then test gentle steam | Dye change needs specialist care |
| Pocket impression | Pocket bag or object underneath | Insert thin cardboard or towel | Pressing may not remove a set mark |
| Melted synthetic spot | Temperature too high | Stop immediately, cool flat | Melt damage cannot be reversed |
| Bubbling canvas | Fusible adhesive failure | Stop all pressing | Tailor may replace or stabilize panel |
How Can You Remove Suit Shine?
Minor wool shine may improve when gentle steam lifts the nap and a soft garment brush restores its direction. Place the pressing cloth over the area, hold the iron slightly above the cloth, release a short burst of steam, and brush lightly once the fabric cools.
Do not scrub the shiny patch or apply vinegar, alcohol, or household stain remover without a fabric test. Shine caused by flattened fibers may be permanent, especially on dark worsted wool. A tailor or cleaner can assess whether the area needs re-napping, re-pressing, or replacement.
How Do You Remove a Double Crease?
Relax a wrong trouser crease with steam while applying no downward pressure. Let the fabric dry completely, realign the inseam and outseam, and press the intended crease through a cloth in short lifts.
Repeatedly pressing both lines makes the error harder to remove. If the original crease is uncertain, compare both legs and inspect the hem before applying heat.
When Should a Professional Press the Suit?
Use a professional tailor or cleaner when the care label prohibits ironing, the suit contains cashmere or silk with visible water sensitivity, the jacket has bubbling or puckering, or the garment is expensive enough that a test patch is unacceptable. Professional hand pressing costs approximately $15-$40 per two-piece suit in many U.S. markets, although local pricing varies.
A cleaner’s machine press may be fast but less suitable for a soft, high-end jacket than hand pressing. Ask whether the provider hand-presses tailored jackets and whether the trousers are aligned manually. A specialist should inspect fused areas, sleeve heads, vents, and lapel rolls before applying heat.
Dry cleaning also has limits. Frequent solvent cleaning can shorten the useful life of tailored clothing, so routine brushing, airing, spot treatment, and steaming are preferable when the suit is clean but wrinkled.
How Should You Maintain a Suit Between Pressings?
Hang the suit immediately after wearing it, brush visible lint from the fabric, and let perspiration evaporate for several hours before placing it in a closet. Use a broad wooden or molded hanger for the jacket and avoid wire hangers that distort the shoulders.
Rotate suits between wears when possible. A typical wool suit benefits from at least 24 hours of rest after a full day of use, because moisture and body heat need time to leave the fibers.
Use these maintenance rules:
- Brush wool with short strokes in the direction of the nap.
- Empty pockets before hanging.
- Store trousers from the waistband or cuffs without compressing the crease.
- Keep suits in breathable garment bags, not sealed plastic.
- Steam only the wrinkled area, then dry the garment fully.
- Press after two or three wears when creases or seat wrinkles become visible, rather than applying high heat daily.
A steamer is excellent for maintenance but poor at creating tailoring geometry. A steam iron is effective for geometry but demands a cloth, correct alignment, and restraint.
Which Method Fits Your Situation?
Business traveler
Pack a compact dual-voltage steamer if the destination supports its electrical rating. Hang the suit as soon as you arrive, steam the jacket from a short distance, and use the hotel trousers hanger to restore alignment while the cloth dries.
Daily suit wearer
Brush and air the suit after each wear. Use a vertical steamer for elbow and back-of-knee wrinkles, then use a steam iron with a pressing cloth every few weeks to refresh trouser creases.
Linen suit owner
Expect linen to retain some natural texture. Use higher label-approved heat with moderate steam, but press from the inside or through a cloth to prevent water spots and unwanted seam definition.
Synthetic suit owner
Use low heat and minimal steam. Polyester can glaze or melt faster than wool, so a hidden test patch is mandatory even when the fabric appears sturdy.
Luxury wool or cashmere owner
Use distant steam for light wrinkles and professional hand pressing for deep creases. Avoid experimenting on Super 150s wool, cashmere blends, silk blends, or garments with a soft, fully canvassed chest.
How Much Time and Money Should You Expect?
A complete home pressing session typically takes 15-25 minutes and costs little beyond electricity, water, and a reusable pressing cloth. Professional service usually costs $15-$40 per suit, while a suitable household iron costs $30-$150 and a vertical steamer costs $50-$250.
| Task | Typical time | Household cost | Quality target |
|---|---|---|---|
| Jacket touch-up | 5-10 minutes | Under $1 | Remove visible surface wrinkles |
| Full jacket press | 10-15 minutes | Under $1 | Smooth panels, preserved curves |
| Trouser press | 5-10 minutes | Under $1 | Continuous front and rear creases |
| Complete home session | 15-25 minutes | Under $2 | Wear-ready two-piece suit |
| Professional hand press | 1-3 days typical | $15-$40 | Specialist finish and inspection |
The most expensive mistake is usually not the iron. It is applying heat directly to a dark wool jacket without a cloth, because a permanent shiny panel can cost far more than professional pressing.
FAQ
Can I iron a suit without a pressing cloth?
You can, but direct contact is unsafe for most wool, dark synthetics, silk blends, and structured jackets. A clean white cotton cloth approximately 40 x 60 cm creates a heat and friction barrier, reduces shine, and prevents the iron from transferring residue or color to the suit.
Should I iron a suit inside out?
Ironing inside out can protect the outer surface, but it does not eliminate risk to the lining, canvas, interfacing, or shoulder structure. Use the care label, a pressing cloth, and a hidden test area. For jacket fronts and lapels, exterior pressing often gives better control when the cloth barrier remains in place.
Can steam damage a suit jacket?
Steam can damage a suit jacket when excessive moisture loosens fusible interfacing, creates water marks, stretches the cloth, or leaves the lining damp. Keep the steamer moving, use the recommended distance, and allow the jacket to dry completely. Do not steam garments labeled against steam or moisture treatment.
Why do suit trousers have front and back creases?
Front and rear trouser creases provide a deliberate vertical line that sharpens the leg’s appearance and follows the garment’s original tailoring. The crease should be restored by matching the inseam and outseam, not by folding the trousers according to guesswork or pressing a new line beside the original.
Can a dry-clean-only suit be ironed at home?
A “dry-clean-only” label addresses cleaning, not automatically pressing, but the garment still requires a compatible ironing symbol before home treatment. If the label forbids ironing, or the jacket has canvas, silk, cashmere, bubbling, or visible water sensitivity, choose professional hand pressing instead.
How often should a suit be ironed?
Press a suit when wrinkles remain after hanging and brushing, not after every wear by default. Light steaming can maintain a daily-wear suit, while a complete press every few weeks is typical for frequent use. Overpressing gradually flattens wool nap and can weaken the jacket’s original shape.
The Bottom Line
To iron a suit successfully, use the care label, test the fabric, protect it with a white cotton pressing cloth, and press with short lifts rather than sliding the iron. Handle the jacket as a curved structure, align trouser creases before applying pressure, and let the finished suit cool for at least 15 minutes. When fabric construction or value makes the risk unacceptable, professional hand pressing is the safer choice.


