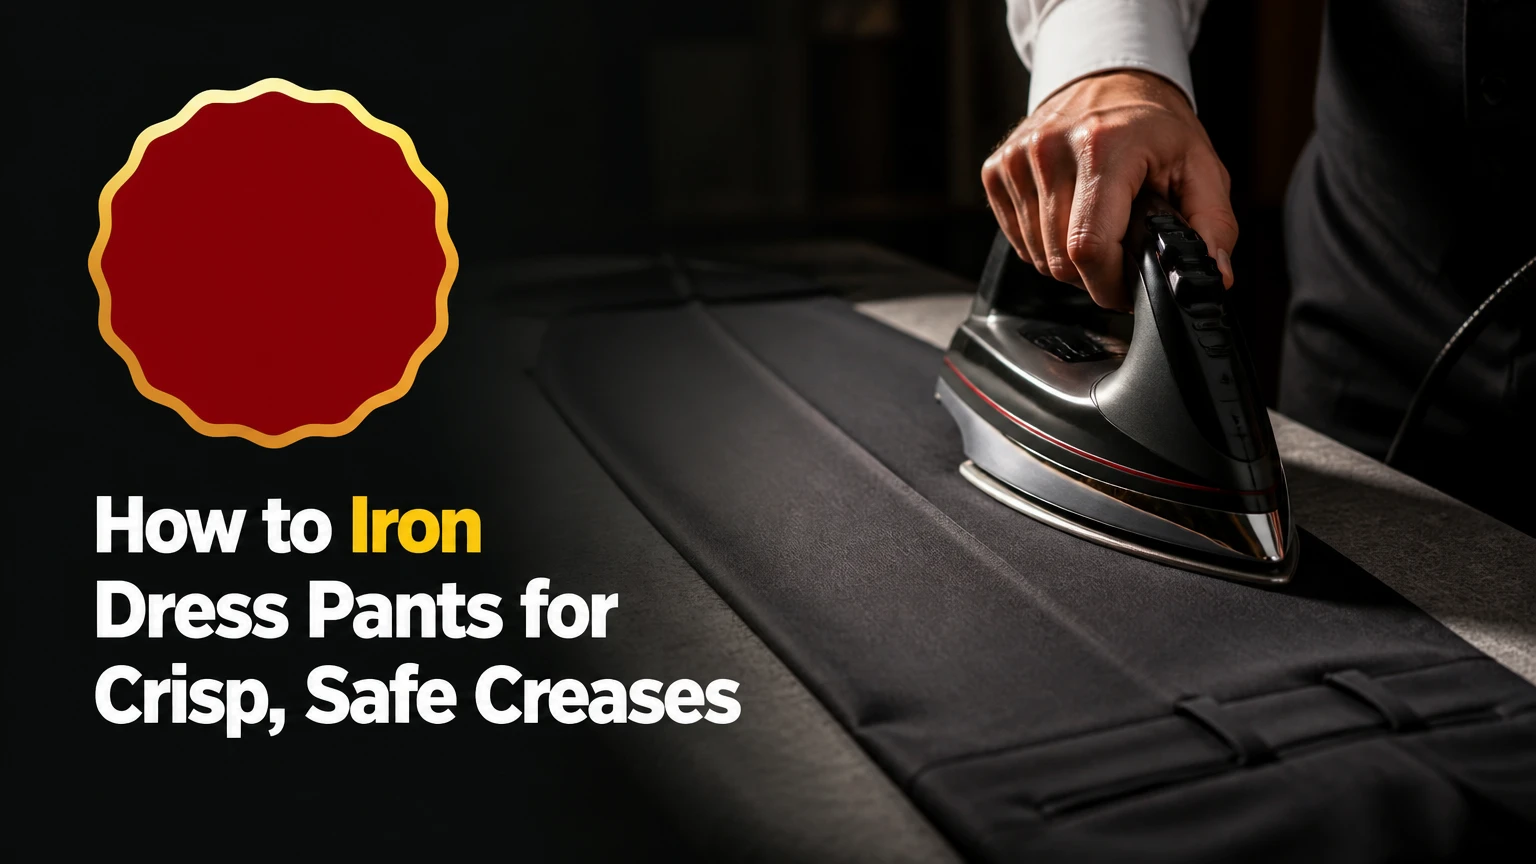
To iron dress pants, empty the pockets, read the care label, set the iron to the lowest suitable fabric temperature, and press the waistband before the legs. Align the inner and outer seams to locate the existing crease, use a pressing cloth, lift the iron instead of dragging it, then hang the trousers for at least five minutes to cool.
Key Facts at a Glance
- A complete home pressing session typically takes 7-12 minutes per pair.
- The care label and iron-dot symbol take priority over generic fabric temperature charts.
- Trouser creases should follow the garment’s seam geometry, not an arbitrary 0.5-inch measurement.
- Wool, polyester, rayon, and dark fabrics need a pressing cloth to reduce shine and heat damage.
- A steam iron creates a sharper crease than a garment steamer, while a steamer is safer for quick wrinkle removal.
- Cooling the trousers on a hanger helps the pressed shape set before wearing.
What Does Ironing Dress Pants Actually Do?
Ironing dress pants uses controlled heat, moisture, pressure, and cooling to relax wrinkled textile fibers and hold them in a flatter shape. Steam makes many fibers more pliable, while pressure smooths the surface; cooling then helps the fabric retain the new form.
Tailors generally call this process pressing rather than simply ironing. Pressing means placing the iron down and lifting it, while ironing often means moving the soleplate across the fabric. The distinction matters because sliding can stretch a trouser leg, shift a crease, or polish the surface of wool.
The fabric’s fiber content determines how much heat and moisture it can tolerate. Linen and cotton usually accept more heat than wool, silk, polyester, acetate, or rayon, but blends behave according to their most heat-sensitive component. A cotton-polyester trouser, for example, should not automatically receive the high setting used for pure cotton.
The strongest finish comes from three controlled actions: align the garment, press through a barrier, and allow the cloth to cool without disturbance. Excessive heat cannot compensate for poor alignment.
Before You Start: Tools, Time, and Safety
Prepare a stable ironing board, a clean iron, distilled or filtered water if the manufacturer permits it, and a thin white cotton pressing cloth. Empty pockets completely, close zippers, and inspect the trousers for stains because heat can set some marks permanently.
Before-Pressing Checklist
| Requirement | Typical specification | Why it matters |
|---|---|---|
| Pressing time | 7-12 minutes per pair | Allows waistband, two legs, and cooling |
| Ironing board | Stable, padded, 120-135 cm long | Supports a full trouser leg without dragging |
| Pressing cloth | White cotton, 30 x 45 cm or larger | Prevents shine, dye transfer, and direct scorching |
| Water | 100-200 ml in the tank | Provides controlled steam for wool, cotton, and linen |
| Spray bottle | 1 bottle with clean water | Adds localized moisture without soaking fabric |
| Hanger | Wide waistband or clamp hanger | Keeps the finished crease aligned while cooling |
Set the board at a height that lets your forearm remain nearly level. A board that is too low encourages excessive downward force, while an unstable board can move the crease during pressing.
Which Iron Setting Should You Use?
Use the garment care label first, then adjust for the most heat-sensitive fiber in the blend. Iron-dot symbols normally indicate one dot for low heat, two dots for medium heat, and three dots for high heat; a crossed-out iron means do not iron.
| Trouser material | Typical iron range | Steam and barrier guidance | Main risk |
|---|---|---|---|
| Linen | 180-200°C / 356-392°F | Moderate to high steam; test first | Water marks or flattened texture |
| Cotton | 150-200°C / 302-392°F | Medium to high steam | Glazing on dark polished cotton |
| Wool | 120-150°C / 248-302°F | Light steam through pressing cloth | Shine, felting, or distortion |
| Silk | 100-140°C / 212-284°F | Little or no direct steam | Water spots and scorching |
| Polyester | 110-140°C / 230-284°F | Low steam through pressing cloth | Melting or permanent shine |
| Rayon or viscose | 110-140°C / 230-284°F | Dry or lightly damp cloth; no stretching | Water marks and shape loss |
These ranges are typical operating ranges, not permission to ignore the label. A garment with a wool-polyester blend may require the lower polyester-safe setting even when the wool content is substantial.
Test the iron on an inside hem or seam allowance for 5-10 seconds. If the cloth becomes glossy, changes color, sticks to the soleplate, or develops a hard flattened patch, stop and reduce the setting.
How to Iron Dress Pants: Seven Steps
The following method works for most woven trousers, including suit pants, school uniform trousers, and office slacks. Complete one garment section at a time, and keep the iron moving between pressing points rather than leaving it unattended.
Step 1: Empty and Inspect the Trousers
Remove wallets, keys, receipts, and all objects from the pockets. Pull pocket bags into their natural position, check the care label, and brush away lint before adding heat.
Look for stains, adhesive, loose threads, and melted plastic items. Heat can bond residue to the weave, spread oil marks, or set protein stains such as milk and sweat. Clean the soleplate as well, because a dirty plate can transfer brown or sticky deposits.
Success checkpoint: The trousers lie flat, the pockets contain nothing, and the fabric shows no wet stain or residue.
Common mistake: Pressing over a hidden coin or folded receipt creates a raised impression that may remain after washing.
Step 2: Warm the Iron and Prepare Moisture
Fill the iron only to its marked maximum line, select the care-label temperature, and wait until the indicator shows that the soleplate has reached the setting. Use the steam function only if the label and fabric tolerate moisture.
For stubborn cotton or linen wrinkles, mist the cloth lightly from 20-30 cm away. The fabric should feel slightly damp, not wet. Wool often responds better to a damp pressing cloth than to direct bursts of steam, while silk and some rayon can spot when moisture touches them.
Success checkpoint: The soleplate is clean, the temperature is stable, and the pressing cloth is dry or lightly damp according to the fabric.
Common mistake: Starting while the iron is still heating produces uneven results because the first section receives less heat than the last.
Step 3: Press the Pockets and Waistband
Place the narrow end of the ironing board inside the waistband, or lay the upper section flat with the legs hanging off the board. Press pocket bags from the inside first, keeping their edges smooth and away from the outer shell.
Work around the waistband in short sections. Press belt loops by placing the iron over them briefly rather than stretching them. Around the fly, avoid pressing directly over plastic or metal hardware; use the pressing cloth and work beside the zipper teeth and button area.
For pleated trousers, preserve the pleat folds from the waistband through the upper thigh. Do not flatten a pleat by pulling the pocket lining sideways. For flat-front trousers, smooth the front panel without creating a diagonal line from the pocket opening.
Success checkpoint: The waistband is flat, the pockets have no visible bulges, and the fly closure retains its shape.
Common mistake: Pressing the pocket lining outward can imprint a rectangle or triangular shadow on the outside of the trousers.
Step 4: Find the Existing Crease
Hold the trousers by the cuffs and let both legs hang. Match each leg’s inner seam to its outer seam, then inspect the front and back fold lines. Lay one leg flat with the matched seams directly on top of each other.
The correct crease usually runs from the hem through the center of the leg and continues toward the waistband. Dress trousers are not universally designed with a crease exactly 0.5 inches from a side seam. Pattern shape, leg width, seam placement, and the manufacturer’s original pressing determine the correct position.
If the original crease is unclear, align the seams first and use the midpoint of the front panel as a guide. Do not create a new crease through a pocket, dart, belt loop, or visible construction line.
Success checkpoint: The leg lies flat without twisting, and both seam edges meet consistently from cuff to upper leg.
Common mistake: Matching only the cuffs while ignoring the upper seams creates a spiral crease that looks straight at the hem but crooked at the thigh.
Step 5: Press the Inside of the First Leg
Place the pressing cloth over the lower leg. Starting at the cuff, press the front crease for 3-5 seconds at each section, lift the iron, move it upward, and repeat. Keep the pressing cloth aligned as you work.
Press the back crease in the same way, then smooth the fabric between the two creases. Use moderate pressure on wool and heavier pressure on sturdy cotton or linen. Rayon, polyester, and silk need shorter contact times, often 1-2 seconds per section.
Do not drag the iron along the trouser leg. Sliding can push fabric on the bias, stretch the crease, and leave a polished track. If the fabric shifts, stop and realign the seams before continuing.
Success checkpoint: The front and back folds appear continuous, clean, and centered without a shiny strip beside them.
Common mistake: Pressing directly on dark wool or polyester makes the surface fibers lie in one direction, producing a reflective stripe known as shine.
Step 6: Finish the Other Side and Second Leg
Flip the first leg carefully without separating the seams. Press the opposite surface through the cloth, checking that the crease remains in the same location. Repeat the alignment and pressing sequence for the second leg.
Work from cuff to thigh in controlled sections. Reposition the waistband only after both legs are complete, because repeatedly rotating the garment can disturb a crease that has not cooled.
A sleeve board or folded towel inside the upper leg helps prevent pocket edges and seam allowances from printing through the fabric. Avoid placing a thick towel directly under the crease, since an uneven surface can soften the fold.
Success checkpoint: Both legs have matching front and back creases, equal hem alignment, and no accidental line across the seat or pocket.
Common mistake: Pressing the top leg while it remains loosely folded over the bottom leg can transfer a second crease to the wrong location.
Step 7: Cool and Hang the Trousers
Hang the trousers immediately from the waistband or cuffs, depending on the hanger design. Keep the legs aligned and allow at least five minutes of cooling before sitting, folding, or wearing them.
A clamp hanger can leave marks on delicate fabrics, so place a strip of clean tissue or cotton between the clamp and waistband. A wide hanger supports the waistband without creating sharp pressure points. Store trousers vertically when possible, with the front creases aligned.
Success checkpoint: The fabric feels cool and the crease remains visible after the trousers hang undisturbed.
Common mistake: Wearing warm trousers immediately compresses the new shape at the seat and knees, causing fresh wrinkles.
Which Method Works Best: Iron, Steamer, or Pressing Service?
A steam iron is the best choice for sharp trouser creases, a garment steamer is better for rapid wrinkle removal, and professional pressing is safest for expensive structured suit trousers or garments labeled dry-clean-only. No single method handles every fabric and finish equally well.
| Method | Typical equipment cost | Result time | Crease capability | Best application |
|---|---|---|---|---|
| Steam iron | $30-$100 / 3,500-12,000 BDT | 7-12 minutes | Sharp front and back crease | Cotton, linen, wool trousers |
| Garment steamer | $40-$150 / 4,500-18,000 BDT | 2-5 minutes | Soft or existing crease only | Travel, synthetics, light wrinkles |
| Dry iron | $15-$60 / 1,800-7,000 BDT | 8-15 minutes | Sharp with spray bottle | Fabrics that dislike continuous steam |
| Professional press | Typically $1.50-$4 per press | 1-3 days, service dependent | Consistent factory-style press | Suit trousers and delicate finishes |
A garment steamer cannot reliably form a crisp vertical crease because it relaxes hanging fibers without applying the flat, directional pressure needed for a fold. A steamer is also a poor substitute for pressing heavy wool or deep-set linen wrinkles.
Professional pressing is not automatically harmless. Repeated solvent cleaning and aggressive machine pressing can affect coatings, fusible interlinings, and surface texture. Ask the cleaner to hand-press expensive trousers when the garment’s construction warrants it.
How Should Different Dress-Pant Fabrics Be Pressed?
Fabric-specific control matters more than maximum heat. Linen and cotton tolerate stronger moisture, wool benefits from a cloth barrier, and synthetics require the shortest contact time because their thermoplastic fibers can deform or melt.
Wool and Wool Blends
Use a medium-low setting, a white pressing cloth, and light steam. Press rather than slide, and let each section cool before moving the garment. Woolmark recommends using a pressing cloth for wool garments, a practical rule that reduces shine from direct soleplate contact.
Do not flatten the natural texture of flannel or brushed wool with repeated high pressure. If the trousers are expensive, fully lined, or part of a tailored suit, professional pressing may preserve the shape better than home ironing.
Cotton and Linen
Use the care-label setting with moderate moisture. Cotton and linen often need more steam or a lightly damp cloth because their wrinkles can be set deeply after washing.
Avoid soaking either fabric. Excess water can create temporary rings, while high heat on a dry, dark cotton surface can produce glazing. Press linen until smooth, then hang it immediately because linen creases quickly during wear.
Polyester, Rayon, and Stretch Blends
Choose the lowest effective setting and always use a pressing cloth. Keep the iron moving between short presses, especially where elastane, polyester, or acetate is present.
Never stretch a rayon or viscose leg while it is damp. The fabric can lose its intended length or develop ripples. If the trousers contain elastane, avoid prolonged heat around the waistband and knees because elastic fibers degrade faster than the main yarn.
What Causes Common Ironing Problems?
Most trouser damage comes from excess heat, misalignment, direct contact, or pressing a stain. Correct the cause first, then use the least aggressive recovery method rather than adding more heat.
| Problem | Likely cause | Safe first response | When to stop |
|---|---|---|---|
| Shiny patch | Direct heat or sliding on wool or polyester | Steam lightly from the reverse side through cloth | Stop if the fiber remains glossy |
| Double crease | Seams were not aligned | Dampen, flatten the old line, realign, and press | Stop if two lines remain after cooling |
| Scorch mark | Iron stayed still too long | Cool immediately and inspect in daylight | Permanent brown or melted damage |
| Water ring | Excess moisture or mineral water | Let dry fully, then test reverse side | Stop if the ring spreads |
| Pocket outline | Pocket bag was pressed outward | Press pocket from inside with lining flat | Stop if the outline is heat-set |
| Crooked crease | Leg twisted during alignment | Re-dampen and flatten the entire panel | Stop if the fabric has stretched |
How Do You Remove a Double Crease?
Flatten the whole affected panel before creating a replacement crease. Lightly mist the fabric, place the pressing cloth over it, and press the old line until it disappears visually; then let the panel cool flat, realign the seams, and press one new line.
Starch can make a crease more resistant, but it should not be used to conceal a misaligned fold. Heavy starch on wool, silk, rayon, or dark synthetics can leave deposits or alter the hand of the cloth. Confirm that the fabric tolerates starch before applying it.
How Do You Fix Shine on Dress Pants?
Turn the trousers inside out and apply gentle steam through a pressing cloth to relax flattened surface fibers. For wool, a soft garment brush used after cooling can help restore nap, but a melted polyester surface cannot be reliably reversed at home.
Do not rub vinegar, hydrogen peroxide, or other household chemicals into an unknown fabric as a first remedy. Those substances can bleach dyes, weaken fibers, or create a second mark. A professional cleaner is the safer option when the shine covers a large panel or appears on a tailored suit.
Can a Scorch Mark Be Repaired?
A faint heat mark may improve when the fabric is cooled, lightly moistened, and brushed according to its fiber type, but a brown, hardened, or melted area is usually permanent. Chemical spot treatments are not dependable across blended fabrics.
Hydrogen peroxide and vinegar are sometimes suggested for light marks on washable cotton, but both require a hidden-area colorfastness test and may damage dye. Never apply them to wool, silk, acetate, or a dry-clean-only garment without professional advice.
How Do You Press Dress Pants Without an Ironing Board?
Use a firm, heat-resistant flat surface covered with two layers of clean cotton, but never use an uncovered table, countertop, bed, or plastic surface. A board remains safer because it allows steam to escape and provides a shaped end for the waistband.
For a temporary setup, place a thick cotton towel on a solid table, cover it with a smooth white sheet, and use low heat with a pressing cloth. Avoid carpet because its pile prevents even pressure, and avoid glass because rapid heat changes can damage or shatter it.
A hotel-room steamer is safer than an improvised iron setup for removing wrinkles, but it will not recreate a sharp crease. Hang the trousers, steam from the waistband toward the hem, smooth the fabric with your free hand, and let the garment dry before wearing.
How Should You Press Special Trouser Styles?
Pleated Trousers
Follow each pleat from the waistband to its designed stopping point. Press the pleat fold with the pressing cloth, then work around the pocket without pulling the pocket bag across the fold.
Do not impose a flat-front crease pattern on pleated trousers. The center front may contain several folds, and forcing one broad crease can distort the rise.
Suit Trousers
Press suit trousers separately from the jacket, using the same temperature and cloth precautions. Wool suit pants often benefit from steam and moderate pressure, but excessive heat can create shine that contrasts with the jacket.
If the trousers have a permanent crease, align the original lines rather than attempting to sharpen a new one. Matching the jacket’s fabric tone and surface texture matters more than achieving an unusually hard crease.
Travel-Wrinkled Trousers
For a quick hotel solution, hang the trousers in the bathroom while running a hot shower, then use a handheld steamer or low-temperature iron if available. Bathroom humidity alone usually relaxes light wrinkles but does not remove compression lines from packed wool or linen.
Fold the trousers along the existing creases before packing. Lay them flat in the suitcase, place a thin garment layer over them, and avoid compressing the folded legs beneath shoes or heavy toiletry bags.
How Much Does Pressing Dress Pants Cost and How Long Does It Take?
Home pressing typically costs almost nothing beyond electricity, water, and equipment, while a complete pair takes 7-12 minutes once the iron is ready. Professional pressing commonly costs about $1.50-$4 per pair in markets where trouser pressing is sold separately, although local rates vary substantially.
| Situation | Typical time | Typical direct cost | Recommended method |
|---|---|---|---|
| Light wrinkles, synthetic blend | 2-5 minutes | $0.05-$0.20 electricity and water | Steamer or low iron |
| Standard cotton trousers | 7-10 minutes | $0.05-$0.25 | Steam iron and cloth |
| Wool suit trousers | 10-15 minutes | $0.10-$0.30 | Pressing cloth and controlled steam |
| Deep linen wrinkles | 10-15 minutes | $0.10-$0.30 | Damp cloth and higher label setting |
| Professional trouser press | Service dependent | $1.50-$4 typical | Cleaner or tailor |
The five-minute cooling period is separate from active pressing time. A pair that takes eight minutes to press may need thirteen minutes before it is ready to wear without immediately losing the crease.
What Are the Most Important Pressing Rules?
Three practitioner rules prevent most failures: use the care label rather than a generic chart, press through a cloth when the fabric is dark or heat-sensitive, and align seams before applying any heat. These rules matter more than owning a high-wattage iron.
A useful tailor’s rule is to “press, don’t iron” delicate or tailored garments. The phrase describes the lift-and-place technique: pressing applies force downward without dragging the cloth out of shape.
A second counterintuitive rule is that more steam is not always better. Excess moisture can create water marks, extend drying time, and make rayon or viscose lose its shape; controlled dampness works better than saturation.
A third rule concerns crease sharpness. Starch can stiffen a cotton crease, but accurate seam alignment produces a better-looking result than heavy starch applied to a crooked fold.
Frequently Asked Questions
Can You Iron Dress Pants With a Regular Iron?
Yes, a regular household iron can press dress pants effectively if the soleplate is clean and the temperature matches the care label. Use a pressing cloth for wool, polyester, rayon, silk, dark colors, and any fabric that develops shine easily. A steam function helps with cotton and linen wrinkles.
Should You Iron Dress Pants Inside Out?
Ironing inside out is useful for dark, delicate, coated, or synthetic trousers because the inner surface receives direct contact. However, pressing only inside out may not define the outside crease accurately. For the final pass, use a clean pressing cloth and check the visible side without dragging the iron.
Can You Use Starch on Suit Trousers?
Use starch only when the care instructions and fiber content permit it. Starch is most appropriate for some washable cotton trousers, while wool, silk, rayon, and many synthetic blends can show residue or become stiff. Apply a light amount to the pressing cloth or fabric, never enough to wet the garment.
Is It Better to Iron or Steam Dress Pants?
Ironing is better for sharp creases and structured trousers, while steaming is better for light wrinkles, travel, and delicate synthetic blends. Steam cannot reliably create a new crease because it relaxes fibers without the flat pressure needed to define a fold. Use a pressing cloth with either method when shine is possible.
How Often Should Dress Pants Be Pressed?
Press dress pants whenever visible wrinkles appear, but avoid repeated high-heat sessions when hanging and airing will solve the problem. Many office trousers need light pressing after washing and occasional touch-ups at the knees or seat. Follow the garment’s washing and dry-cleaning instructions to protect its finish.
Can You Iron Dry-Clean-Only Dress Pants?
Check the care label and test an inconspicuous area before applying heat to dry-clean-only trousers. Some garments tolerate careful low-temperature pressing between cleanings, while others contain sensitive linings, coatings, or fused components. When the label prohibits ironing, use a professional cleaner or a cautious cool-air steaming method.
The Bottom Line
The safest way to iron dress pants is to empty the pockets, follow the care label, protect the fabric with a pressing cloth, align the seams, and press from cuff to waistband without sliding the iron. Let the finished trousers cool on a hanger for at least five minutes. For sharp, professional results, controlled pressing matters more than maximum heat, starch, or expensive equipment. That method answers how to iron dress pants while reducing shine, crooked creases, scorching, and permanent fabric damage.


