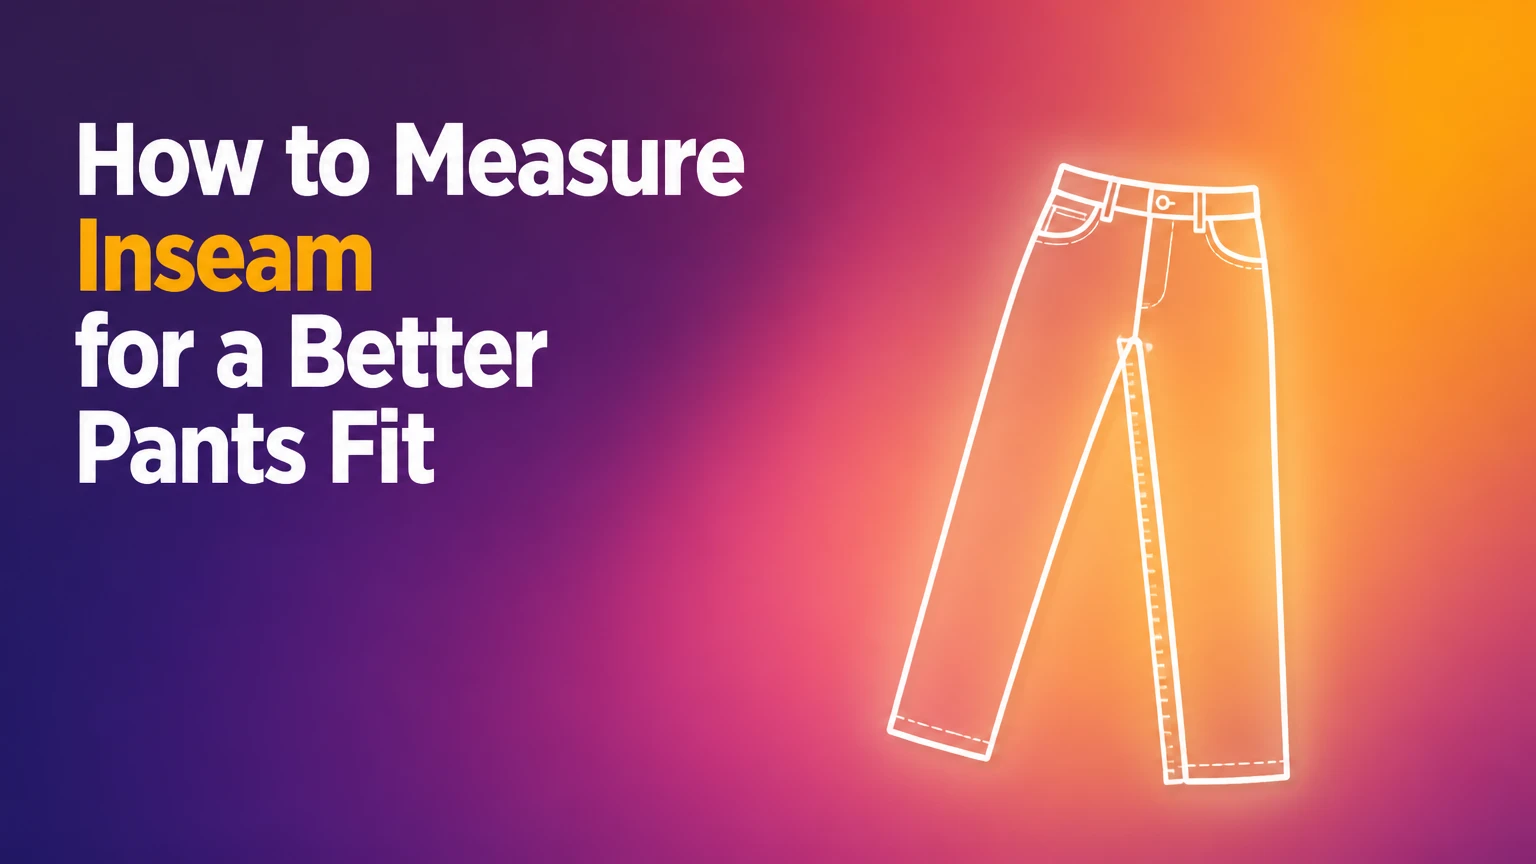
To measure inseam, stand barefoot with your legs naturally apart and measure from the highest point where the legs meet straight down to the floor or your intended hem point. A helper, soft tape measure, and firm posture produce the most reliable body measurement. You can also measure a well-fitting pair of pants flat.
Key Facts
- Inseam is the length from the crotch intersection to the bottom of a pant leg.
- A body inseam and a garment inseam are related measurements, but they are not always identical.
- Measuring with a helper usually takes 2-5 minutes and gives the best repeatability.
- A flat pants measurement works best when the garment has the same rise, cut, and fabric as the replacement pair.
- Jeans, trousers, leggings, cycling shorts, and workwear use different fit targets.
- A listed 30-inch inseam means the inside leg is approximately 30 inches, not that every wearer will get the same visual length.
What Is an Inseam?
An inseam is the distance along the inside of the leg from the crotch seam or crotch point to the bottom edge of a garment. For a body measurement, the starting point is the highest comfortable point between the legs; for pants, the starting point is where the inseams meet.
The distinction matters because clothing measurements are affected by rise, waistband position, fabric stretch, seam construction, and hem shape. A 30-inch body inseam does not guarantee that every 30-inch pair will fit identically. Low-rise jeans, high-rise trousers, dropped-crotch pants, and leggings position the crotch differently.
Body inseam versus garment inseam
| Measurement type | Starting point | Endpoint | Primary use |
|---|---|---|---|
| Body inseam | Highest comfortable crotch point | Floor or ankle target | Initial size selection |
| Pant inseam | Crotch seam intersection | Finished hem | Replacing a known garment |
| Cycling inseam | Firm crotch contact point | Floor | Bicycle frame and saddle setup |
| Legging inseam | Crotch seam | Leg opening | Comparing stretch garments |
| Short inseam | Crotch seam | Short hem | Selecting shorts length |
A body inseam is useful when a brand provides a body-size chart. A garment inseam is usually more useful when a product page lists “actual garment measurements.” Clothing retailers do not always measure from identical points, so compare the chart’s diagram or measurement instructions before treating two numbers as equivalent.
What Should You Prepare Before Measuring?
You need a flexible tape measure, a firm wall, a flat floor, close-fitting clothing, and a hard-cover book if measuring alone. Remove shoes for the base measurement, keep a phone or mirror available for posture checks, and record the result to the nearest quarter inch or half centimeter.
Before-you-start checklist
| Item | Recommended specification | Why it matters |
|---|---|---|
| Tape measure | Flexible, 60 inches or 150 centimeters | Follows the leg without forming a gap |
| Clothing | Underwear or thin close-fitting shorts | Prevents extra fabric from adding length |
| Surface | Hard, level floor beside a wall | Keeps the starting and ending points aligned |
| Helper | One person at eye level with the tape | Reduces bending and tape drift |
| Recording unit | Inches plus centimeters | Matches international size charts |
| Foot position | Bare feet, 10-15 centimeters apart | Creates a repeatable stance |
Do not use a rigid carpenter’s rule against the leg. It cannot follow the body’s vertical line accurately and can create a measurement that is short by several centimeters. A tailor’s tape is inexpensive, but a clean cord measured against a ruler can work as a temporary substitute.
How Do You Measure Inseam With a Helper?
The helper method measures the body from the crotch point to the floor or chosen ankle endpoint in about two minutes. The most important control is maintaining natural posture while the tape stays vertical, because bending to inspect the tape changes the hip angle and can alter the result.
Step 1: Wear close-fitting clothing
Put on underwear, fitted shorts, or thin leggings without bulky seams. Remove shoes and socks if they change your stance. Stand on a hard floor rather than a carpeted surface that compresses unevenly.
Success checkpoint: The clothing lies close to the body without folds at the crotch.
Common mistake: Measuring over loose sweatpants. Fabric can add 1 inch or more, particularly when the crotch seam hangs below the body.
Step 2: Establish a neutral stance
Stand with your back near a wall, feet approximately shoulder-width apart, and weight distributed evenly across both feet. Look straight ahead rather than down at the tape.
Success checkpoint: Your knees are relaxed, your hips are level, and neither foot is forward.
Common mistake: Standing with one leg extended. A forward foot shortens the apparent inseam on that side.
Step 3: Set the crotch point
Ask the helper to place the tape’s zero point at the highest comfortable point between the legs. The helper should apply firm, gentle contact similar to the pressure created by a fitted pair of pants, without pressing painfully into the body.
Success checkpoint: The tape begins at the point where a close-fitting pant crotch would sit.
Common mistake: Starting at the pubic bone or several centimeters below it. Either error changes the measurement substantially.
Step 4: Run the tape vertically
The helper holds the tape straight down the inside of the leg, following a vertical line to the floor. The tape should remain flat and taut, but it should not dig into the skin or angle toward the ankle.
Success checkpoint: A side-view photograph shows the tape hanging vertically from the crotch point.
Common mistake: Following the curve of the leg. Inseam is a length measurement along a straight inside-leg path, not a contour measurement around the thigh or calf.
Step 5: Record the correct endpoint
For full-length trousers, record the distance to the floor. For an ankle-length target, measure to the ankle bone. For a specific style, place a finger at the intended hem position and record that point instead.
Success checkpoint: Repeat the measurement twice. Results within 0.25 inch indicate good consistency.
Common mistake: Recording the ankle measurement when the size chart specifies full-length pants, or reversing the two.
How Can You Measure Your Inseam Alone?
A solo inseam measurement uses a hard-cover book and a wall to create a temporary crotch reference. The method takes 3-5 minutes and is more reliable than trying to hold a tape between the legs while looking down, although a second person remains preferable for tailoring.
Step 1: Position the book
Stand barefoot with your back against a wall and feet 10-15 centimeters apart. Place a firm, thin book between your legs with its long edge horizontal.
Step 2: Raise the book firmly
Slide the book upward until its top edge makes firm contact with the crotch area, similar to the pressure of fitted pants. Keep the book level and avoid tilting it forward or backward.
Step 3: Mark the wall
Hold the book in place and mark the wall at the top edge or upper spine. A pencil mark should be directly aligned with the book’s highest contact point.
Step 4: Measure from the floor
Step away without moving the mark. Measure from the floor straight up to the pencil line, keeping the tape perpendicular to the floor.
Success checkpoint: Repeat the process twice. If the results differ by more than 0.5 inch, reset your stance and book position.
Common mistake: Letting the book tilt downward at the front. That places the mark too low and produces a short inseam.
A phone camera set on a timer can reveal whether the book is level and whether the back, hips, and heels remain aligned. A mirror helps, but a camera placed at hip height often shows the book angle more clearly.
How Do You Measure Inseam From Pants?
Measure a well-fitting pair of pants by laying them flat, aligning the waistband and legs, and measuring from the crotch seam intersection to the finished hem. The garment shortcut is fastest, but it only predicts another pair accurately when the rise, fabric behavior, cut, and intended break are comparable.
Step 1: Select the right garment
Choose pants that fit correctly in length and have not stretched, shrunk, or been altered. Do not use joggers with a gathered cuff to estimate straight-leg trousers.
Step 2: Lay the pants flat
Fasten the zipper and button, smooth the fabric, and fold one leg over the other along the outside seam. Keep the waistband flat without stretching it.
Step 3: Find the crotch intersection
Locate the point where the inseam seams meet. Some garments have a reinforced gusset or curved construction, so use the manufacturer’s measurement diagram when available.
Step 4: Measure to the hem
Place the tape at the crotch intersection and follow the inside seam to the bottom of the leg. Measure along the seam, not diagonally across the fabric.
Success checkpoint: The tape touches the seam from start to finish, and the folded leg has no wrinkles.
Common mistake: Measuring the outside leg from waistband to hem. That is an outseam and includes the rise, so it cannot replace an inseam.
Which Endpoint Should You Use?
The correct inseam endpoint depends on the garment’s intended break, footwear, and activity. Floor length is a neutral baseline, while an ankle bone, shoe top, or cycling-specific endpoint may be better for a style with a deliberately shorter finish.
| Intended style | Typical endpoint | Common inseam adjustment | Fit result |
|---|---|---|---|
| Ankle pants | 1-2 centimeters above ankle bone | 26-28 inches typical | Clean ankle exposure |
| Straight jeans | Top of shoe or instep | 30-32 inches typical | Slight break |
| Full trousers | Shoe vamp with slight break | 30-34 inches typical | Formal continuous line |
| Wide-leg pants | Shoe top or near floor | 32-36 inches typical | Longer visual drape |
| Cropped pants | Mid-calf to lower calf | 22-26 inches typical | Deliberately shortened hem |
| Cycling tights | Above shoe or ankle | 25-31 inches typical | Minimal fabric bunching |
These ranges are typical retail examples, not universal size rules. Height, rise, leg proportion, and brand patternmaking can move the correct length outside them. A 28-inch inseam may be full length for a shorter wearer and cropped for a taller wearer.
How do shoes change the result?
Shoes change the visual endpoint rather than the body inseam. Measure barefoot first, then compare the intended hem with the shoe’s upper, heel, and sole height; adding a fixed 0.5-1 inch is only a starting estimate, not a universal correction.
Dress shoes with a low vamp usually require a small break near the instep. Boots often conceal a longer hem, while thick-soled sneakers raise the foot and can make the same trousers appear shorter. High heels require a separate hem target because the heel changes the ankle angle and desired floor clearance.
Which Inseam Measurement Method Is Most Accurate?
A helper measurement is the most accurate general method, the book method is the best practical solo option, and the flat-pants method is the best choice for duplicating a known garment. Accuracy depends less on the tape itself than on a consistent crotch point, neutral stance, and correct endpoint.
| Method | Typical time | Typical error control | Best application | Main limitation |
|---|---|---|---|---|
| Helper and tape | 2-3 minutes | Two repeated readings | Tailoring and formal trousers | Requires another person |
| Book and wall | 3-5 minutes | Camera or mirror check | Online shopping alone | Mark can shift |
| Favorite pants | 1-2 minutes | Seam alignment check | Reordering the same cut | Rise and stretch differ |
| Tailor measurement | Under 5 minutes | Trained positioning | Suits and alterations | Typical fee is $0-$15 |
| Phone-only estimate | 5-10 minutes | Image scale required | Emergency approximation | Perspective distortion |
Use the helper method when the pants are expensive, difficult to alter, or needed for a formal event. Use a favorite garment when the replacement is the same brand, model, rise, and fabric composition. Do not treat a phone photograph as a precise substitute unless the camera has a known scale reference and is positioned perpendicular to the body.
How Should You Read an Inseam Size Chart?
An inseam size chart tells you the approximate inside-leg length associated with a size, but the chart may describe body dimensions, finished garment dimensions, or a recommended range. Identify which measurement the retailer uses before choosing between lengths.
| Label on product page | Likely meaning | Measurement action | Shopping decision |
|---|---|---|---|
| Body inseam | Wearer’s physical length | Measure body barefoot | Compare with brand chart |
| Garment inseam | Finished pant length | Measure similar pants | Compare same garment category |
| Short | Reduced length option | Check listed number | Useful for cropped appearance |
| Regular | Standard length option | Check exact inches | Do not assume universal value |
| Long or tall | Extended length option | Check exact inches | Consider rise and shoe height |
| One size | No length specificity | Inspect garment dimensions | Avoid relying on height alone |
Always record your number in both inches and centimeters. One inch equals 2.54 centimeters, so a 30-inch inseam is approximately 76.2 centimeters. Retail rounding can create apparent differences of 0.5 inch without representing a meaningful fit change.
When you fall between listed lengths, choose the longer option for woven trousers or jeans that can be hemmed. Choose the shorter option when the fabric has substantial stretch and the intended style is ankle length. A tailor can remove excess length, but adding length is limited by the hem allowance inside the garment.
What Are the Most Common Measurement Errors?
The most common inseam errors come from incorrect starting points, slouched posture, angled tape placement, and comparing unlike garments. Correct the process before changing sizes, because a one-inch measurement error can send a shopper to the wrong length category.
- Starting below the crotch: Raise the reference point until it matches the pressure of fitted pants.
- Looking down while measuring: Keep your head level and use a helper, mirror, or timer camera.
- Bending one knee: Stand evenly on both feet with knees relaxed.
- Angling the tape: Keep the tape vertical rather than following the leg’s contour.
- Measuring an outseam: Start at the inseam intersection, not the waistband.
- Stretching the garment: Smooth pants flat, but do not pull elastic or knitted fabric.
- Ignoring the hem construction: A cuff, raw edge, or gathered ankle changes the usable endpoint.
- Comparing different rises: A high-rise trouser and low-rise jean can share an inseam number while sitting differently on the body.
A counterintuitive fitting rule is that a longer inseam can look shorter on a muscular thigh. Fabric is pulled upward around the seat and thigh, reducing the visible drop below the knee. In that situation, change the cut first, then reassess length.
How Do Special Situations Change the Measurement?
Special garments require the same basic measurement but a different endpoint, pressure, or fit allowance. Cycling, leggings, maternity clothing, athletic builds, and children’s pants all create conditions where a standard barefoot floor measurement may need interpretation.
Cycling and bicycle fitting
For cycling, measure in cycling shorts with the chamois positioned normally and press the book firmly into the crotch. Bicycle fit systems use inseam alongside crank length, saddle height, and frame geometry, so a cycling inseam should not be transferred directly to trouser sizing.
A small error can affect saddle height recommendations. For a bicycle purchase, use the manufacturer’s fit instructions or have a qualified shop measure you with the same shoes and riding position.
Leggings and stretch trousers
Measure the body without pulling the tape tight, then inspect the product’s fabric composition and rise. Nylon-spandex leggings can accommodate small length differences, but excessive length may bunch behind the knee or at the ankle.
For leggings, a flat measurement from a comparable pair is often more predictive than a bare-leg measurement. Compare the same waistband height, because high-rise leggings and low-rise leggings place the crotch seam at different body locations.
Athletic thighs and glutes
Athletic builds often need more room through the seat and thigh rather than a longer inseam. A narrow cut can pull the crotch upward and make an otherwise correct length look short.
Choose an athletic or relaxed cut before adding length. Adding 0.5 inch may improve appearance, but it cannot correct a restrictive rise or insufficient thigh circumference.
Maternity clothing
Pregnancy changes waistband position, abdominal volume, and posture, so measure in the footwear and maternity style used most often. Under-belly and over-belly garments can position the crotch differently even when both display the same nominal inseam.
Recheck the measurement as the body changes. A garment with stretch, adjustable panels, or a cuff may provide a longer useful fit window than rigid denim.
Children’s pants
Children’s inseams are affected by growth allowance, adjustable waists, and frequent sitting or movement. Measure a child standing naturally, then compare the result with the brand’s age-specific chart rather than selecting by age alone.
Avoid buying excessive length for safety-sensitive activities. Rolled or dragging hems can catch on pedals, stairs, and playground equipment.
How Much Time and Money Does Measuring Cost?
DIY inseam measurement normally costs nothing if you already have a tape and takes 2-5 minutes. A tailor or alterations shop may measure for free, charge approximately $5-$15, or include the service with a paid hemming order.
| Service or task | Typical cost | Typical time | Useful when |
|---|---|---|---|
| DIY body measurement | $0-$10 | 2-5 minutes | Online size selection |
| DIY pants measurement | $0 | 1-2 minutes | Reordering a familiar style |
| Tailor measurement | $0-$15 | Under 5 minutes | Formalwear or uncertainty |
| Basic trouser hemming | $10-$25 | 2-7 days | Pants are too long |
| Original-hem jeans alteration | $20-$40 | 3-10 days | Preserving factory finish |
| Rush alteration | $20-$60 | Same day to 48 hours | Events and travel |
Prices vary by region, fabric, lining, cuff, and shop workload. A tailor can shorten trousers reliably, but a tailor cannot always lengthen pants because the finished hem may contain only 0.5-1.5 inches of usable fabric.
How Do You Choose Between Two Inseam Lengths?
Choose the longer inseam when the garment is woven, the hem can be altered, or you plan to wear boots or heels. Choose the shorter inseam when the fabric stretches, the style is intentionally cropped, or the longer option creates ankle bunching that the cut does not support.
Use the following decision sequence:
- Compare the exact listed inches, not only short, regular, or tall labels.
- Match the inseam to the same rise and leg opening as your intended purchase.
- Consider the shoe worn most often with the garment.
- Select the longer size when tailoring is available and the fabric has enough hem allowance.
- Select the shorter size for joggers, cropped trousers, and lightweight stretch pants that cannot hold a clean break.
- If the difference is 0.5 inch, prioritize the desired visual break and fabric behavior.
- If the difference is 2 inches or more, check rise and pattern shape before assuming inseam alone is the problem.
A practical tailor’s rule is to pin the desired hem while wearing the actual shoes. Measuring a raw body number cannot reproduce how a trouser leg falls over a particular shoe.
Frequently Asked Questions
Is inseam the same as pant length?
No. Inseam measures the inside leg from the crotch intersection to the hem, while total pant length commonly refers to the outseam from the waistband to the hem. Outseam includes the rise, so two pants with identical inseams can have different total lengths.
Can height predict inseam accurately?
Height can provide a rough estimate, but it cannot replace measurement because people have different torso-to-leg proportions. Retail length ranges such as 26-28 inches for shorter cuts and 34-36 inches for tall cuts are typical, not height-based guarantees.
Should I measure inseam with shoes on?
Measure the base inseam barefoot, then evaluate the desired hem with the shoes you will wear. Shoes change clearance and trouser break, but they do not change the body’s inseam. Boots, thick soles, and heels can each require a different finished hem.
Why does the same inseam fit differently across brands?
Brands may measure from different crotch points, use different rises, or list body recommendations instead of finished garment measurements. Fabric stretch, thigh room, leg opening, and shrinkage also change how high the garment sits and how much length remains below the knee.
How often should I remeasure my inseam?
Remeasure when your body proportions, posture, preferred footwear, or clothing category changes. For ordinary shopping, one careful measurement remains useful for years, but maternity clothing, major weight changes, and cycling setup require a new measurement.
Can a tailor measure inseam for me?
Yes. Tailors routinely measure inseam while you wear the intended shoes and trousers. Ask the tailor to pin the hem at the desired break, because the final alteration should reflect garment style and footwear rather than a body measurement alone.
The Bottom Line
To measure inseam accurately, use a helper, stand barefoot on a hard floor, place the starting point at the highest comfortable crotch position, and run a soft tape vertically to the floor or intended endpoint. Repeat the measurement twice, record inches and centimeters, and compare the result with the garment’s exact chart.
The book-and-wall method is the strongest solo alternative, while measuring a favorite pair is best for duplicating the same cut. Account for rise, stretch, hem construction, body shape, and shoes before choosing a length. A careful how to measure inseam process prevents more fit errors than relying on height or generic short, regular, and tall labels.


