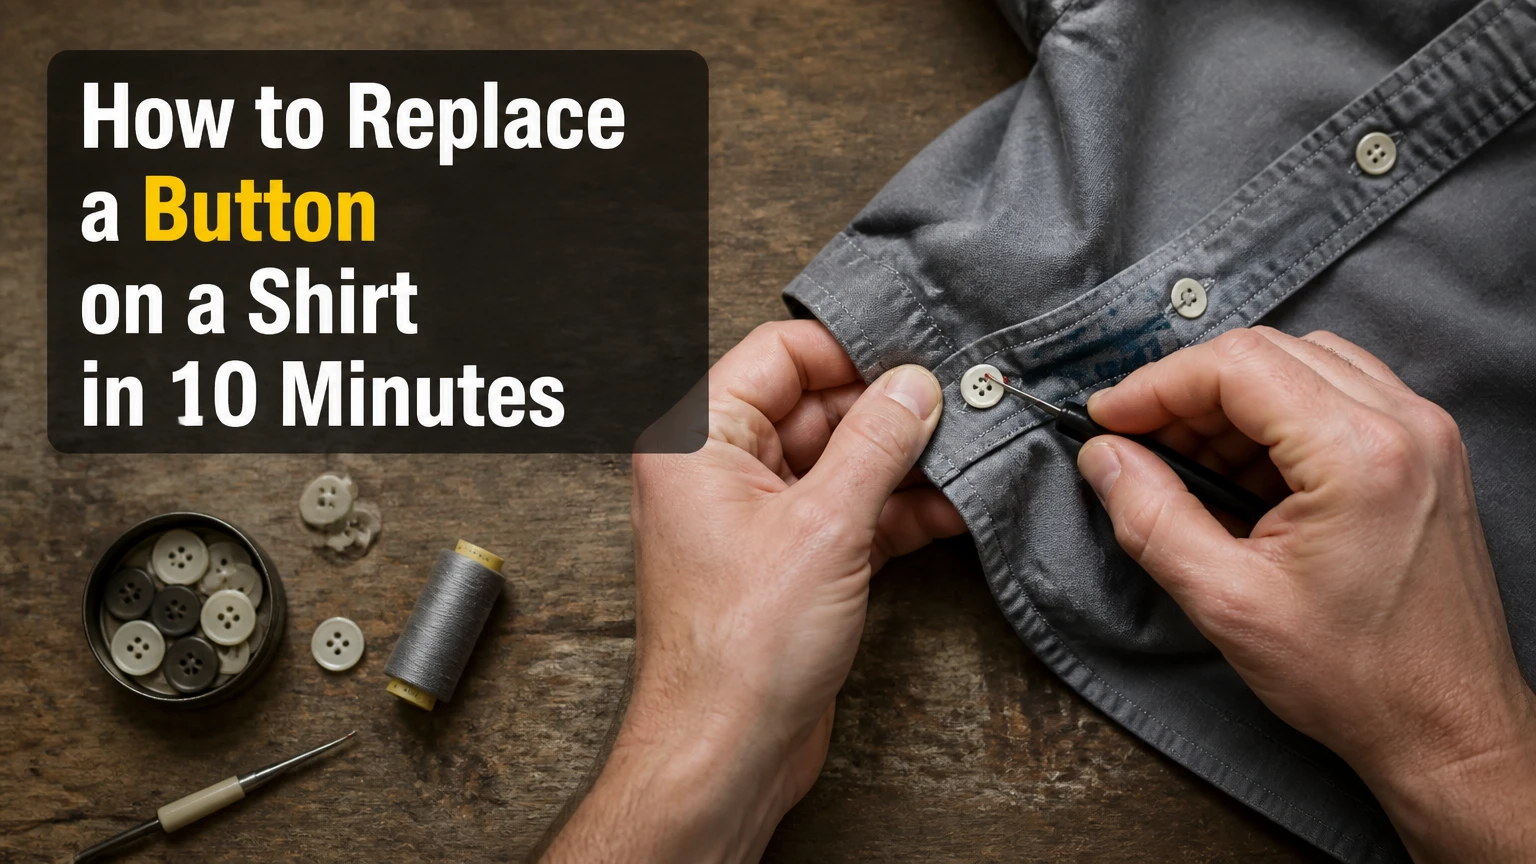
To replace a button on a shirt, remove loose threads, mark the original position through the buttonhole, and sew the replacement with doubled thread. Leave a 1/16- to 1/8-inch thread shank between the button and fabric, then wrap and knot the shank. Most repairs take 5-10 minutes.
Key Facts at a Glance
- A standard shirt-button repair typically takes 5-10 minutes for a beginner.
- Use 20-24 inches of all-purpose polyester thread, doubled through the needle.
- A toothpick or matchstick creates the 1.5-3 mm clearance needed under a flat button.
- Sew a two-hole or four-hole button with 6-8 passes per hole using standard thread.
- Match the replacement button’s diameter, color, thickness, and hole pattern to the original.
- A backing button or small piece of interfacing prevents a knot from pulling through weak fabric.
What Button Replacement Does
Replacing a shirt button creates a structural thread anchor that connects the button to the shirt placket. The thread passes repeatedly through the buttonholes and fabric, distributing pulling force over several stitches instead of placing the load on one knot or one fabric hole.
A small gap under a flat button is called a thread shank. The shank gives the buttonhole edge room to sit beneath the button, which allows the placket to lie flat when fastened. Sewing a button flush against the cloth often creates puckering, difficult buttoning, and faster thread abrasion.
The repair applies to flat two-hole buttons, flat four-hole buttons, and shank buttons. The technique changes slightly for each type, but placement remains the same: the replacement button must align with the existing buttonhole rather than with a visual guess based on the shirt front.
A replacement button is a repair, not a reconstruction of the garment. Hand sewing will secure the button, but it will not repair a torn placket, a stretched buttonhole, or fabric that has disintegrated around the original stitches.
Which Button and Thread Should You Use?
The replacement button should match the original button’s diameter, thickness, material, color, and hole arrangement. All-purpose polyester thread is the most reliable general choice because it resists abrasion and does not shrink like untreated cotton thread.
Inspect another button on the same shirt before buying a replacement. Measure its diameter with a ruler, count the holes, and compare the distance between the button face and the fabric. A shirt may use several button sizes, so a collar button is not always interchangeable with a front-placket button.
| Button type | Typical use | Stitch pattern | Recommended clearance |
|---|---|---|---|
| Two-hole flat, 10-13 mm | Dress shirts and blouses | Parallel passes | 1.5-2 mm |
| Four-hole flat, 10-13 mm | Casual and school shirts | Parallel or cross | 1.5-3 mm |
| Four-hole flat, 15-20 mm | Overshirts and heavier cotton | Parallel or cross | 2-3 mm |
| Shank button, 10-18 mm | Decorative shirts and jackets | Through underside loop | Button-loop depth |
Match the existing pattern when the remaining buttons use parallel lines, crosses, or a specific diagonal arrangement. A different pattern may still hold, but it makes the repair conspicuous and can change how force reaches the fabric.
What supplies do you need?
Gather a sharp hand-sewing needle, matching thread, small scissors, a straight pin, and a toothpick or matchstick. A thimble helps with dense cotton, while a small backing button or fusible interfacing helps stabilize thin or damaged cloth.
| Supply | Typical specification | Quantity or size | Best use |
|---|---|---|---|
| Polyester sewing thread | All-purpose, 40- to 50-weight | 20-24 in | Standard cotton or polyester shirts |
| Button thread | Cotton-covered polyester, heavier weight | 18-20 in | Flannel, denim, and work shirts |
| Hand needle | Sharp or universal, size 70/10-80/12 | 1 | Fine to medium shirt fabric |
| Spacer | Toothpick or wooden matchstick | 1, 1.5-3 mm thick | Creating a thread shank |
| Small scissors | Sharp fabric scissors | 1 pair | Cutting frayed thread cleanly |
| Backing button | Flat, 8-12 mm | 1 if needed | Weak or loosely woven fabric |
Use a size 70/10 needle for lightweight cotton and a size 80/12 for ordinary shirting. A heavy needle can leave visible holes in fine fabric, while a very fine needle can bend when pushed through tightly woven twill.
Before You Start
Set aside 5-10 minutes, 20-24 inches of thread, one needle, one spacer, and small scissors. The repair has low difficulty, but accurate placement determines whether the finished button closes smoothly or pulls the placket out of shape.
| Preparation factor | Typical value | Practical decision |
|---|---|---|
| Beginner repair time | 5-10 minutes | Allow extra time for alignment |
| Experienced repair time | 2-3 minutes | Suitable for routine replacement |
| Home material cost | $0.10-$0.50 per button | Existing sewing kits reduce cost |
| Tailor charge | $2-$7 per button | Varies by garment and location |
| Thread length | 20-24 in | Shorter lengths reduce tangling |
| Standard stitch count | 6-8 passes per hole | Use fewer passes with heavy thread |
Unbutton the shirt and place it on a flat table with the inside facing you. Remove every loose strand from the old button site, but do not cut intact fabric threads that form the placket.
Step 1: Remove the Old Threads
Cut away the remaining button threads with small scissors. Pull out buried thread gently with the needle tip, and inspect the fabric for enlarged holes, tears, stains, or a weakened patch.
You will know the area is ready when the old thread is gone and the fabric lies flat without a raised knot. Do not sew over a large tangled mass because the added thickness creates a hard bump against the skin and makes the new stitches uneven.
The common mistake at this step is trimming too aggressively. Cutting through the shirt’s woven fibers enlarges the repair hole and can turn a simple button replacement into a placket repair.
Step 2: Mark the Correct Button Position
Close the shirt using the remaining buttons, then push a straight pin horizontally through the center of the empty buttonhole and into the fabric beneath it. Open the shirt and use the pin’s entry point as the new button location.
Buttonhole alignment matters more than visual symmetry. The pin marks where the button must sit when the garment is worn, accounting for the overlap between the two placket layers.
Check the position from the inside and outside before sewing. The replacement button should sit on the center line of the placket, and its outer edge should not extend beyond the buttonhole opening.
You will know the mark is correct when the pin passes through the buttonhole center and the shirt closes without pulling the surrounding fabric. Guessing from the old thread holes is unreliable when the button tore away and enlarged them.
Step 3: Thread and Anchor the Needle
Cut 20-24 inches of matching thread and pass it through the needle eye. Pull the thread until both ends are even, creating a doubled strand, then tie a compact knot at the cut ends.
Insert the needle from the inside of the shirt at the marked point and pull until the knot catches. For thin fabric, make two small backstitches within the future button footprint before placing the button; those stitches distribute force and remain hidden.
A knot that slips through the fabric indicates weak or loosely woven material. Place a small piece of lightweight fusible interfacing on the inside, or add a flat backing button under the placket before continuing.
The success checkpoint is a firmly anchored thread with no visible knot on the shirt front. The common mistake is using one strand, which reduces abrasion resistance and makes a standard button more likely to loosen.
Step 4: Position the Button and Spacer
Place the replacement button over the marked point. For a flat two-hole or four-hole button, lay a toothpick or matchstick across the button face between the holes, underneath the thread path.
The spacer temporarily holds the button 1.5-3 mm above the fabric. That space becomes the thread shank, which accommodates the thickness of the buttonhole edge when the shirt closes.
For a shank button, do not place a toothpick across the face. Pass the needle through the button’s underside loop and allow the built-in shank to provide the clearance.
You will know the button is positioned correctly when its holes align with the original stitch direction and the button sits entirely over the fabric placket. The common mistake is choosing a spacer that is too thick, leaving a loose button that rattles and catches on clothing.
Step 5: Sew Through the Buttonholes
Push the needle up through one hole, over the spacer, and down through the opposite hole and fabric. Repeat the same path 6-8 times for standard polyester thread, keeping the stitches parallel or crossed to match the shirt’s other buttons.
For a four-hole button, complete 4-6 passes through the first pair of holes, then repeat the same number through the second pair. Keep the thread firm, but stop pulling when the fabric begins to wrinkle.
| Shirt fabric | Thread choice | Passes per hole | Shank height |
|---|---|---|---|
| Lightweight poplin | All-purpose polyester | 4-6 | 1.5 mm |
| Medium cotton shirting | All-purpose polyester | 6-8 | 2 mm |
| Oxford cotton | All-purpose polyester | 6-8 | 2-3 mm |
| Flannel or overshirt cotton | Button thread | 4-5 | 2-3 mm |
| Dense work shirt | Heavy polyester | 4-5 | 3 mm |
The success checkpoint is a stable button with evenly filled holes and a flat placket. The common mistake is pulling every stitch tight against the cloth, which eliminates the working clearance and causes puckering around the button.
Step 6: Wrap the Thread Shank
On the final pass, bring the needle up through the fabric beside the button rather than through a buttonhole. Remove the toothpick while holding the button steady, then wrap the working thread around the exposed thread column 4-5 times.
The wrapped shank consolidates the loose stitches into a short post and protects them from rubbing against the buttonhole edge. Wrap downward toward the fabric, keeping each turn close to the previous turn without cutting into the thread bundle.
A dress-shirt button usually needs a shorter shank than a heavy overshirt button because the placket is thinner. The clearance should roughly match the compressed thickness of the overlapping buttonhole area.
You will know the shank is finished when the button moves slightly but does not swing freely. A completely rigid, flush button has too little clearance, while a button that tilts more than a few millimeters has too much.
Step 7: Tie Off and Trim
Pass the needle under the wrapped shank to create a loop, pass the needle through that loop twice, and pull the knot tight against the underside of the shank. Make one additional half-knot if the garment receives frequent washing.
Push the needle through the fabric near the shank and bring it out on the inside of the shirt if you want the final knot hidden. Trim the thread close to the knot, leaving approximately 1-2 mm so the cut end does not unravel.
The finished button should rotate slightly without lifting far from the placket. Button the shirt and check that the hole passes over the button without stretching the surrounding cloth.
A knot placed directly against the skin can irritate the wearer, especially on a collar or fitted uniform shirt. Hide the finishing knot beneath the button or on the inside surface whenever construction permits.
Should You Use a Spacer?
A spacer is the preferred method for most flat shirt buttons because it preserves clearance and reduces fabric distortion. Flat stitching without a spacer is acceptable only when the garment is exceptionally thin and the original construction clearly uses buttons sewn flush.
| Method | Time per button | Best fabric | Main risk |
|---|---|---|---|
| Spacer and thread shank | 5-10 min beginner | Dress cotton, Oxford, flannel | Slightly slower handling |
| Flat stitching | 3-6 min beginner | Very thin blouse fabric | Puckering and difficult closure |
| Built-in shank button | 4-8 min beginner | Decorative or jacket-weight fabric | Wrong loop size |
| Machine button attachment | 2-4 min setup included | Stable woven fabric | Needle damage or poor alignment |
A spacer is especially useful when the buttonhole edge is bulky, the button is thick, or the shirt is worn daily. The spacer is less useful for a tiny lightweight button whose original stitches show no visible gap.
Common Mistakes and How to Fix Them
The button is in the wrong place
Remove the stitches and remark the position through the buttonhole. A button can look centered on the shirt front while still missing the buttonhole by 2-3 mm, enough to twist a narrow placket.
The fabric puckers around the button
Cut out the stitches and resew with a 1.5-2 mm spacer. Puckering usually comes from excessive thread tension, too many passes, or a button sewn directly against lightweight fabric.
The knot pulls through
Stabilize the inside with a 10-15 mm square of lightweight interfacing or use an 8-12 mm backing button. A backing button spreads the pulling force over a larger fabric area and works well on worn cotton.
The thread tangles
Use a shorter 20-inch length, let the needle hang occasionally so the doubled thread can untwist, and pull each stitch through completely before starting the next. Beeswax can reduce twisting, but excess wax may mark pale fabric.
The replacement button keeps loosening
Check the thread shank and the number of passes. Use 6-8 passes with standard thread, wrap the shank 4-5 times, and finish with a double knot beneath the shank rather than a single loose knot.
The button looks different from the others
Compare diameter, sheen, thickness, and hole spacing against a neighboring button. If no exact match exists, replace all visible front buttons with a coordinated set rather than combining one noticeably different button with the originals.
Situational Variations
How do you replace a button on a heavy shirt?
Use heavy polyester or button thread, a size 80/12 or 90/14 needle, and a 2-3 mm spacer. Sew 4-5 passes per hole because heavy thread fills the holes faster than ordinary thread.
Dense flannel and work-shirt fabric can resist the needle. A thimble protects the finger, and pre-punching the fabric with the needle tip reduces strain without making a large hole.
How do you replace a button on thin or worn fabric?
Use all-purpose polyester thread with a size 60/8 or 70/10 sharp needle, make 4-6 passes, and stabilize the inside before sewing. A small backing button is often stronger than a large knot because it spreads load without concentrating tension in one weakened spot.
Avoid heavy button thread on silk-like or very fine cotton fabric. The thread may cut through the cloth even when the button itself remains secure.
What if the original button and holes are missing?
Measure the neighboring button and mark the position from the matching buttonhole on the opposite placket. If the buttonhole is stretched or torn, repair or reinforce the buttonhole before attaching the replacement.
When the original button cannot be found, choose a button with the same diameter and a similar thickness. A smaller button may slip through the existing hole, while a thicker button may not pass through it.
When Hand Sewing Is Not Enough
Hand sewing is suitable for a detached button when the surrounding fabric and buttonhole remain intact. A tailor is the safer option when the placket is torn, the fabric has a hole larger than the button, the garment is lined, or the button is attached to a structured jacket.
A sewing machine can attach some flat buttons with the feed dogs lowered and a zigzag setting adjusted to the buttonhole spacing. Machine attachment is faster for batches, but hand sewing gives better control on narrow shirt plackets and delicate fabrics.
Do not use fabric glue as the primary repair for a functional shirt button. Glue stiffens the cloth, can fail after laundering, and makes later stitching harder by blocking the needle path.
How Long and How Much Does Button Replacement Cost?
A home button replacement typically costs $0.10-$0.50 for the button when thread and tools are already available, and takes 5-10 minutes for a beginner. A basic sewing kit commonly costs $2-$5, while a tailor often charges approximately $2-$7 per button.
| Repair option | Typical cost | Typical time | Suitable situation |
|---|---|---|---|
| Existing home sewing kit | $0.10-$0.50 | 5-10 min | One ordinary shirt button |
| New basic sewing kit | $2-$5 | 10-15 min setup | No needle or thread available |
| Replacement button set | $2-$8 | 5-10 min per button | Several matching buttons needed |
| Local tailor | $2-$7 per button | Same day to 3 days | Torn, lined, or valuable garment |
| Full placket repair | $10-$30 typical | 1-3 days | Fabric damage around button site |
Prices vary by city, garment value, and whether matching buttons must be sourced. A tailor’s charge becomes more economical when the shirt is expensive, the fabric is fragile, or several buttons need consistent replacement.
Expert Rules for a Durable Repair
First, match the new button to the buttonhole, not only to the old button’s appearance. Buttonholes stretch over time, so a replacement that is visually identical can still be too small if the hole has widened.
Second, thread tension should stop when the fabric remains flat. More tension does not automatically create a stronger repair because excessive force compresses the placket and cuts into the surrounding fibers.
Third, the shank is a functional measurement, not decoration. A 1.5 mm gap suits fine shirting, while a 2-3 mm gap better accommodates Oxford cloth, flannel, or a thick overlapping placket.
Fourth, reinforce damaged cloth before adding stitch count. Eight stitches through weak fabric can fail sooner than four stitches supported by interfacing or a backing button.
FAQ
Can I replace a shirt button without a needle?
A needle is the safest tool because it controls the stitch path and limits fabric damage. In an emergency, a small safety pin can hold a button temporarily, but the sharp point can snag skin or fabric, and the repair should be replaced with sewn thread before laundering.
Should shirt buttons be sewn with single or double thread?
Use doubled thread for most shirt buttons because two strands provide greater strength and reduce the number of separate needle passes. Heavy button thread may be used as a single strand if the thread is substantially thicker, but the holes and fabric must tolerate its diameter.
How do I match a missing shirt button?
Measure a neighboring button’s diameter in millimeters, then match its color, finish, thickness, material, and hole count. Check spare buttons sewn into the care label or side seam before purchasing; manufacturers often attach an exact replacement to the garment.
Can I sew a button over the old holes?
Yes, if the old holes remain centered under the replacement button and the fabric is stable. If the old holes are enlarged, shift the new stitches slightly within the button footprint or reinforce the inside with interfacing so the thread does not follow the damaged path.
Why does my shirt button keep popping off?
A shirt button usually keeps popping off because it lacks a thread shank, has too few passes, sits on weakened fabric, or receives excessive tension from a tight buttonhole. Reattach it with a 1.5-3 mm spacer, 6-8 standard-thread passes, and a reinforced backing area when needed.
Is replacing a button worth taking to a tailor?
A tailor is worthwhile when the shirt has a torn placket, fragile fabric, hidden lining, unusual buttons, or high replacement value. For an intact cotton shirt with one missing standard button, hand sewing is normally faster and less expensive than professional repair.
Conclusion
To replace a button on a shirt securely, align the new button through the existing buttonhole, use 20-24 inches of doubled thread, sew 6-8 passes through each hole, and leave a 1.5-3 mm thread shank. Wrap and knot the shank, then test the closure before trimming the thread.


